Digital Marketing
Best way to track marketing attribution in Webflow
A Step‑by‑Step Guide to Add Marketing Attribution to Your Webflow Website
Start capturing attribution →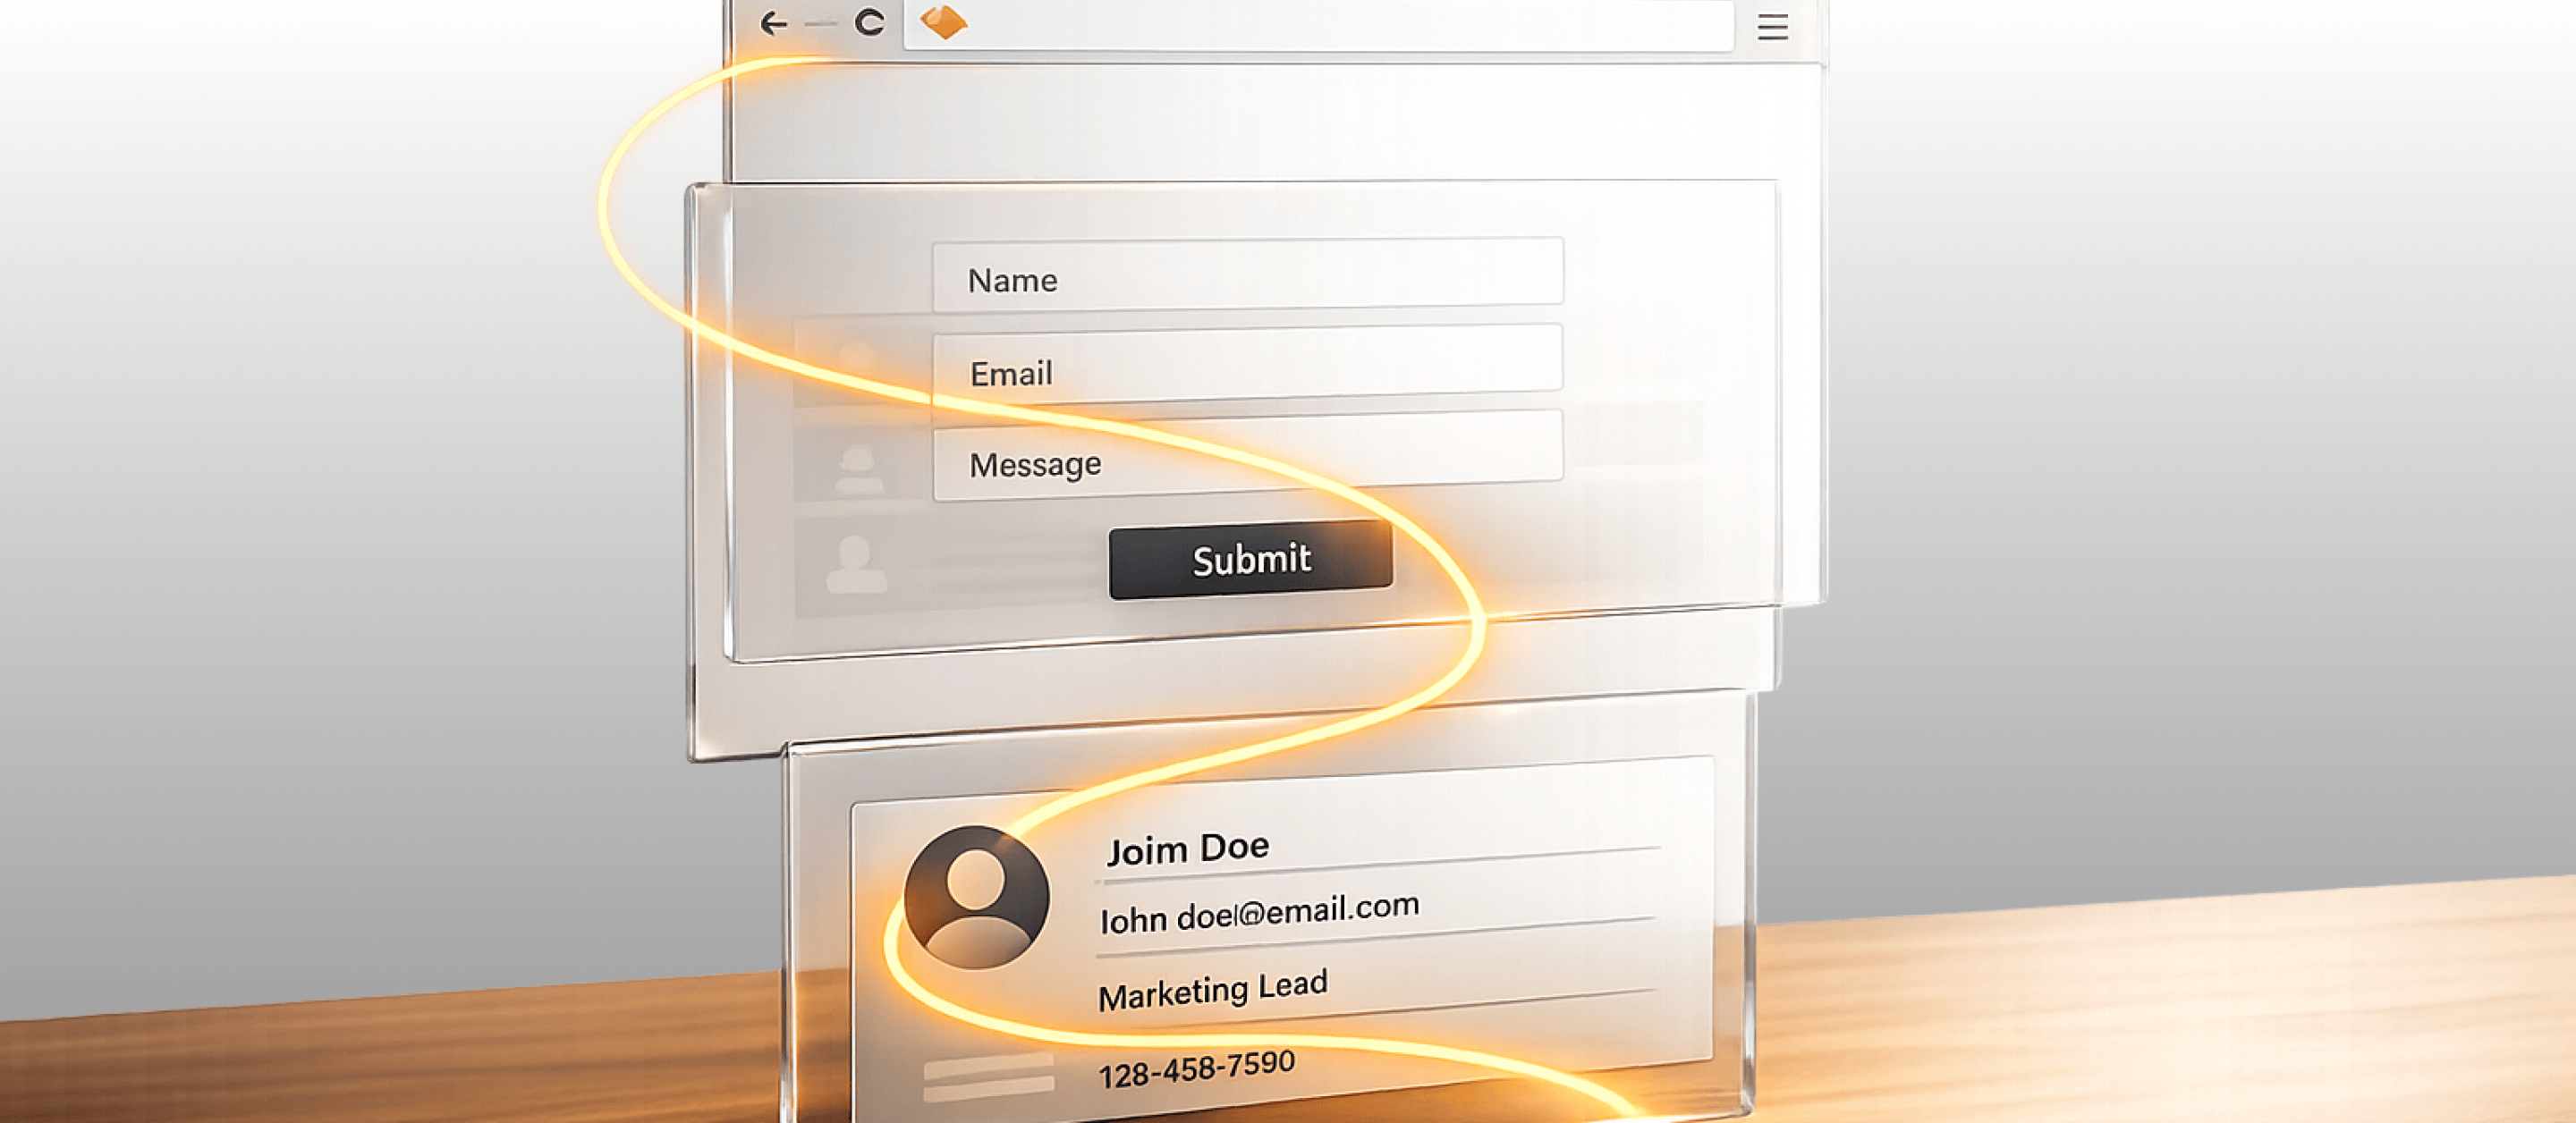
Marketing attribution on a Webflow site involves tracking which marketing efforts lead to conversions like form submissions or purchases. Since Webflow lacks built-in attribution tools, you’ll need to set up a system manually. Here’s the process in simple steps:
This setup ensures you know which marketing channels drive results, even across multiple visits. Tools like Madlitics provide more detailed insights compared to Webflow’s native tracking, helping you make data-driven decisions about your campaigns.
Before diving into attribution tracking, make sure you have a few things in place: a paid Webflow plan, an active account with an attribution tracking provider (Madlitics), and a well-defined UTM structure. A paid Webflow Site or Workspace plan is essential because it grants access to the "Custom Code" section, where tracking scripts are installed. Free plans are limited to basic Google Analytics integration, which doesn't provide the detailed data needed for effective attribution.
You'll also need an active account with a tracking provider, like Madlitics, to captures and stores visitor source data until a visitor submits a form. Focus on tracking forms that drive conversions, such as contact forms, demo requests, or quote requests. Skip forms like search bars or login fields, as they don't contribute to marketing attribution.
Lastly, ensure consistencyin applying UTM tags to all campaign links. Without uniform tagging, your attribution reports could end up incomplete or inaccurate. Once these steps are complete, you can move on to configuring Webflow for seamless tracking integration.
To set up tracking in Webflow, open your project and click the gear icon in the left sidebar to access the Project Settings. From there, go to the "Custom Code" tab under the "Publishing" section. This is where you'll paste your tracking script in the Head Code field. If this option isn't available, verify that you're on a paid Webflow plan, as free accounts don't support custom code.
Be cautious when adding tracking scripts. For instance, if you're using Google Analytics, insert the code either in the Integrations tab or the Custom Code section - never both. Duplicate tags can skew your data by sending the same information twice, which can lead to inaccurate reporting.
Begin by listing all the forms on your site that collect visitor information. Focus on high-priority forms, such as demo requests and contact forms, rather than lower-intent actions like newsletter signups or footer email captures.
To ensure accurate tracking, assign a unique ID to each form in the Webflow Designer. Select the Form Block, go to Element Settings, and add a descriptive ID like "contact-form" or "demo-request". Once your key forms are identified, you can implement persistent tracking to capture detailed visitor data.
Understanding how persistent tracking operates is crucial for effective attribution. This type of tracking ensures that attribution data stays linked to a visitor across multiple pages and sessions. For example, if someone clicks a LinkedIn ad, the tracking script captures and stores that source information. Even if the visitor returns later through a direct visit, the original ad source will still get credit when a form is submitted.
Persistent tracking is especially important because most visitors don't convert on their first visit. A typical user might click an ad, explore your site, leave, and return multiple times before submitting a form. Without persistent tracking, you might only see "Direct" as the source, making it hard to assess campaign performance. The tracking script resolves this by using hidden form fields to automatically include the stored attribution data when a form is submitted. This ensures your CRM captures complete and accurate data.
"A LinkedIn ad click should be attributed correctly - even if the visitor signs up on a different page later. If someone clicks an ad, browses multiple pages, then submits a form later, Madlitics persists attribution data across sessions, ensuring your reports reflect true performance." - Madlitics


To get started with marketing attribution on Webflow, make sure your plan supports custom code and identify the forms you want to track. Once that’s sorted, you’ll follow three main steps: add the tracking script, set up hidden fields, and verify everything works as expected. Here’s how to put it all together.
First, log in to your Madlitics account and grab your unique tracking code snippet. This little piece of JavaScript is what collects visitor source data across your website.
Head over to your Webflow Dashboard, go to Project Settings, and then click on the Custom Code tab. Paste the tracking snippet into the Head Code section and hit "Save Changes." It’s important that the script is loaded in the <head> section of your site so it can start capturing visitors right away.
Once you’ve saved the changes, publish your site to its live domain. Keep in mind that the tracking script only works in a live environment - it won’t collect data in Webflow’s preview mode.
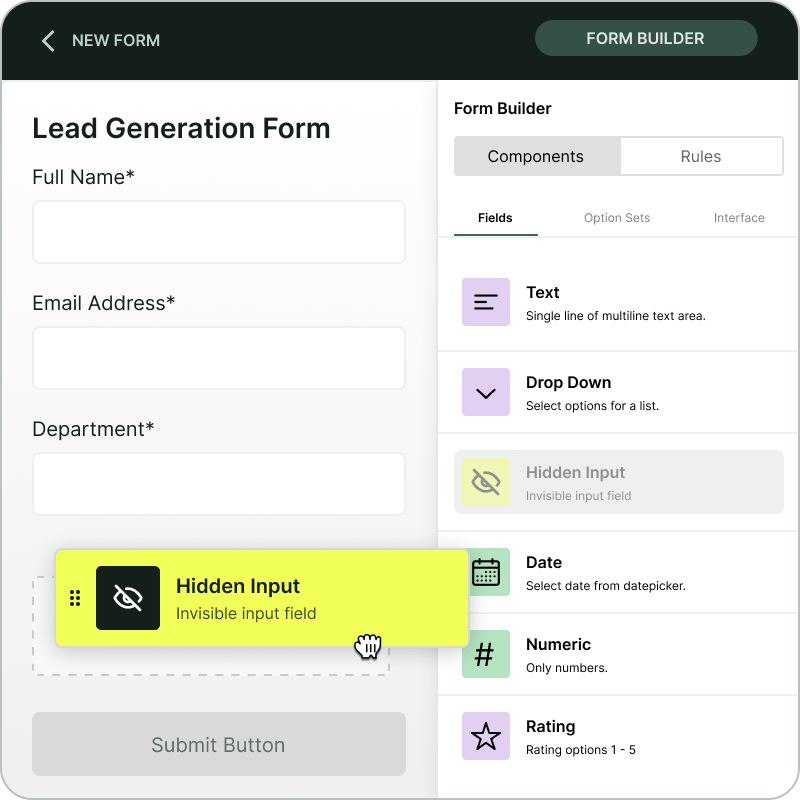
Madlitics stores attribution data within fields that are hidden from your customers. To track everything properly, you’ll need to add seven fields to each form: channel, segment1, segment2, segment3, segment4, lp, and lpg. These fields will capture details like the marketing channel, traffic source, and landing page information.
Here’s how to add them:
channel).[channel]). This tells the script where to insert the captured data during form submission.Here’s a quick reference table for the fields you’ll need to add:
Once these fields are set up, you’re ready to test your setup.
After your site is live, it’s time to test. Create a test URL with UTM parameters, such as:yoursite.com?utm_source=test&utm_campaign=verification. Use this link to visit your site, click around a bit to confirm data persistence, and then submit one of your forms.
Next, go to Project Settings > Forms in Webflow to review the form submissions. Look for the hidden fields alongside standard ones like name and email. If the hidden fields are correctly populated with attribution data, you’re good to go. If not, double-check that your field names are spelled and capitalized exactly as required, and ensure the Default Values use the correct bracket format.
This process ensures your forms are capturing the data you need to track your marketing efforts effectively.
Leverage attribution data to fine-tune how you allocate your budget and shape your content strategy. Instead of focusing on surface-level metrics like clicks or impressions, dig deeper to understand what truly drives conversions and revenue. These strategies build directly on the earlier configuration steps.
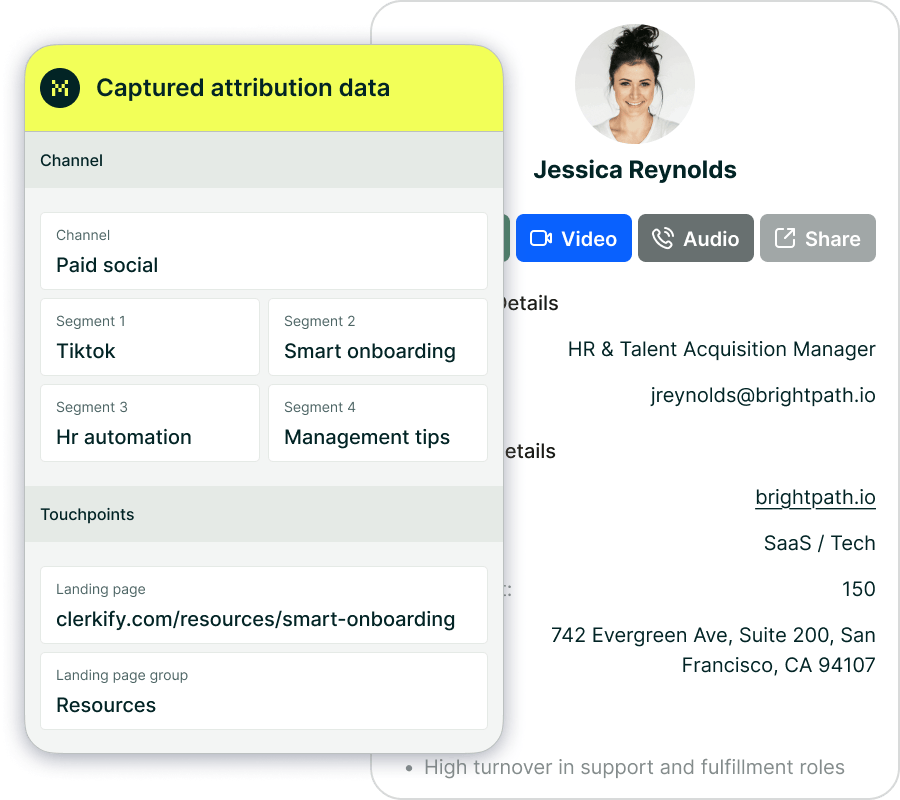
Madlitics organizes your traffic using a structured hierarchy of fields. (For details, refer to the earlier section on setting up hidden fields and how Madlitics categorizes inbound leads.)
"Pass UTM parameters into Salesforce, HubSpot, or ActiveCampaign so your sales team knows exactly where every lead came from - no more guessing." - Madlitics
Use this data to identify channels that might have lower traffic volume but deliver higher-quality leads. Then, reallocate your budget to emphasize these high-performing sources. For channels that underperform, refine your messaging to improve results. Additionally, you can integrate attribution data with payment processors like Stripe or PayPal to calculate the exact ROI for individual campaigns.
Landing pages are critical for turning visitors into leads. The lp field captures the full URL of the first landing page a visitor sees, while the lpg field groups pages into categories (e.g., /blog, /pricing). This data helps pinpoint which content generates the most conversions.
"By capturing landing page data alongside UTM parameters, Madlitics shows you which blog posts, case studies, or pricing pages drive the most revenue, helping you scale content that works." - Madlitics
By comparing traffic sources with landing page performance, you can spot mismatches in messaging. For example, if a campaign drives traffic to a page with a high bounce rate, it could mean the landing page content doesn’t meet visitor expectations. Use this insight to tweak your ad copy or personalize landing pages to better align with visitor needs. Once refined, integrate this data with your CRM to close the marketing feedback loop.
Integrating Madlitics with your CRM enriches every lead record with detailed marketing insights. Thanks to the persistent tracking set up earlier, the seven hidden fields in your Webflow forms automatically populate in your CRM when a form is submitted. This gives your sales team immediate context about each lead’s origin and engagement history.
Map Madlitics fields to corresponding CRM fields (e.g., Salesforce, HubSpot, ActiveCampaign) to track which campaigns lead to closed-won deals - not just form submissions. This integration allows you to calculate true ROI by comparing campaign spending against the revenue generated by attributed leads. You can also use this data to trigger personalized email sequences in platforms like Klaviyo or Mailchimp, tailoring your nurturing efforts to each lead’s entry point.
The four segment fields capture granular details, such as specific ad creatives or keywords, helping your sales team customize their outreach. For instance, if your CRM shows a lead originated from a particular case study or pricing page, your team can reference that content in their initial conversation. This approach accelerates deal progression and boosts overall marketing performance on Webflow.
Webflow Analyze provides session-based, aggregate metrics like clickmaps, scroll depth, and top referrers. It operates with a 30-minute session timeout and retains data for up to 90 days. While this is helpful for observing on-page behavior, it falls short in connecting traffic sources to individual leads or revenue.
Madlitics addresses these gaps with a more targeted approach. It emphasizes lead-level attribution by linking marketing touchpoints directly to form submissions and CRM records, ensuring that the first interaction gets the credit when a conversion happens.
"If someone bounces off your site, comes back later via organic search, then converts - most native tools only grab whatever's in the URL at submission time. No session history, no multi-page persistence." - Madlitics
Another standout feature is data normalization. Webflow's forms log UTM parameters exactly as entered, which can lead to fragmented data. Madlitics, on the other hand, automatically organizes and categorizes traffic data. For instance, it consolidates entries like "Facebook", "facebook", and "FB" into one unified category. It also identifies and categorizes all traffic sources - including organic search, organic social, AI referrals, and direct traffic - even when UTM parameters are absent.
This side-by-side comparison highlights how a dedicated lead attribution tool like Madlitics can provide deeper marketing insights for your Webflow site, going beyond basic engagement metrics.


Tracking marketing attribution on Webflow doesn’t have to be a headache. With Madlitics, you can skip the hassle of custom JavaScript, data loss between pages, or cleaning up UTM parameters. It takes care of all the technical details for you - keeping attribution data intact across sessions, categorizing all traffic (even visitors without UTM tags), and automatically organizing the data before it reaches your CRM.
Getting started is quick and simple. In just 5–15 minutes, you can install one tracking code, add seven hidden fields, and test a sample submission to ensure everything works smoothly. Once set up, every form submission will send complete attribution data directly to your CRM, giving your sales team the insights they need to understand each lead’s journey.
"Madlitics captures, categorizes, and persists attribution data across sessions, giving you a complete, structured view of what's working in your marketing."
This process fits right into your marketing workflow without disrupting it. Unlike Webflow’s built-in analytics, which focuses on overall session behavior, Madlitics connects individual leads to revenue. You can sync this data with tools like Salesforce, HubSpot, or ActiveCampaign, and even link it to payment platforms like Stripe or PayPal to track which campaigns drive revenue.
Want to see where your best leads come from without the mess of manual cleanup or lost data? Madlitics offers a 14-day free trial - no credit card needed. Just install the code, configure your forms, and start making confident, data-driven decisions across your marketing efforts.