Getting started
Installing Madlitics Overview
A guide to adding Madlitics to your website for accurate marketing attribution
Start capturing attribution →
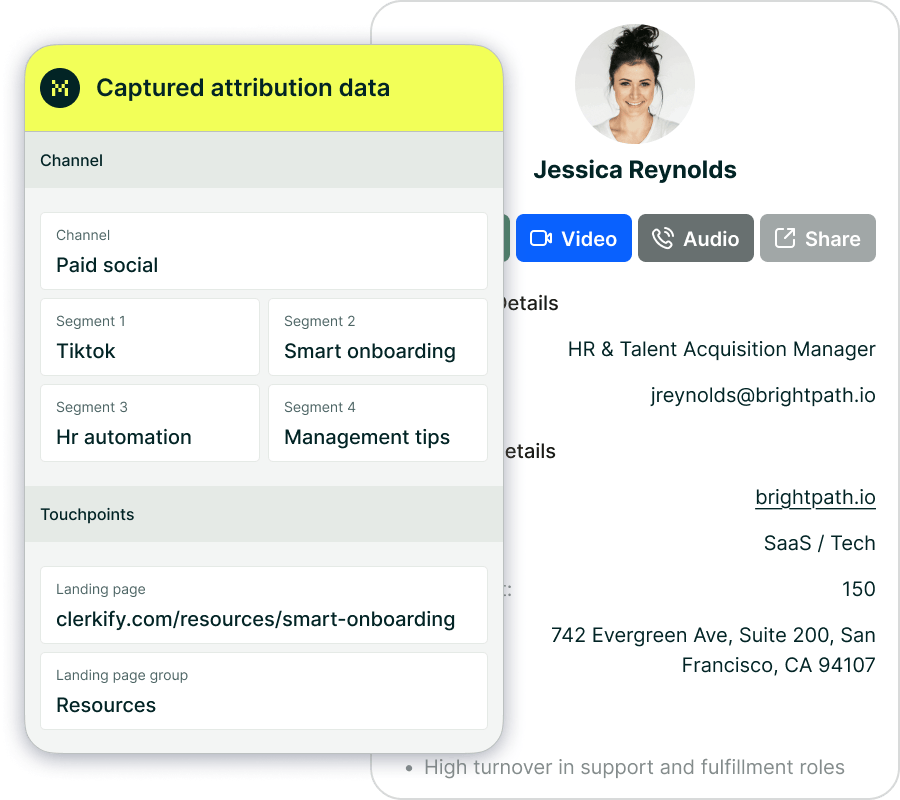
Madlitics makes it simple to track how visitors arrive at your site and tie every lead back to the right channel or campaign. By adding a small code snippet and a few extra fields to your forms, you’ll unlock clean attribution data that flows directly into your CRM and reports — no heavy setup required.
Prerequisite: Before you can install Madlitics, you’ll need to create a Madlitics account. Registration unlocks your dashboard, and copy the code snippet that powers attribution. This step only takes a minute and ensures you have everything ready before moving on to the platform-specific setup.
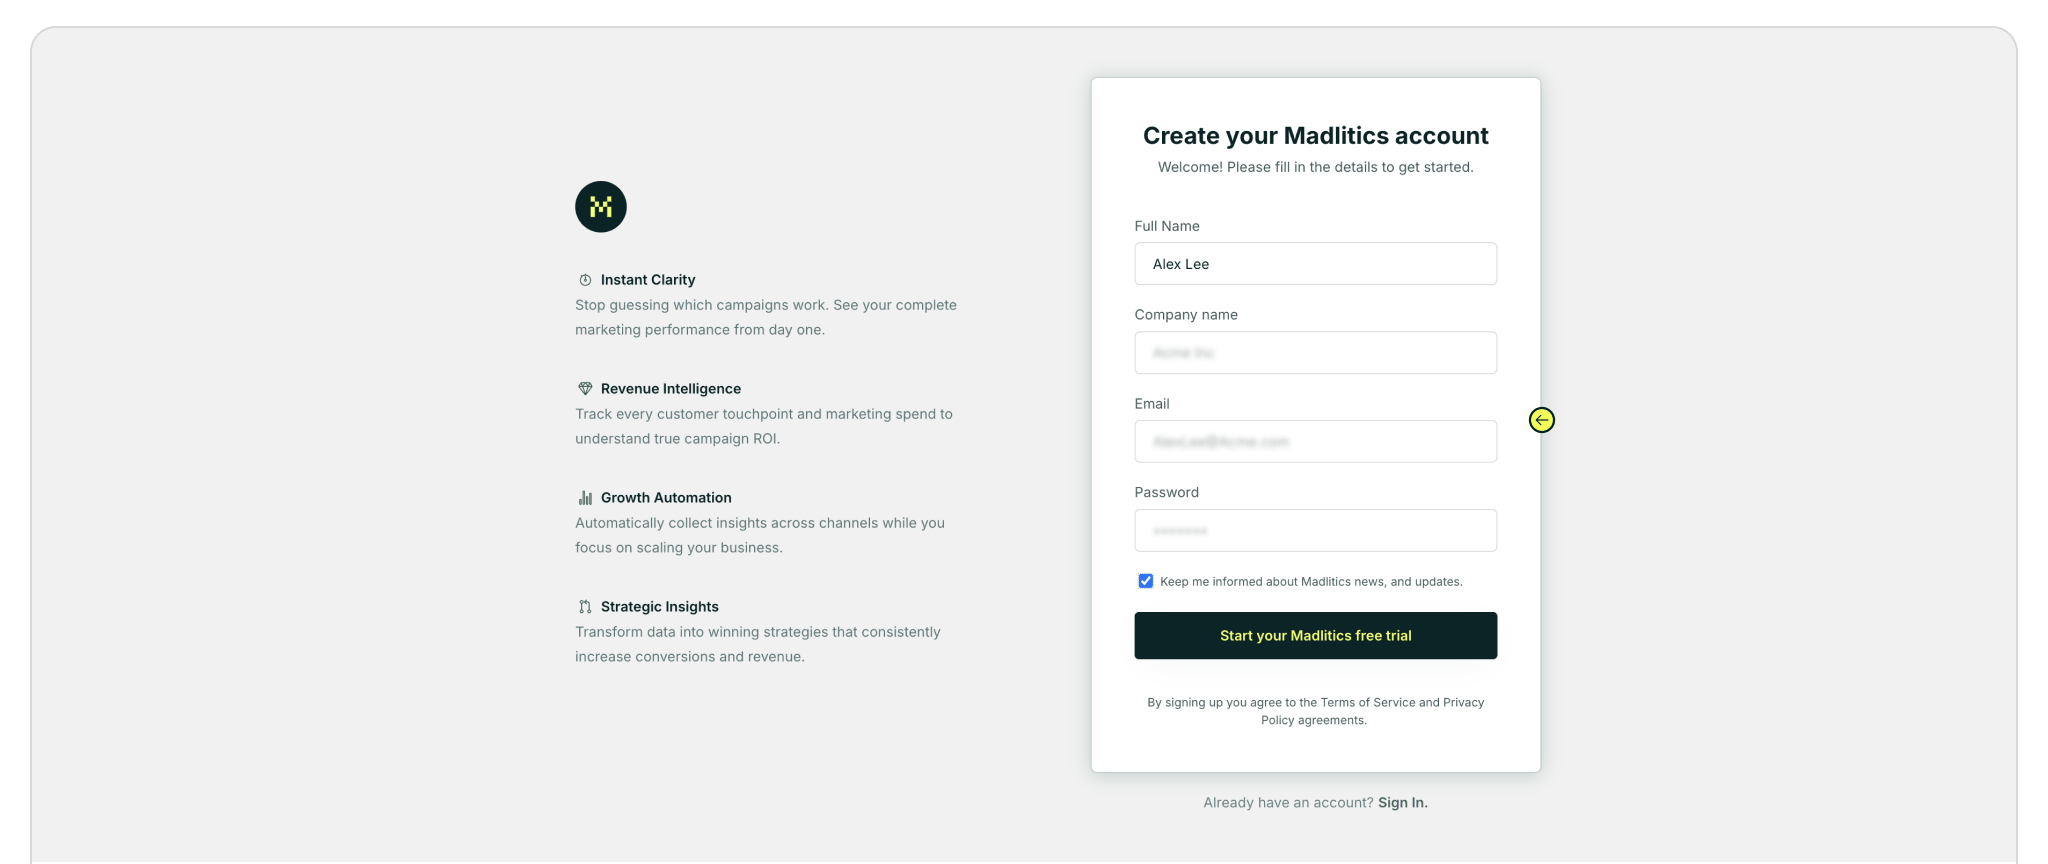
Step 1. Create your account
Sign up for a free trial on the Madlitics website to get started. Creating an account unlocks your dashboard, where you’ll manage your sites, view analytics, and access the code snippet you’ll need to install.
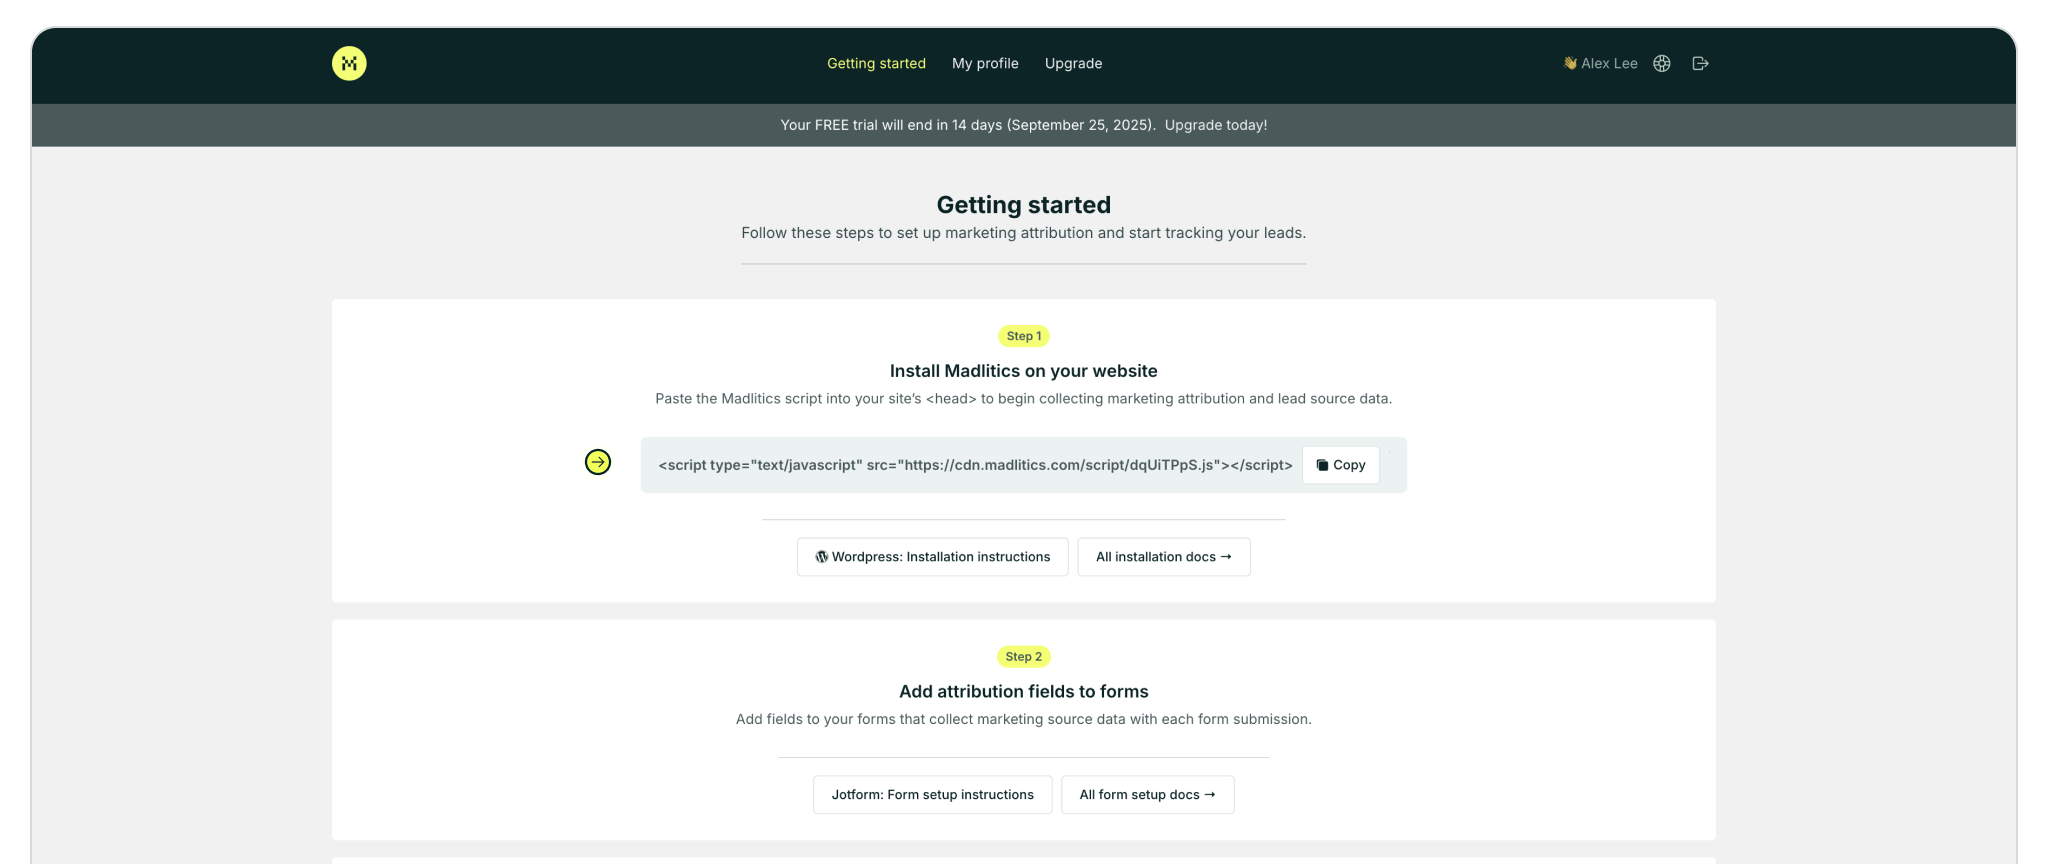
Step 2: Access your installation snippet
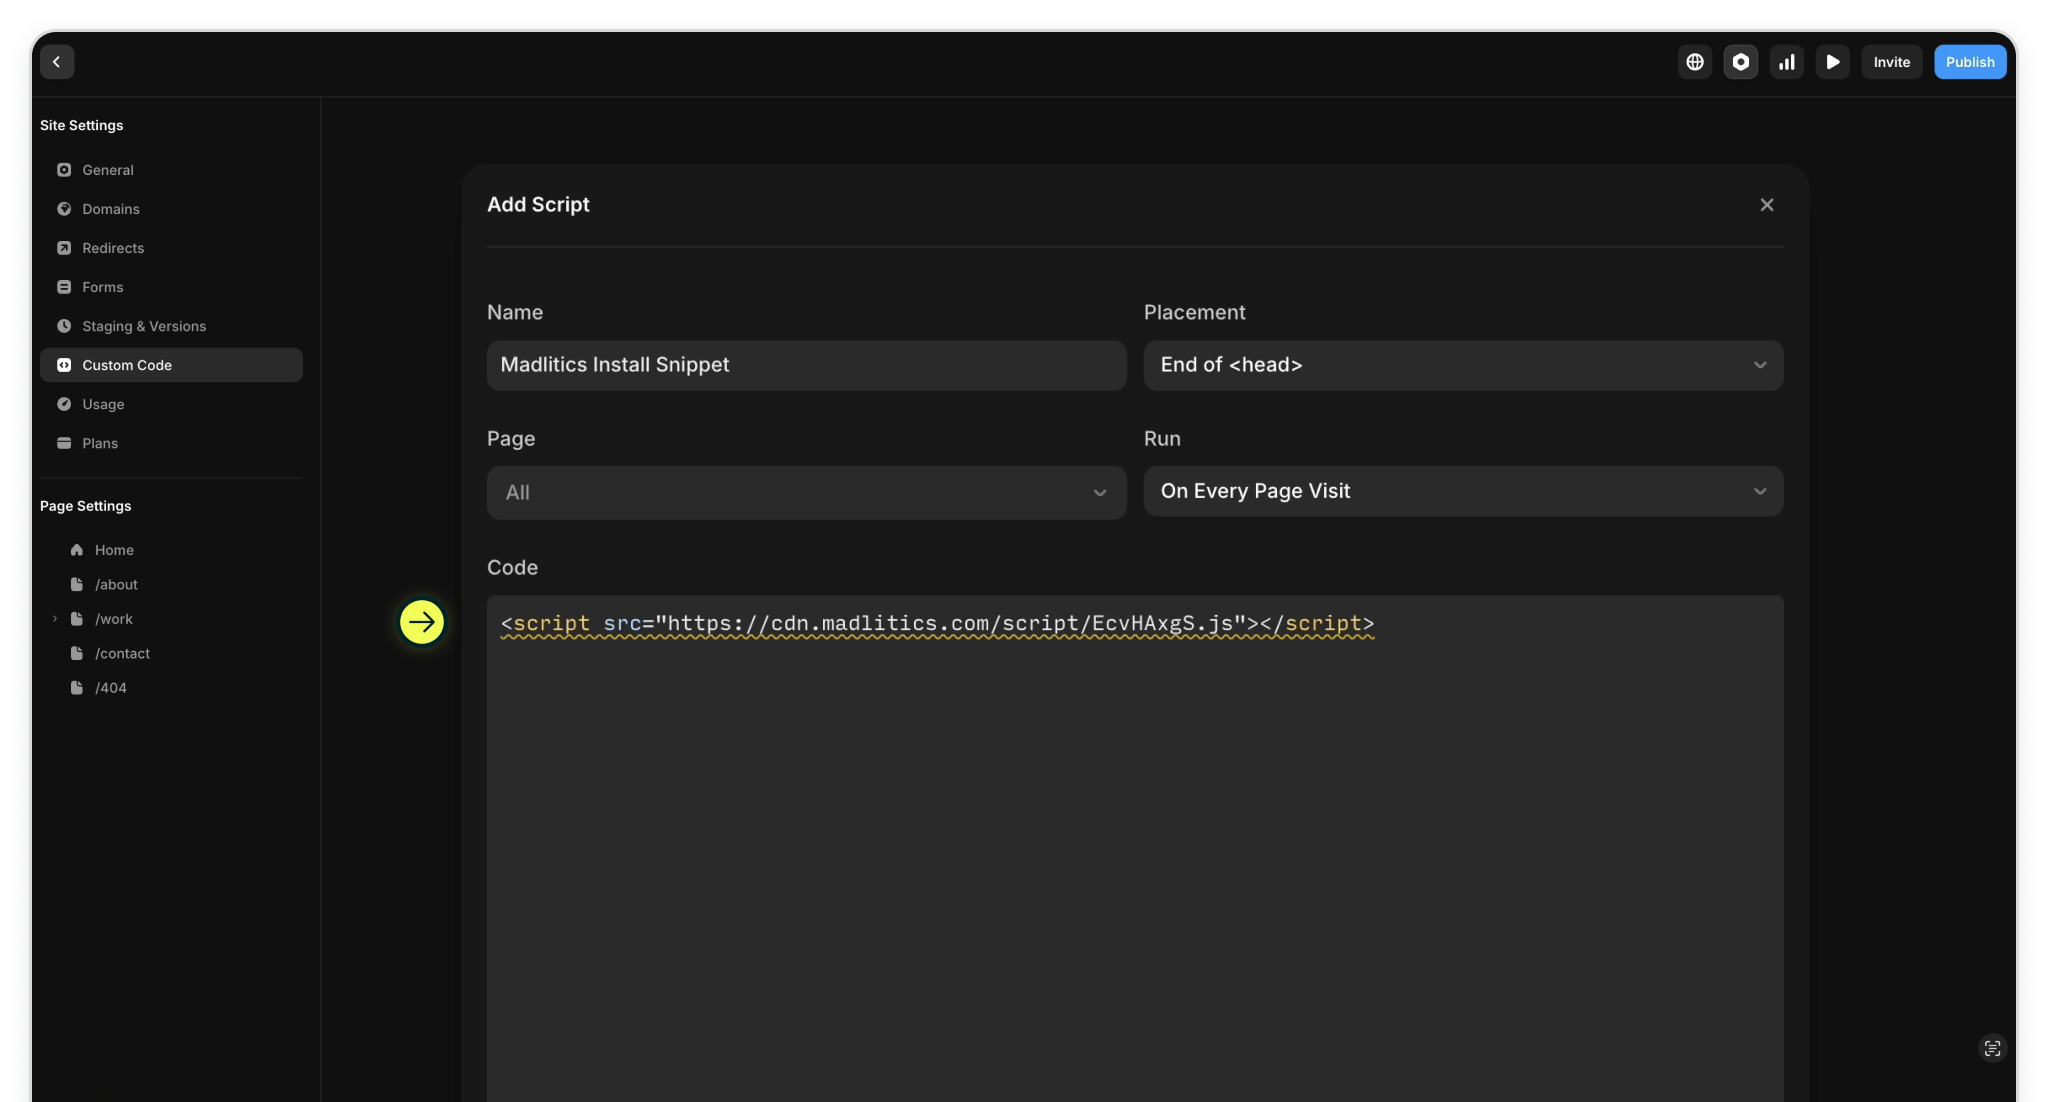
Once you’ve registered and logged in, you’ll land in your dashboard’s Get Started section. Here, you’ll find your unique Madlitics installation snippet, which is required to enable tracking on your site.
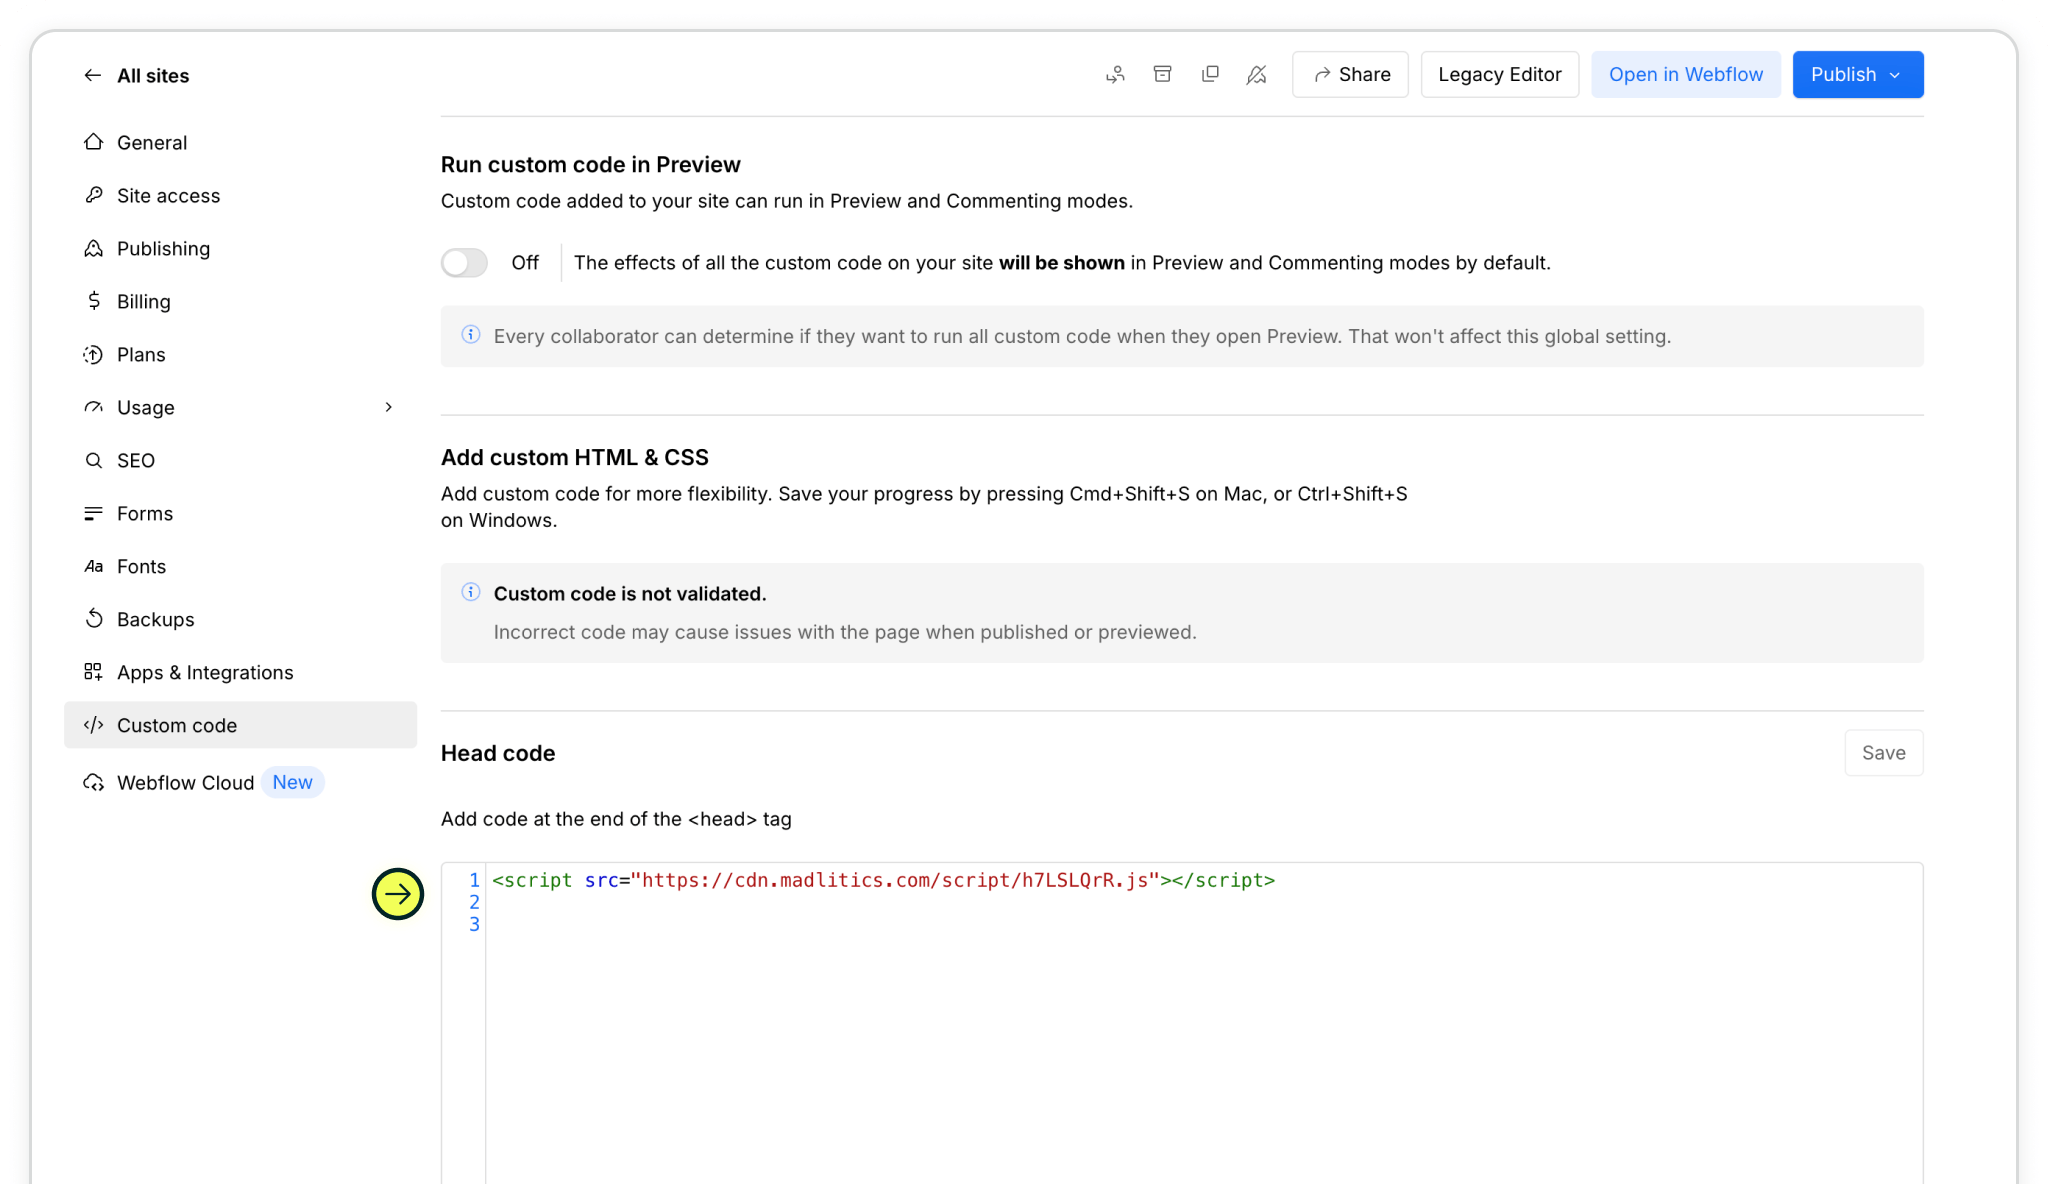
Step 3: Add the Snippet to Your Website
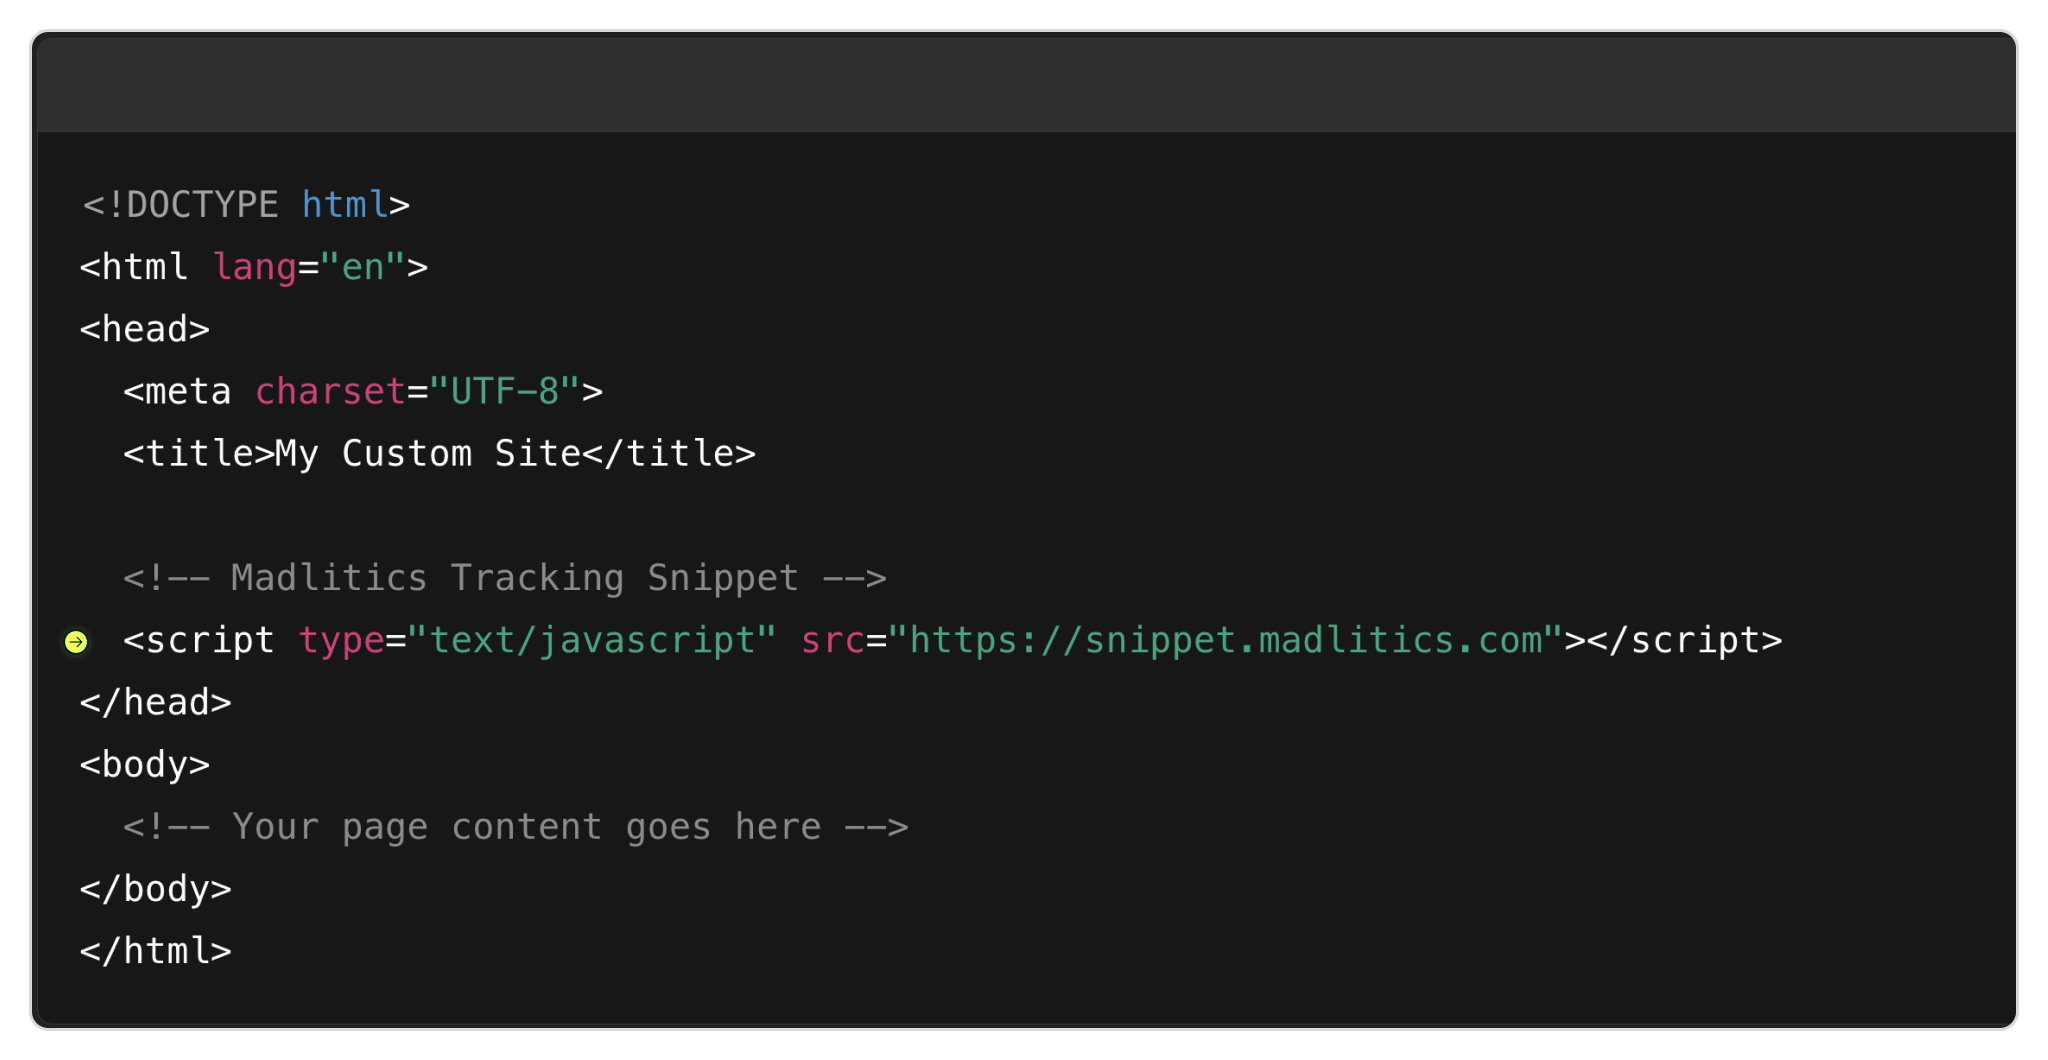
Paste the Madlitics code snippet right after the <head> tag on every page of your site — (ideally) before any other scripts. This ensures visitor data is captured immediately, even if someone leaves the page early. Be sure the script is included on all pages, including standalone landing pages and those with forms, so Madlitics can track the full visitor journey.
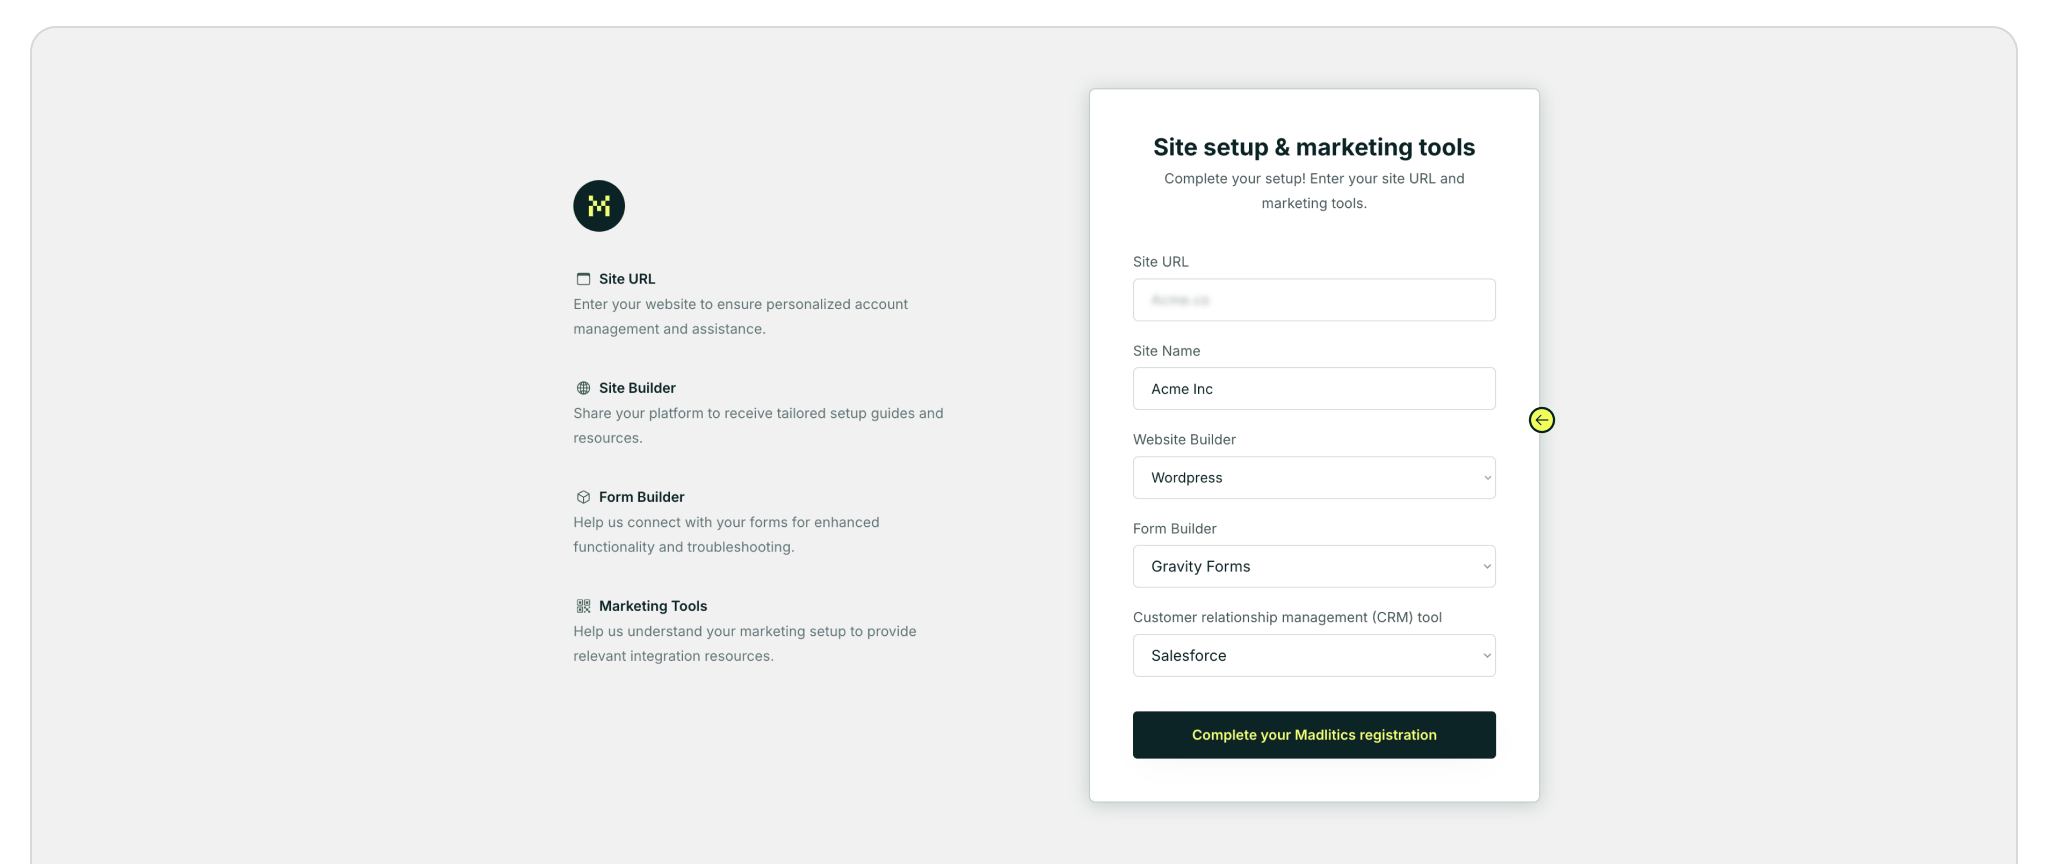
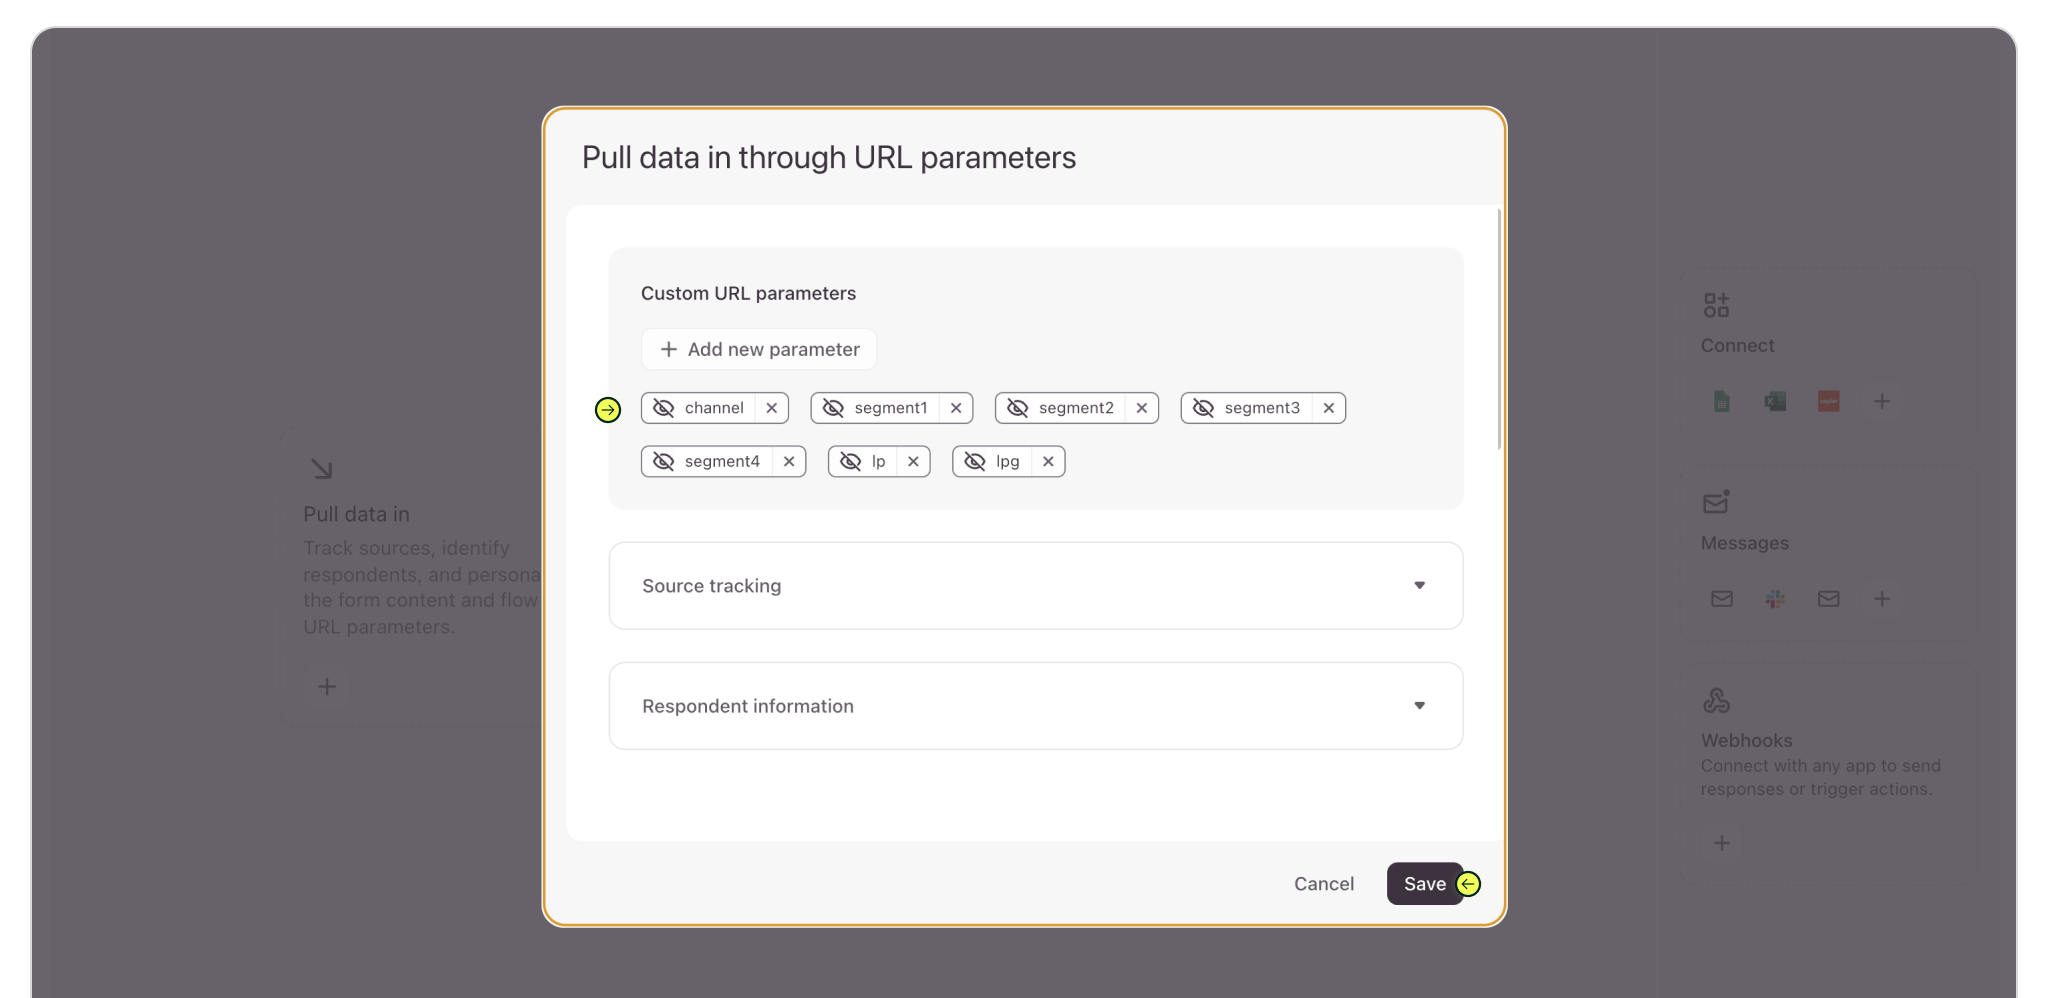
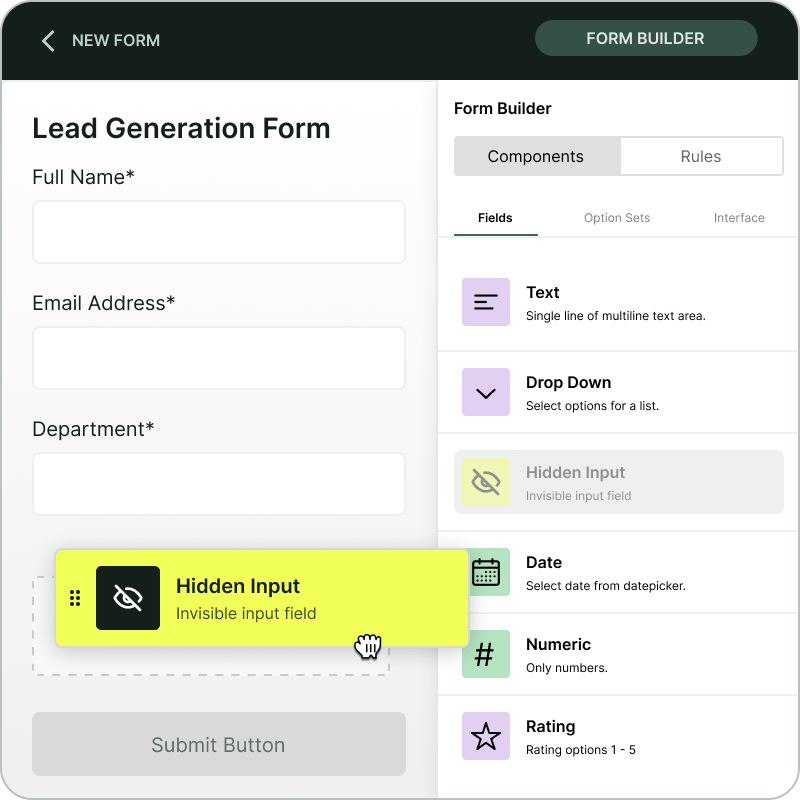
Step 4: Configure forms to capture marketing data
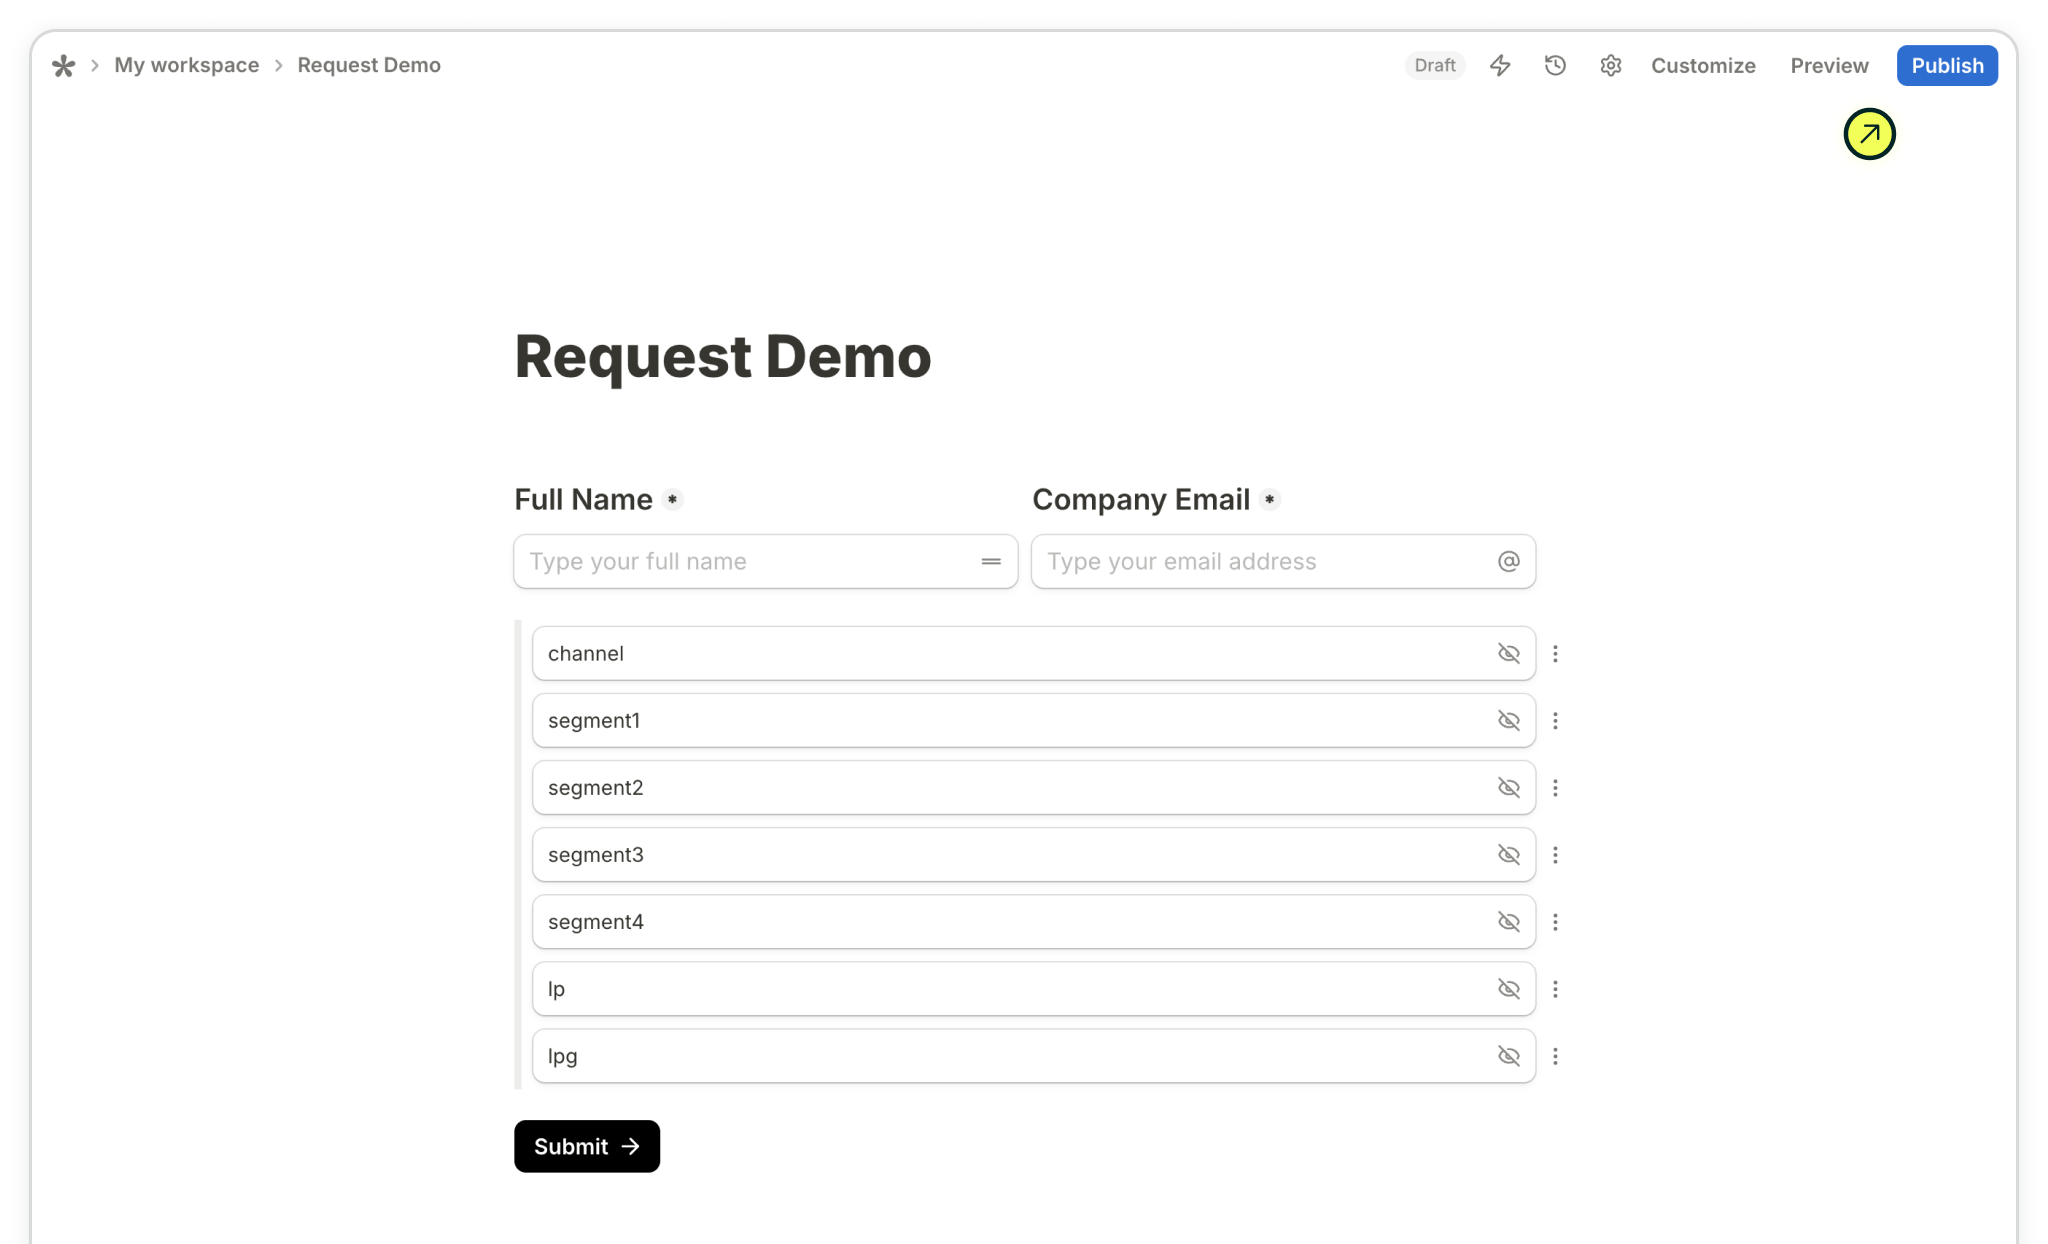
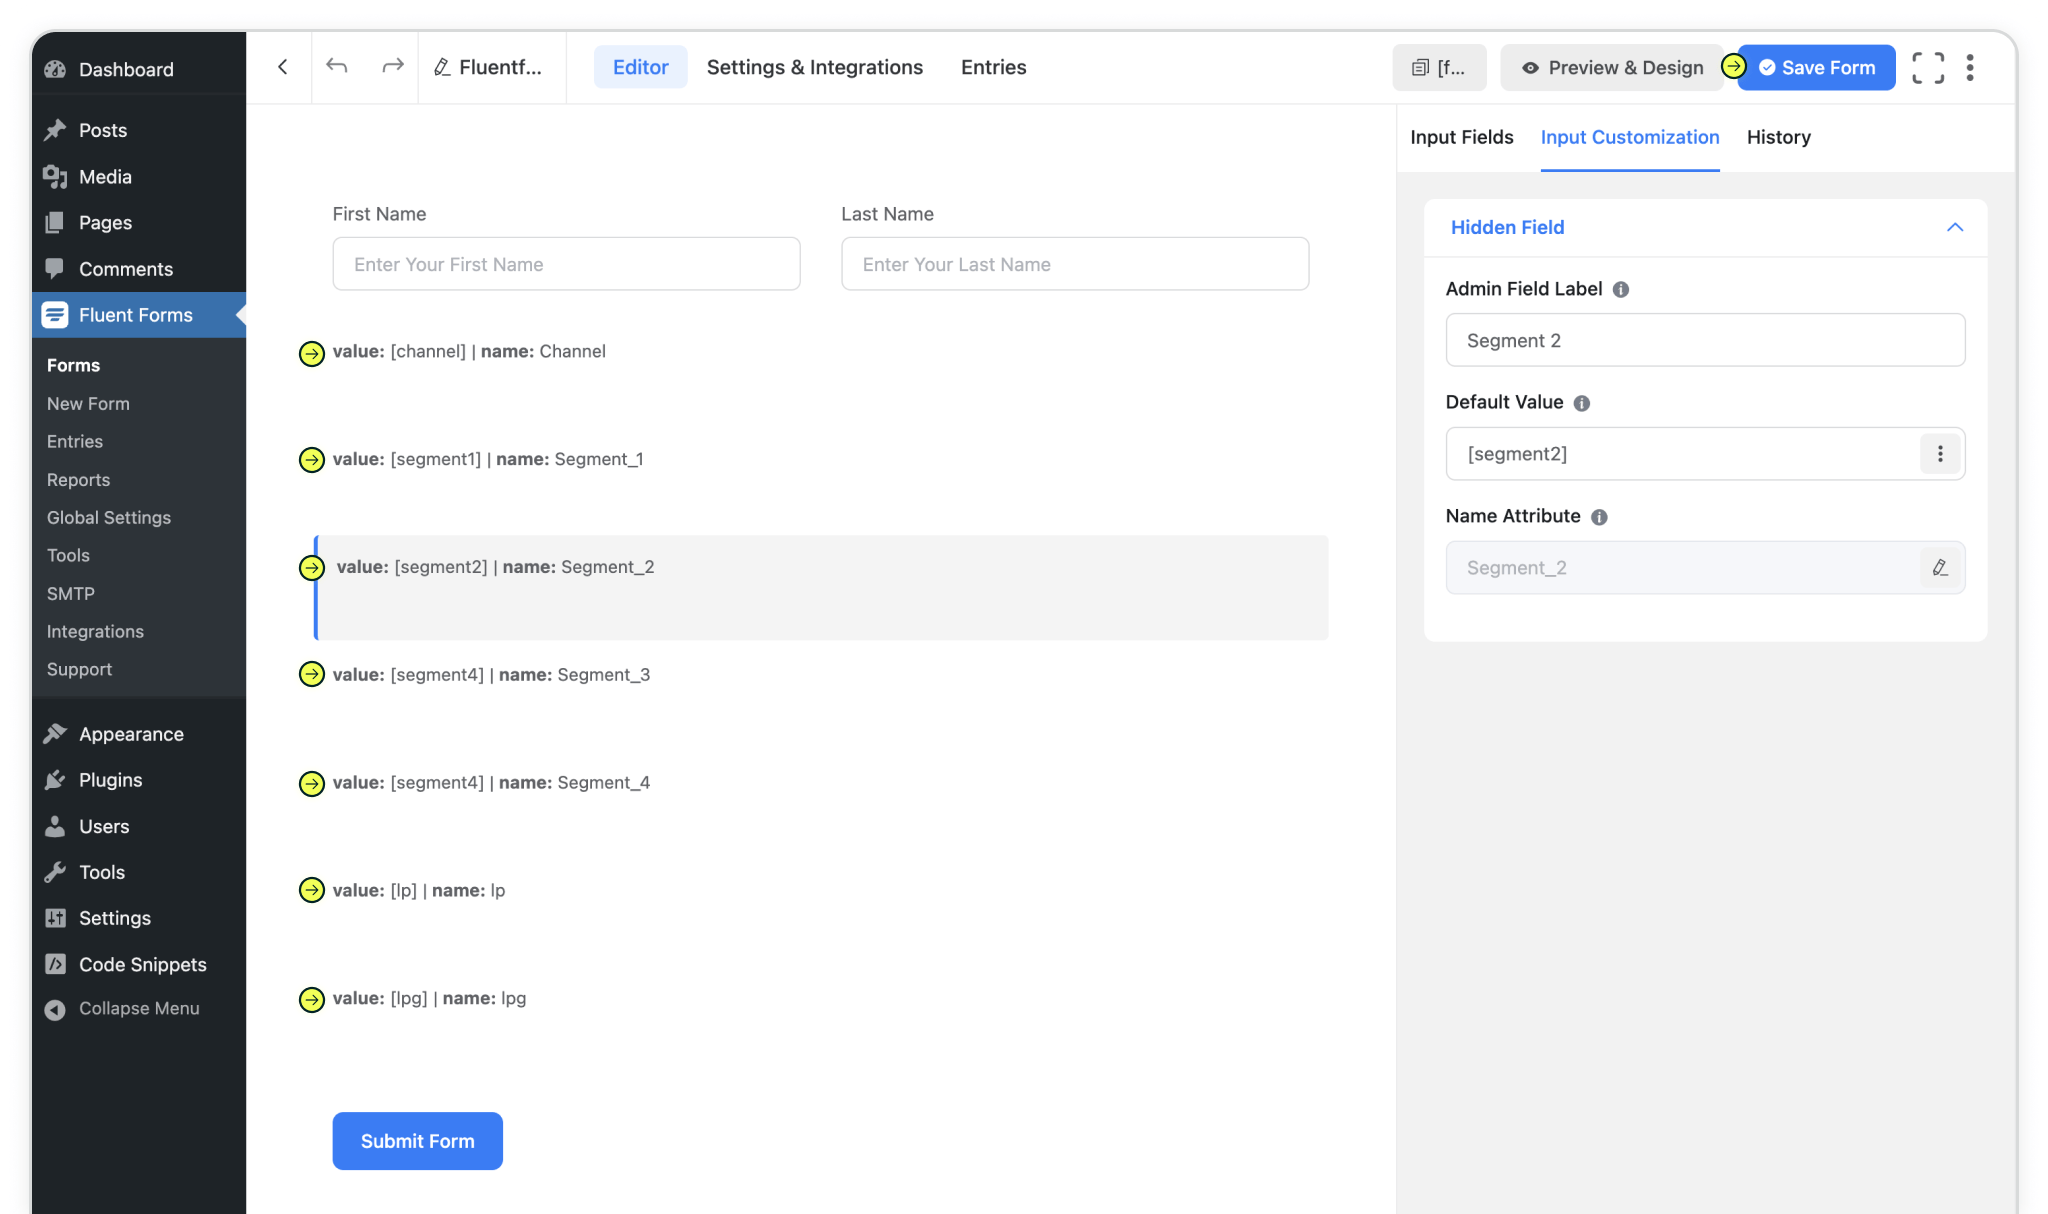
Update your forms with additional fields that capture how visitors found your site and what brought them there. Once collected, this data can be sent to your CRM or marketing tools to give you an even clearer picture of which channels are driving leads, customers, and revenue. Configuring form fields vary depneing on the form builder, integration specific instruction can be found in our support articles.
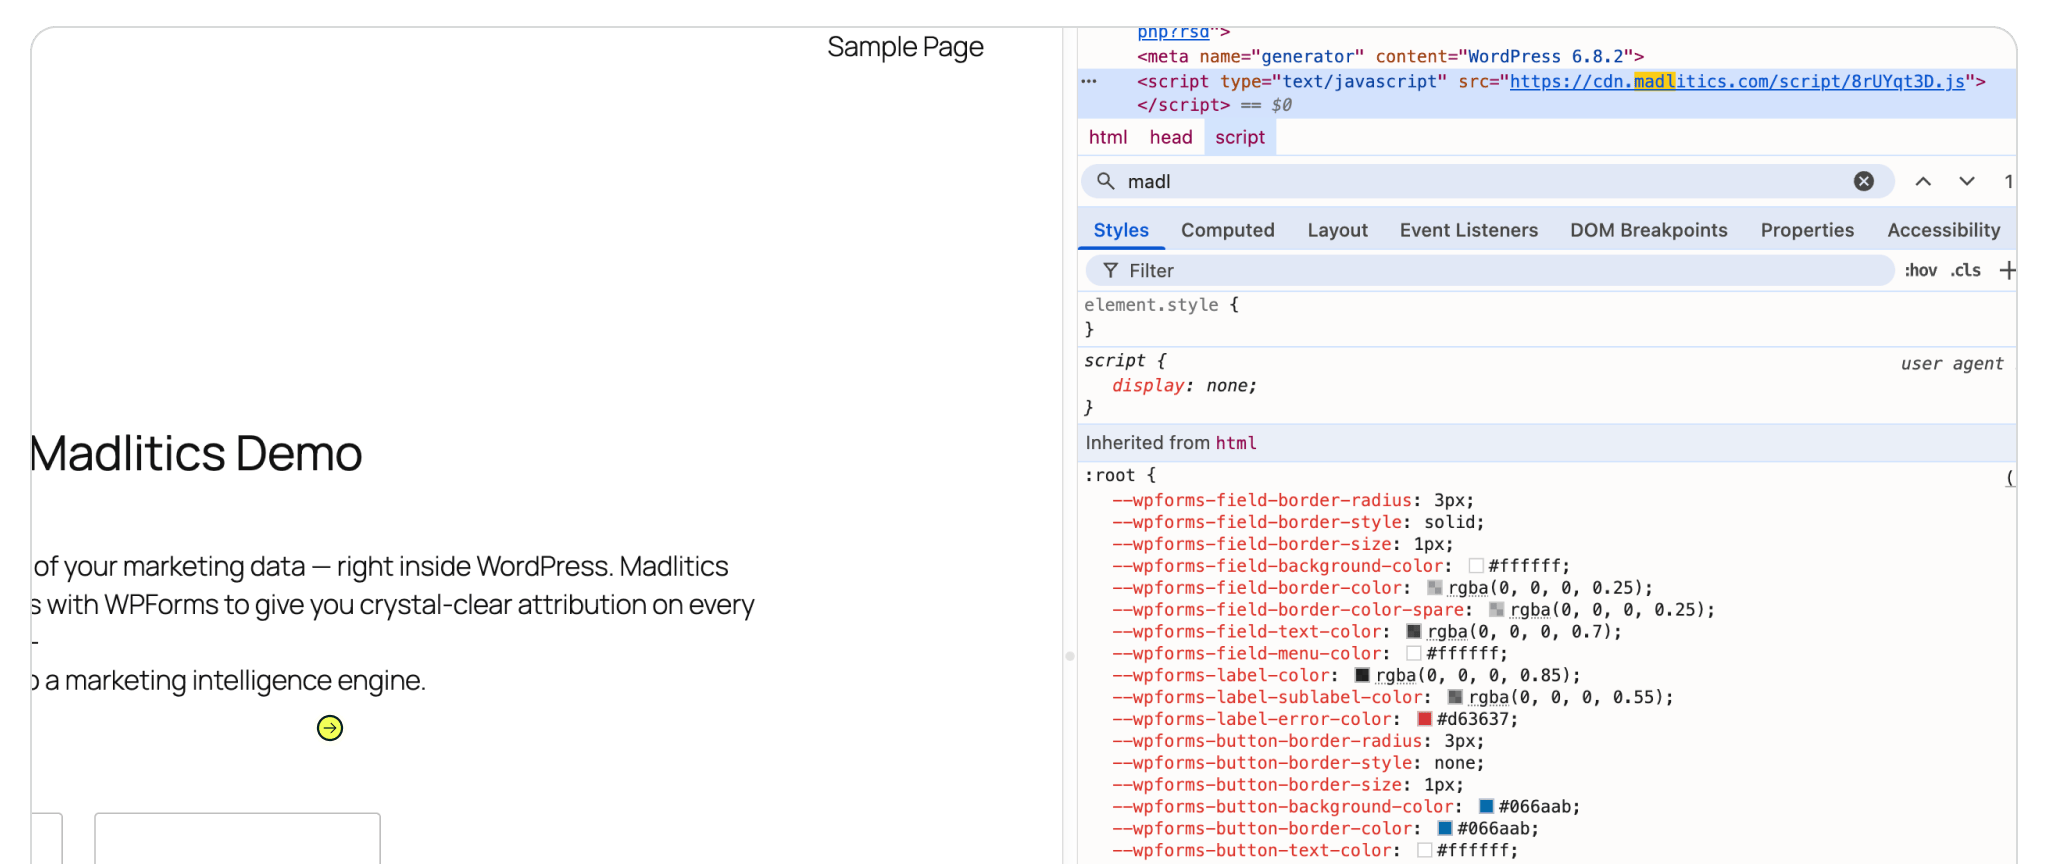
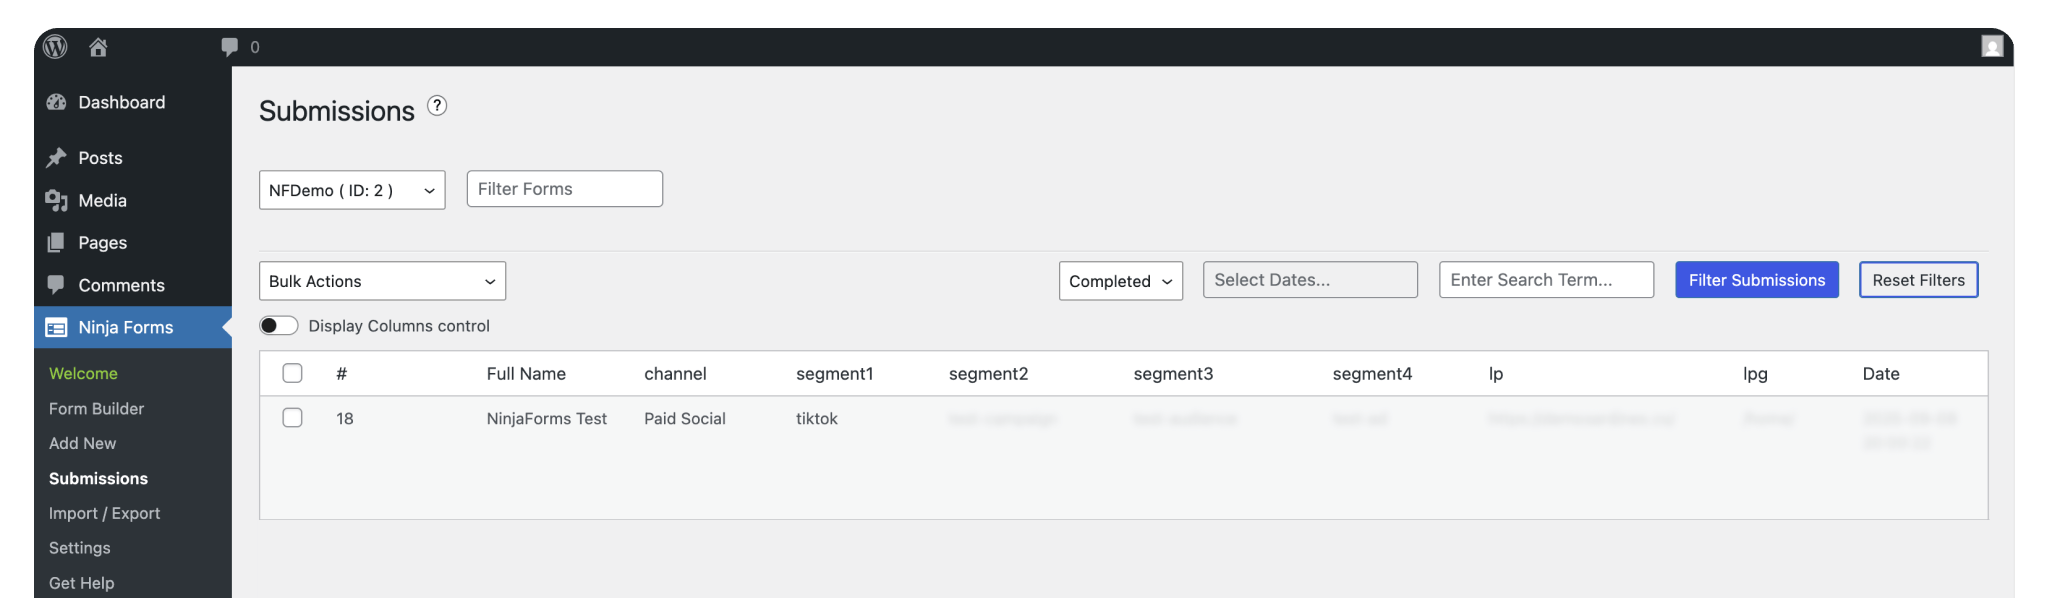
4: Test your implementation
Once you’ve deployed your changes, check that the script is active. Visit your site in a browser, right-click anywhere on the page, and select Inspect. (Or hit Cmd + Option + I on Mac or Ctrl + Shift + I on Windows.) Go to the Elements tab and scroll up to the <head> section. If your Madlitics script is there — you’re good to go. Submit a test lead through your form setup to ensure the Madlitics fields are passing into the submission record.
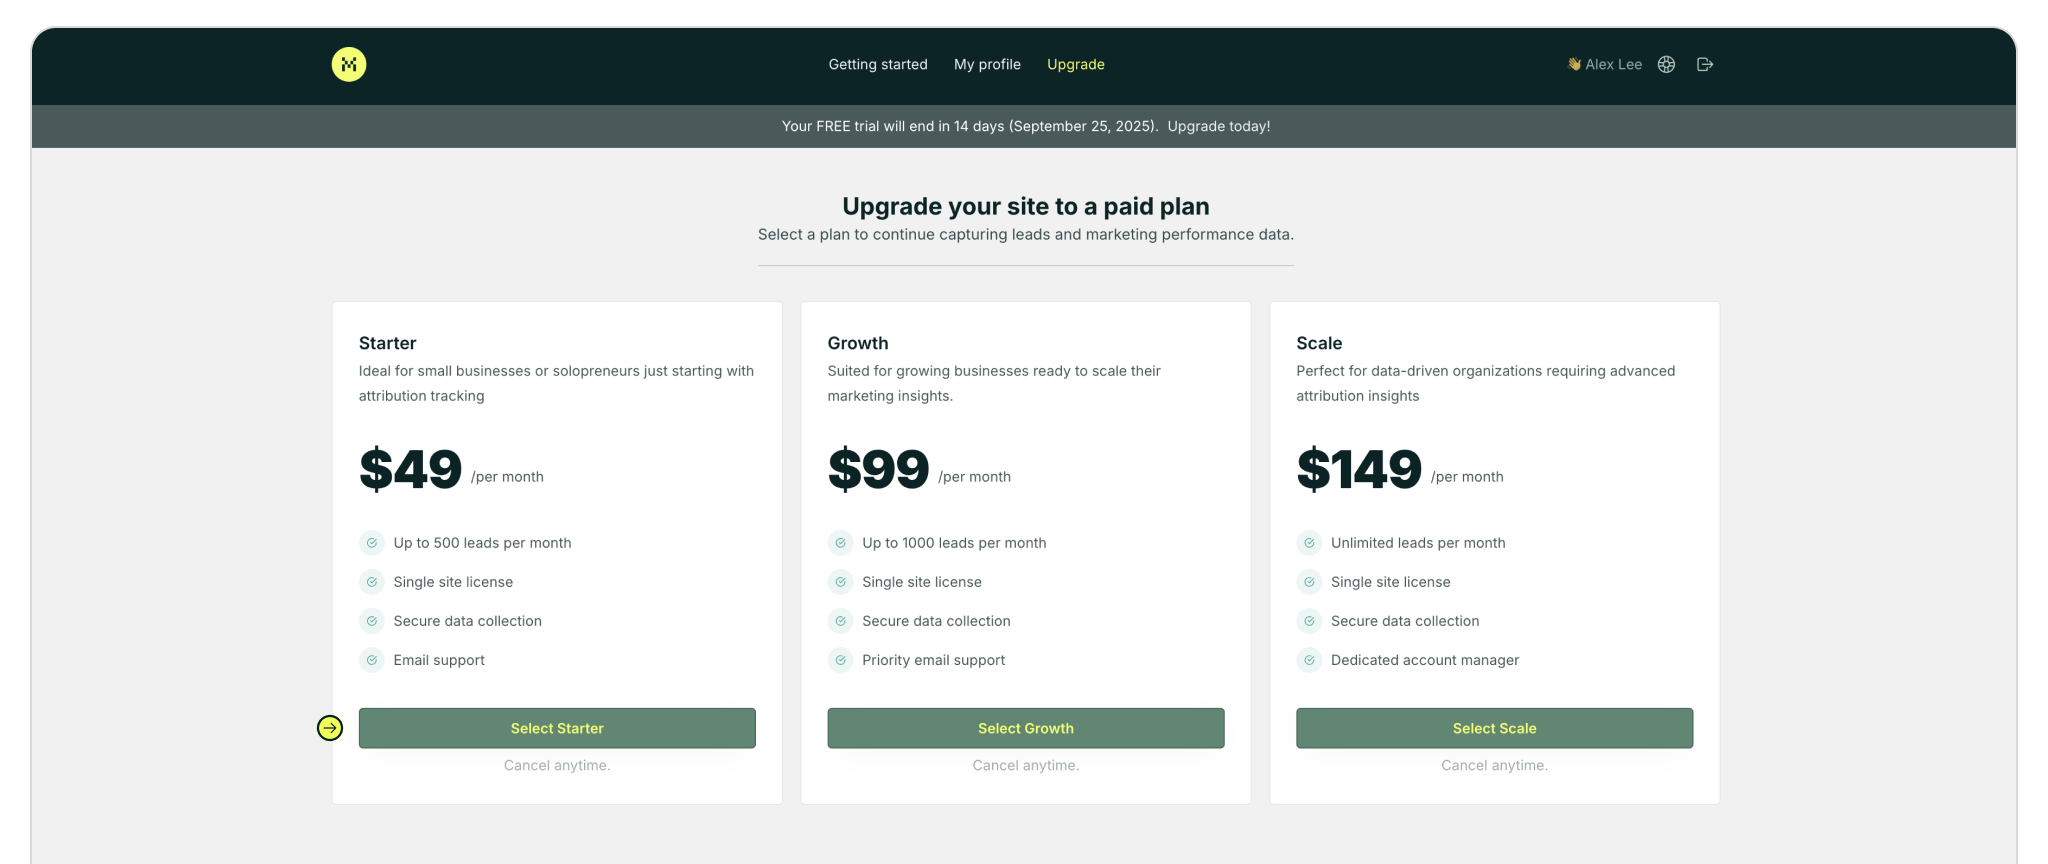
4: Upgrade your plan
Madlitics starts with a free 14-day trial so you can see attribution in action. When you’re ready to scale, upgrade to a paid plan to unlock higher lead limits, support for multiple domains, and see which campaigns are driving revenue!


Answers to your top questions about our platform