Support
Setting up Webflow Forms for Marketing Attribution and UTM Tracking
Step-by-step setup to add Madlitics fields to Webflow Forms so every response includes channel, campaign, and landing page attribution.
Start capturing attribution →
Webflow is a modern website builder loved by designers, marketers, and small businesses for its clean design system and visual development interface. With Webflow, you can launch fully custom websites without ever writing code—but when you do need to add custom scripts, like analytics or attribution, it offers simple tools to do just that.
In this guide, we’ll walk you through how to add a custom code snippet—like the one used by Madlitics—to your site’s <head> tag using Webflow’s Custom Code settings. Once installed and published, this snippet will load across all pages of your site, allowing you to capture clean, accurate attribution data from every visitor.
💆 Heads-up: Make sure Madlitics is installed on the site where this Webflow form lives (ie. Webflow). The form alone won’t capture attribution data — Madlitics needs to be running on the page to pass lead data into your submissions. Install Madlitics on Webflow ->
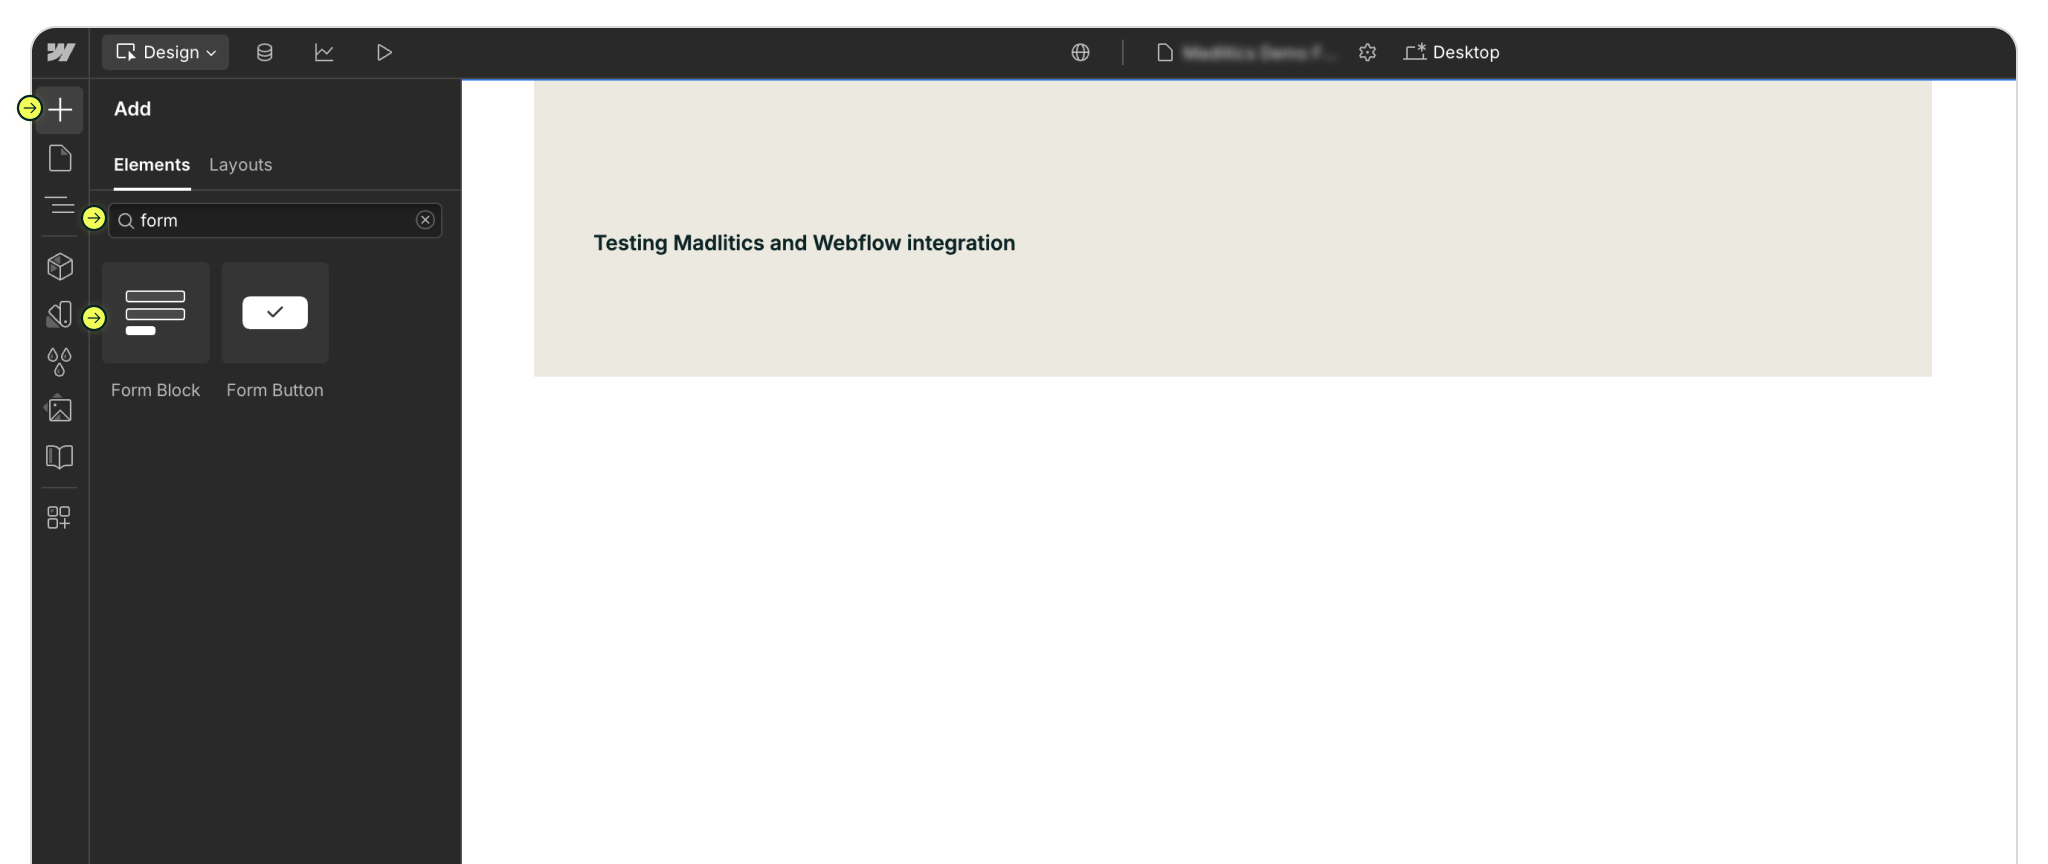
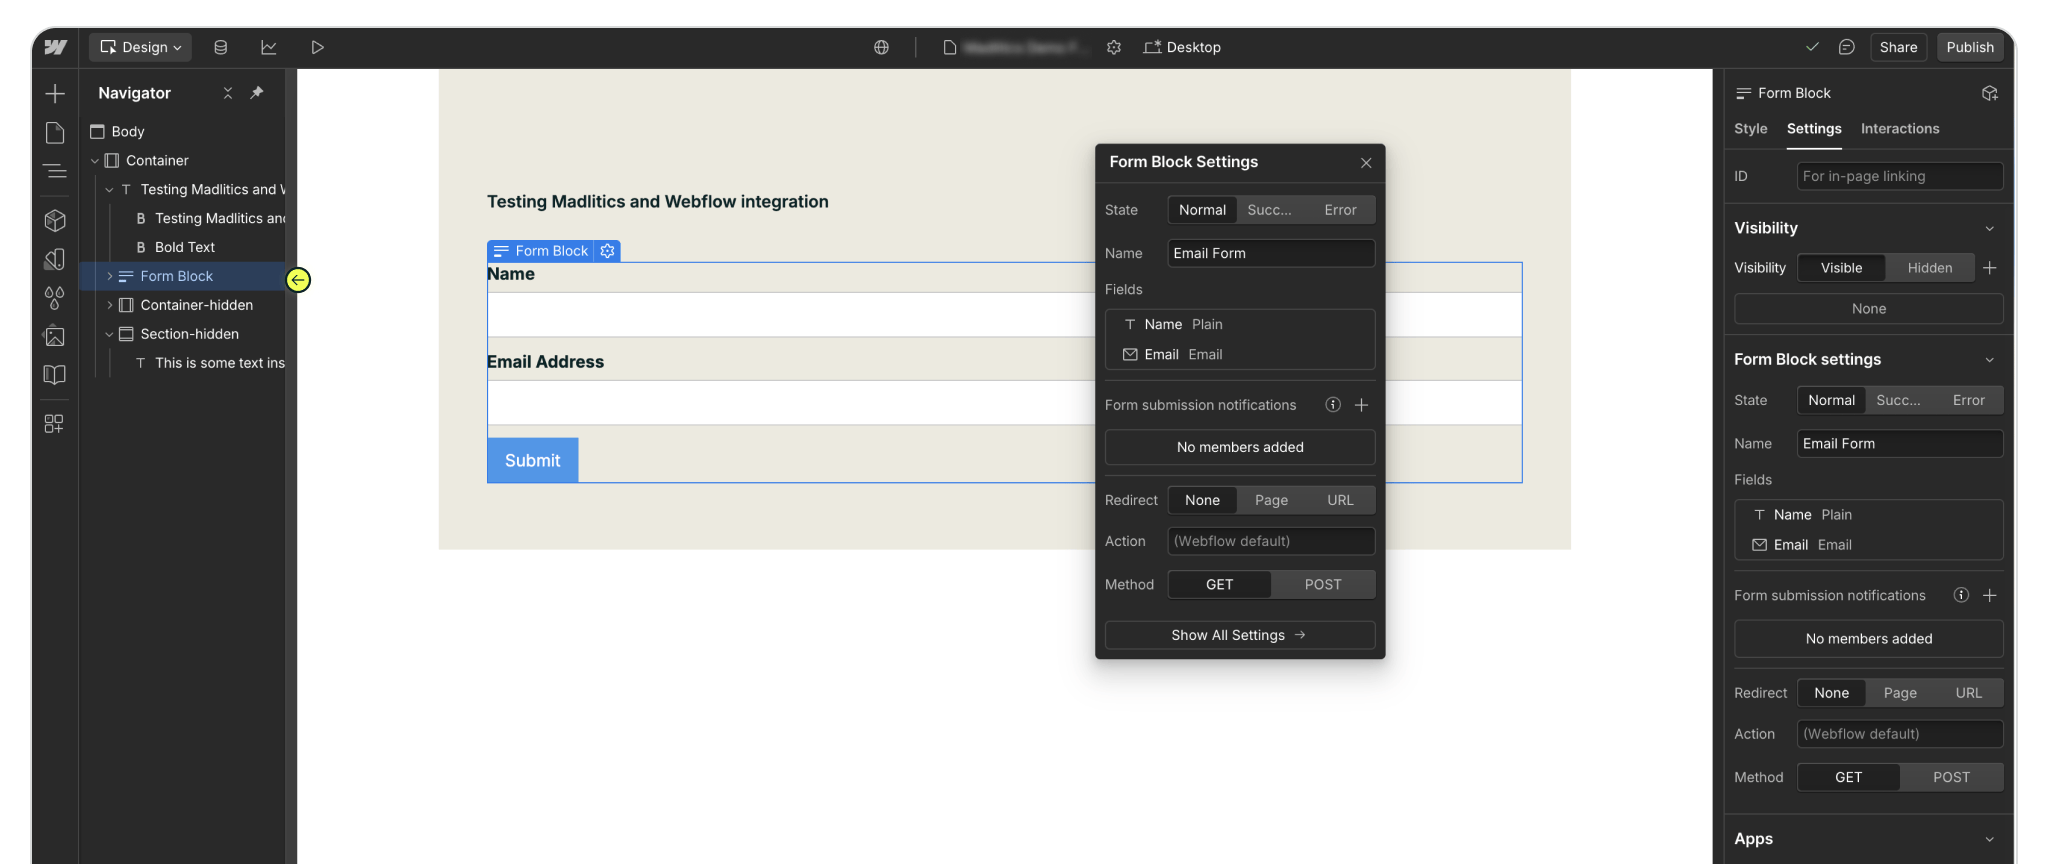
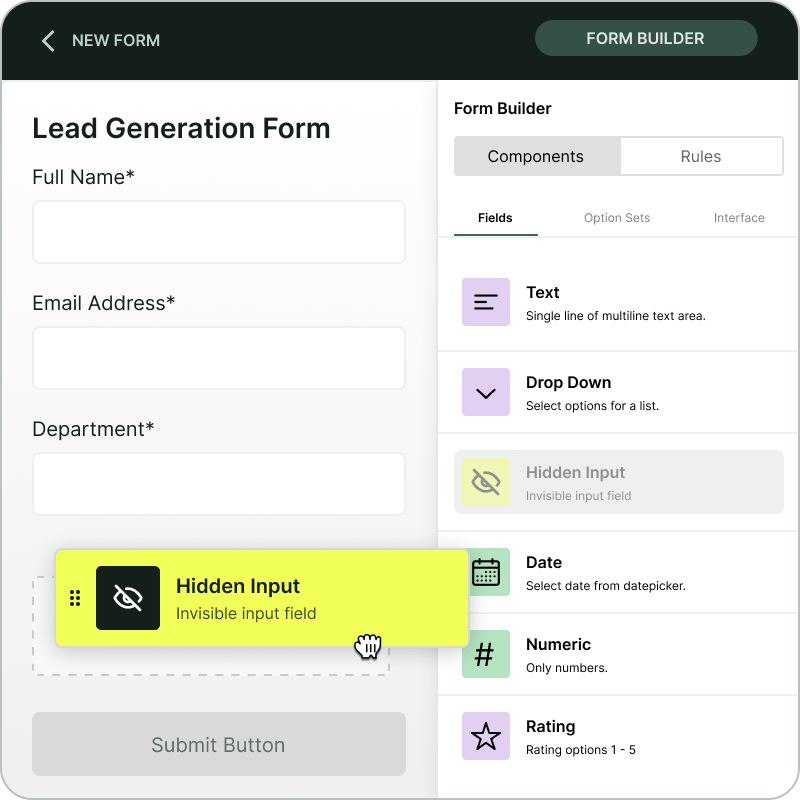
Start by opening the Webflow Designer and pulling in a form block. You’ll find it in the Add Elements panel, or just type “form” into the search bar to bring it up right away. Drag the form block onto your page wherever you’d like it to appear—this will be the foundation for capturing lead details along with your Madlitics attribution data.
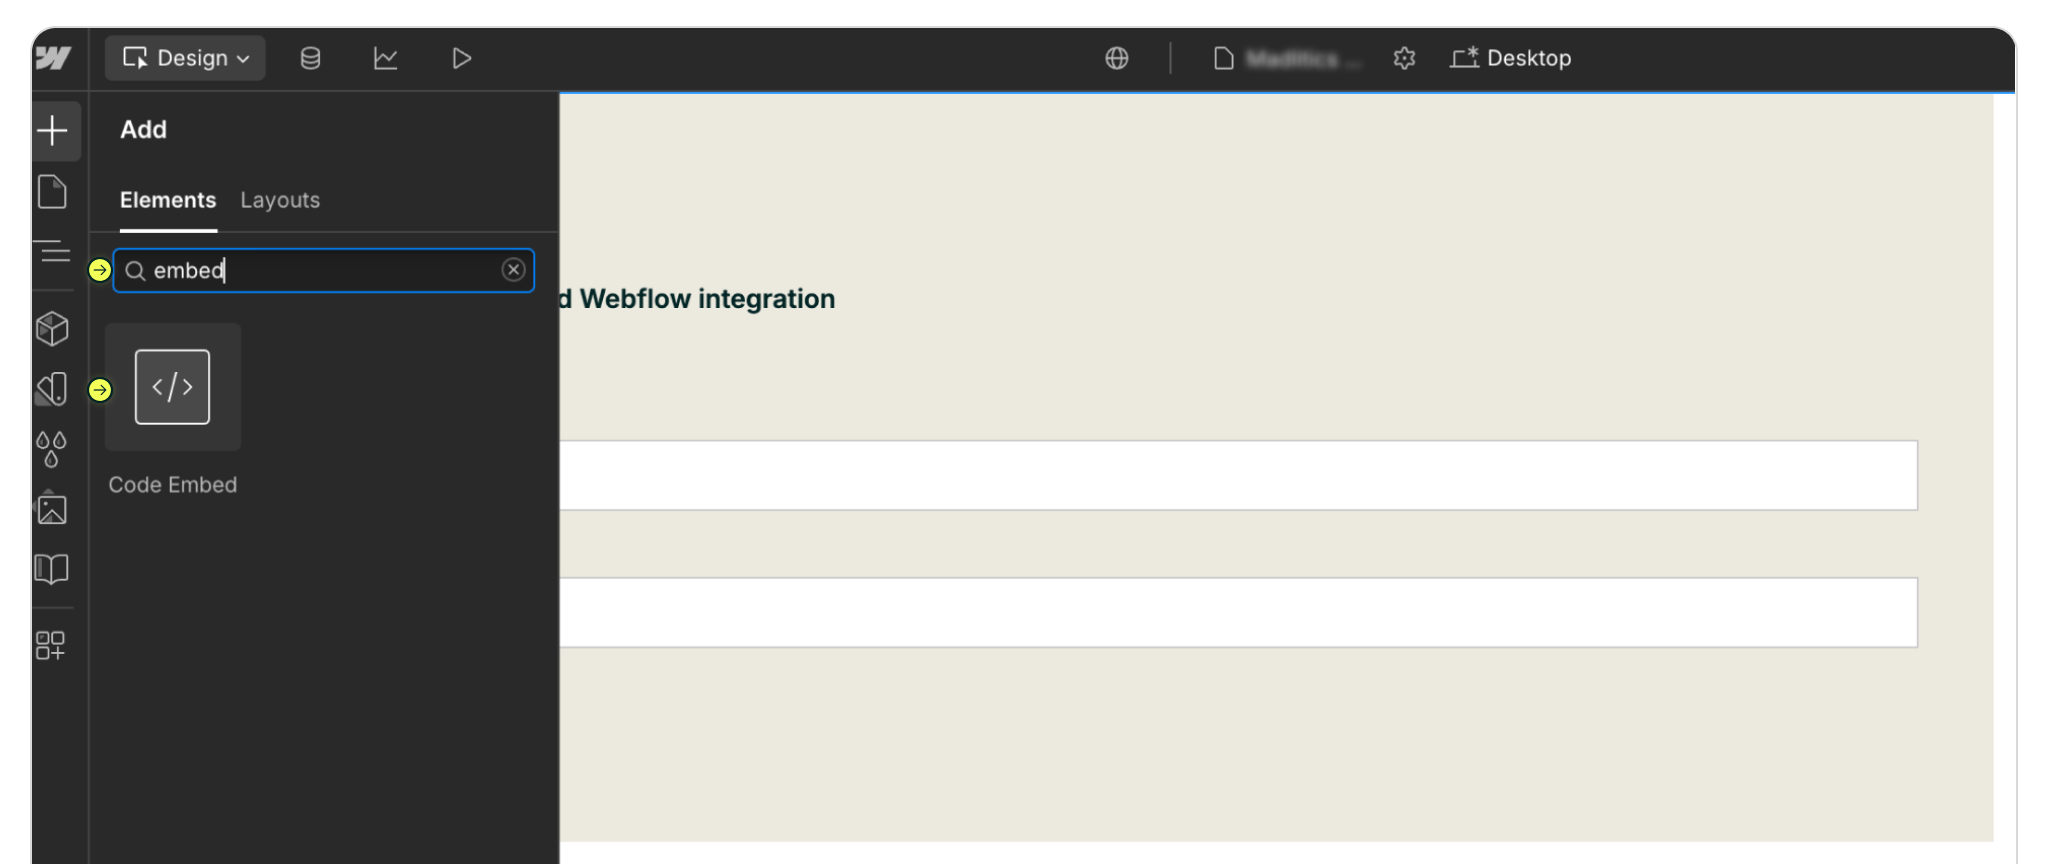
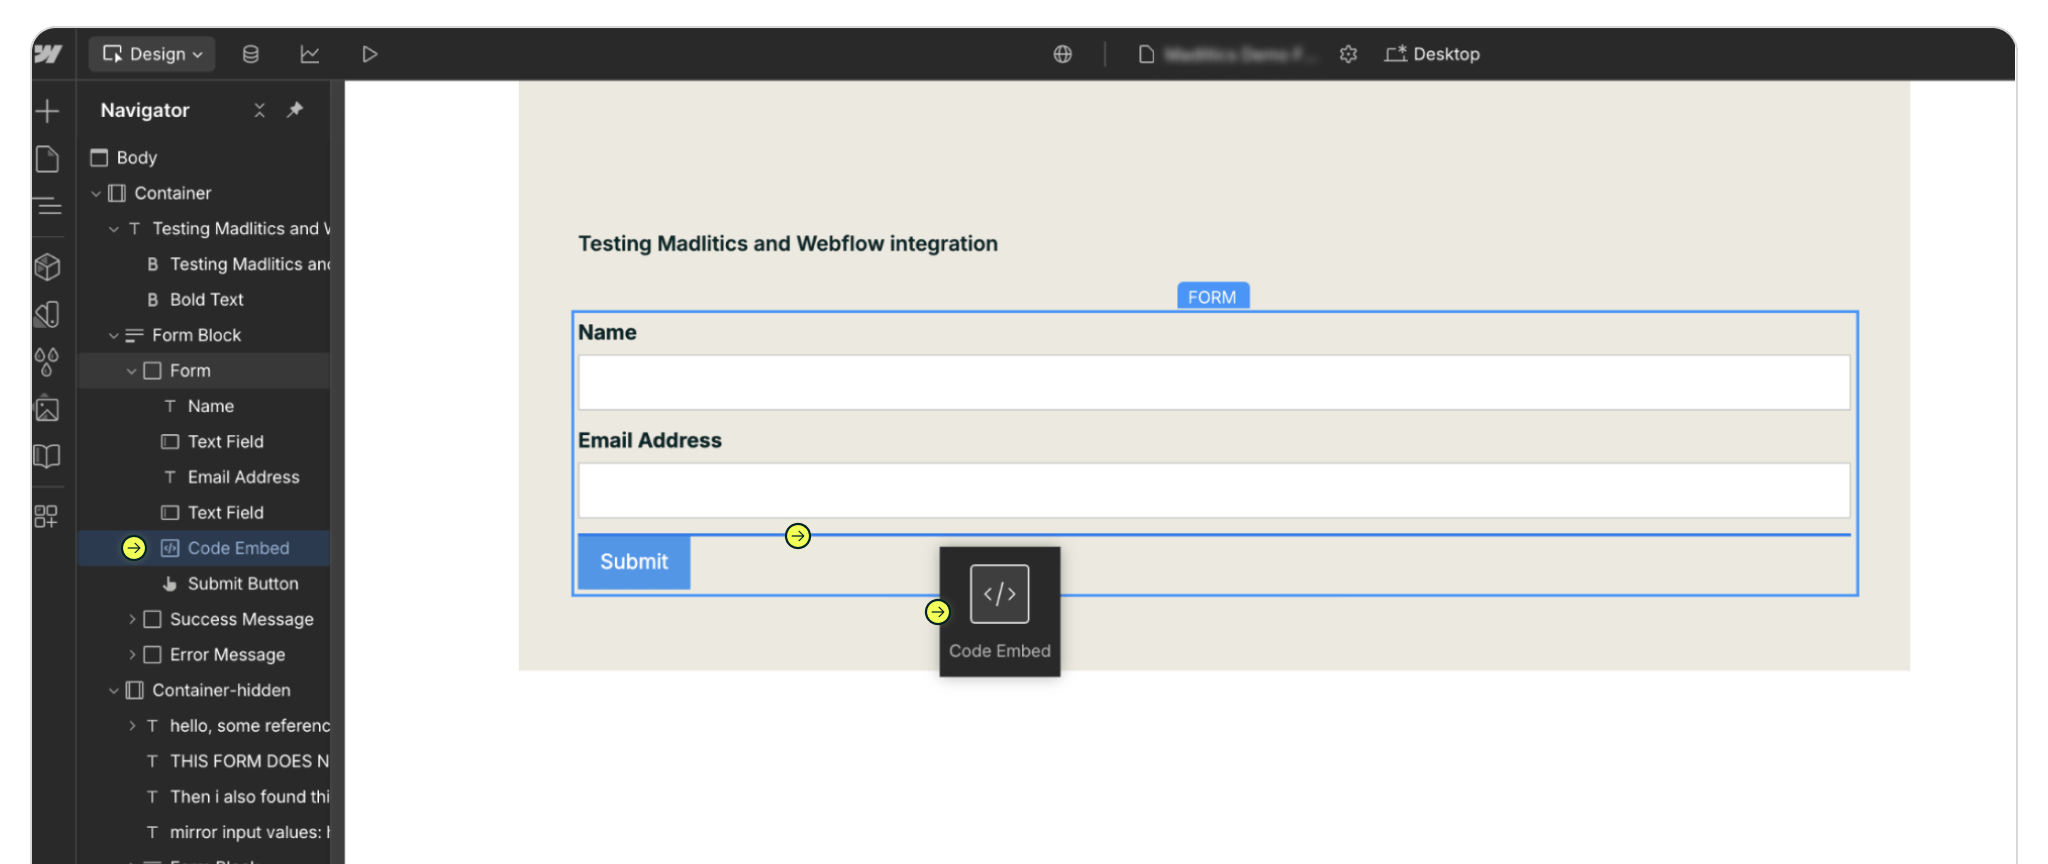
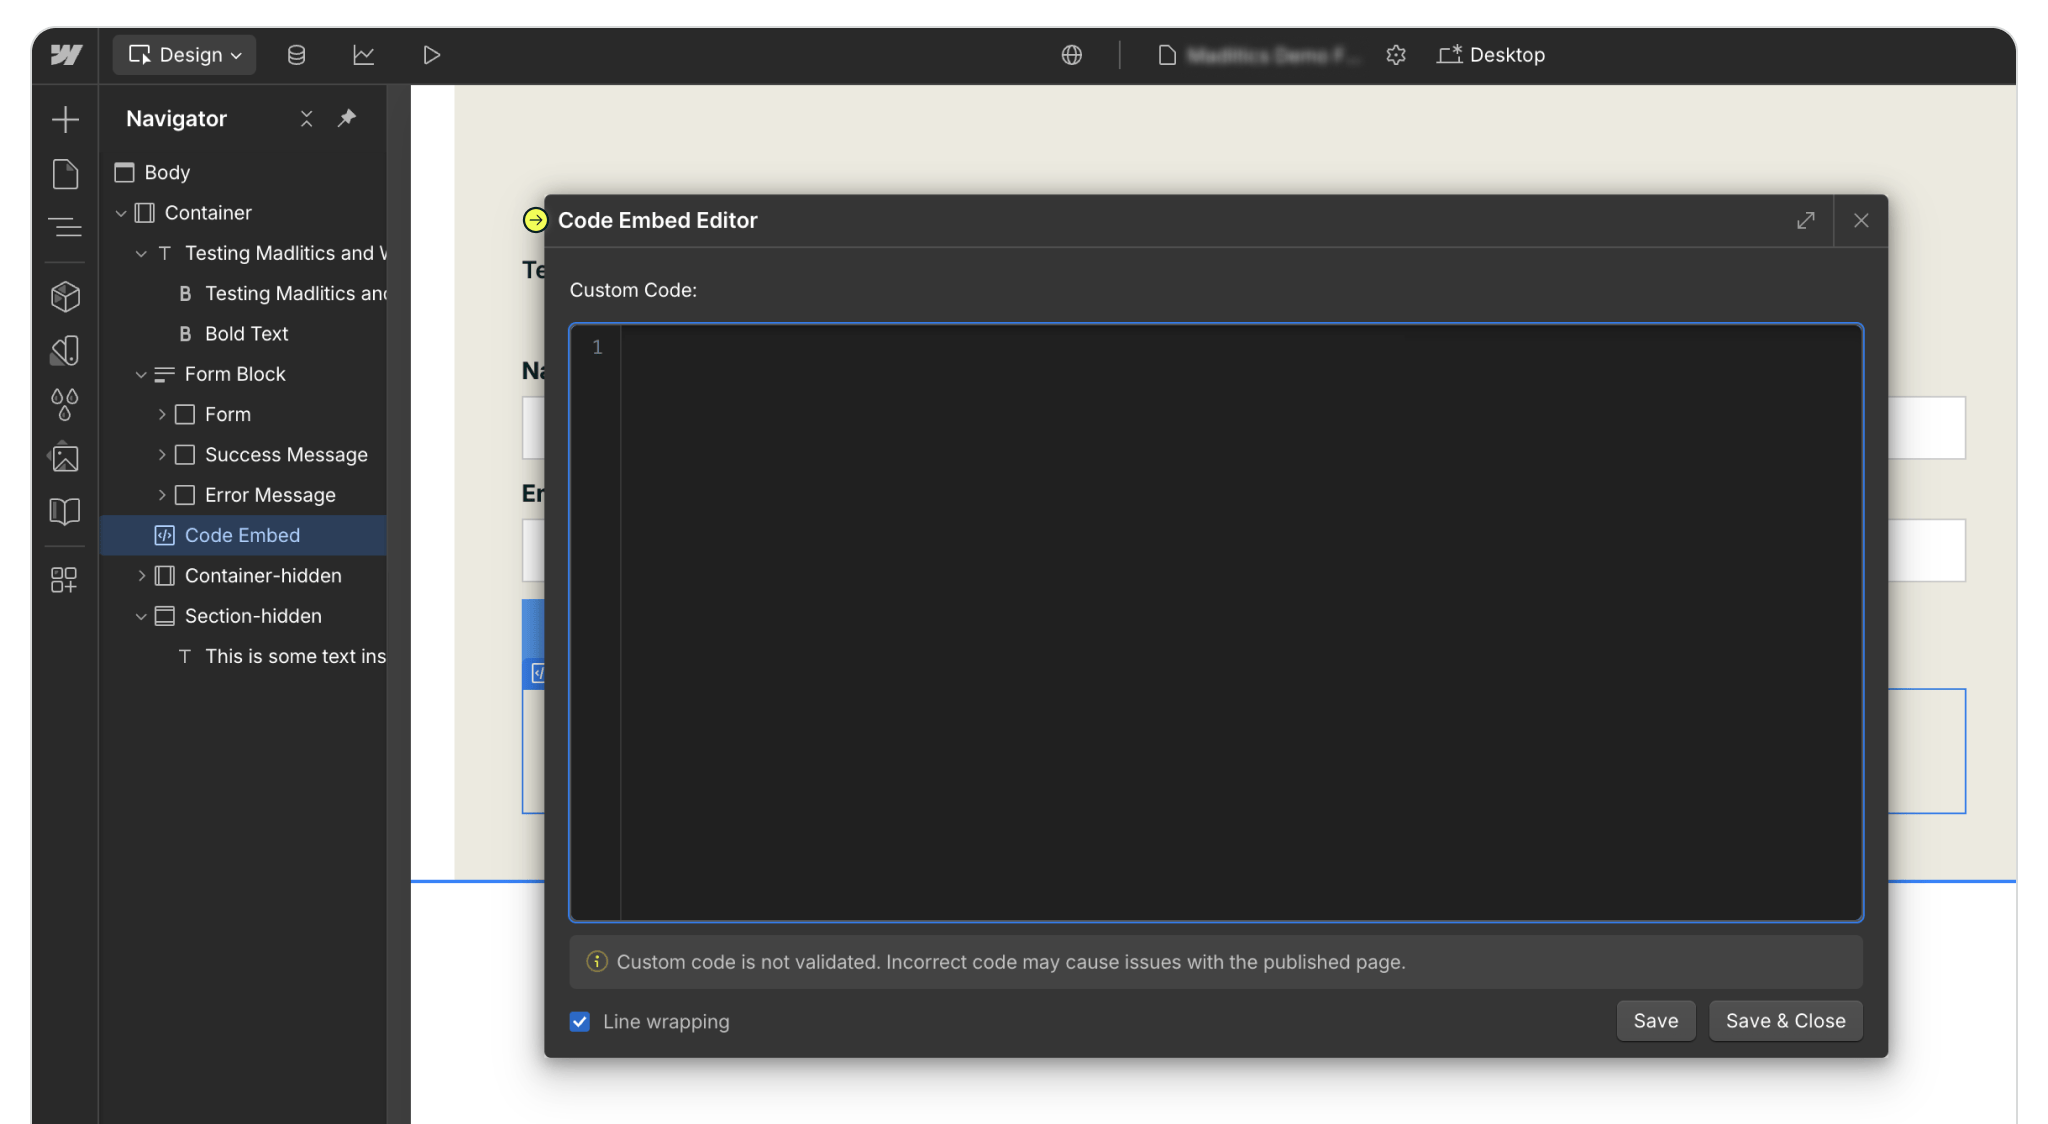
With your form in place, it’s time to prepare it for Madlitics. Open the Add Elements panel again and look for Embed Code. Drag it into your form, making sure to place it just above the Submit button. If you’re not sure about positioning, check the Navigator panel on the left—it shows the full form structure and makes it easy to confirm the embed sits neatly above Submit.
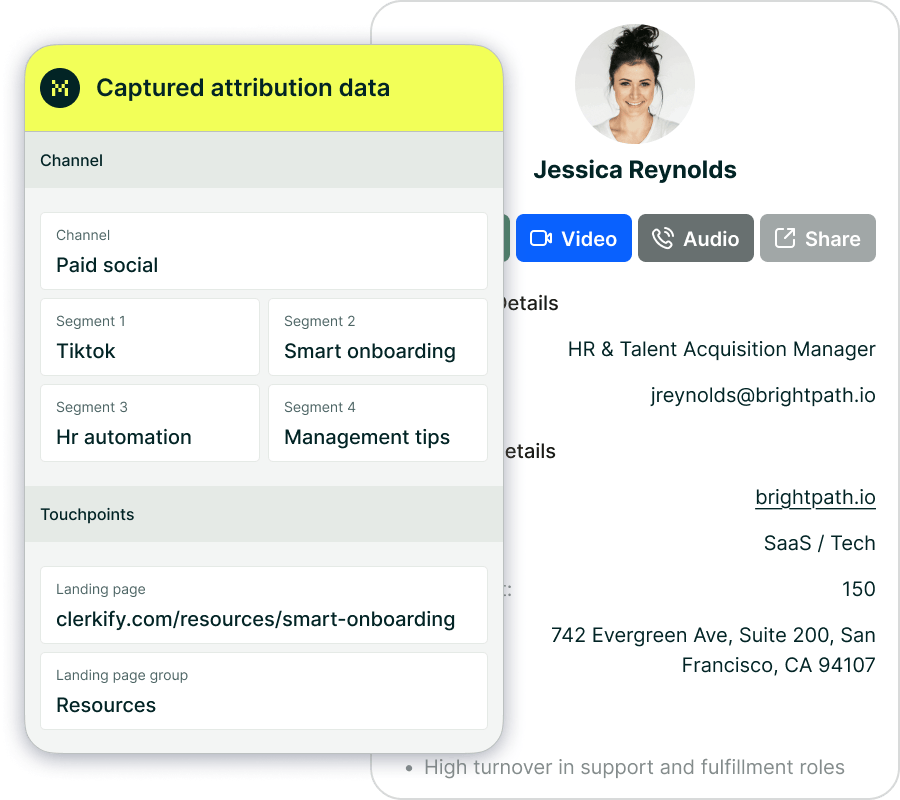
Click on the Embed you just added and open the code editor. This is where you’ll paste in the full block of Madlitics fields that handle attribution data for every submission. Drop in the snippet below and save your changes — the fields won’t appear visually in your form, but they’ll quietly capture details like channel, segments, and landing page for each lead. Configure additional Madlitics field value pairs for deeper customization and richer insights.
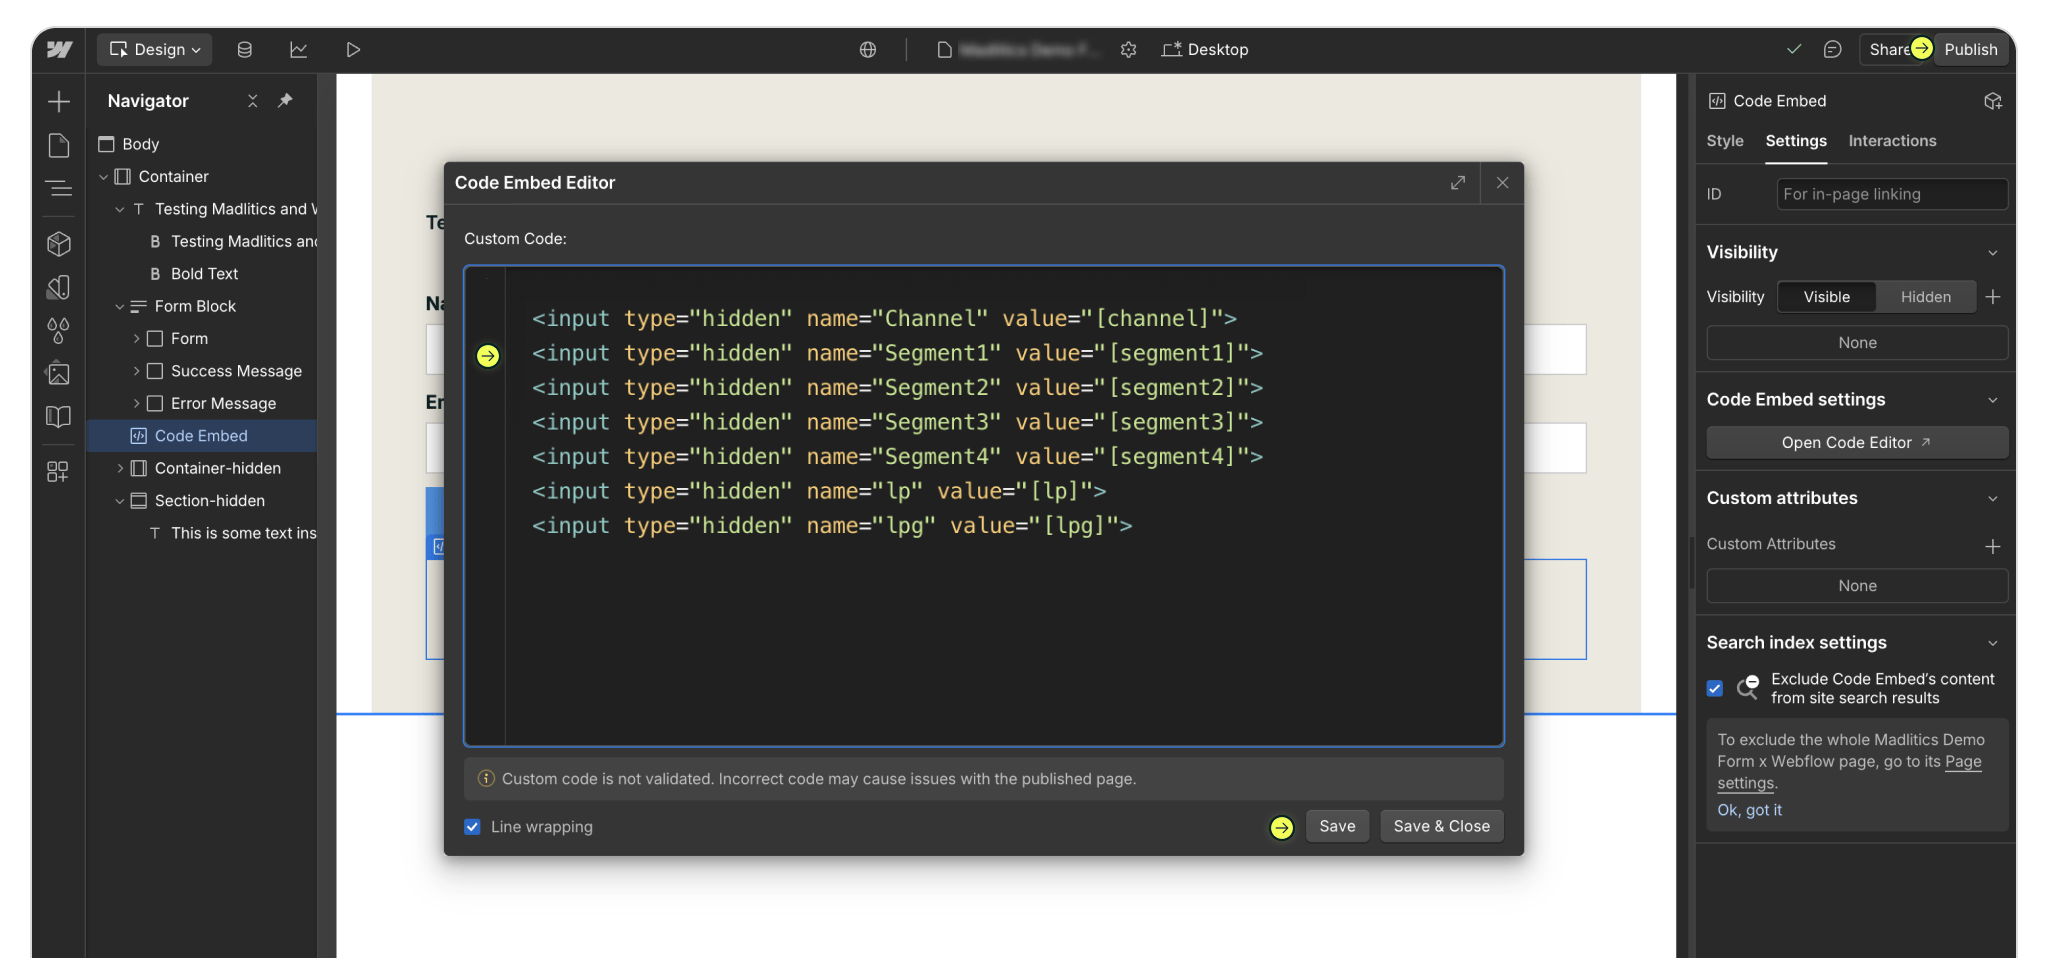
<input type="hidden" name="channel" value="[channel]">
<input type="hidden" name="segment1" value="[segment1]">
<input type="hidden" name="segment2" value="[segment2]">
<input type="hidden" name="segment3" value="[segment3]">
<input type="hidden" name="segment4" value="[segment4]">
<input type="hidden" name="lp" value="[lp]">
<input type="hidden" name="lpg" value="[lpg]">
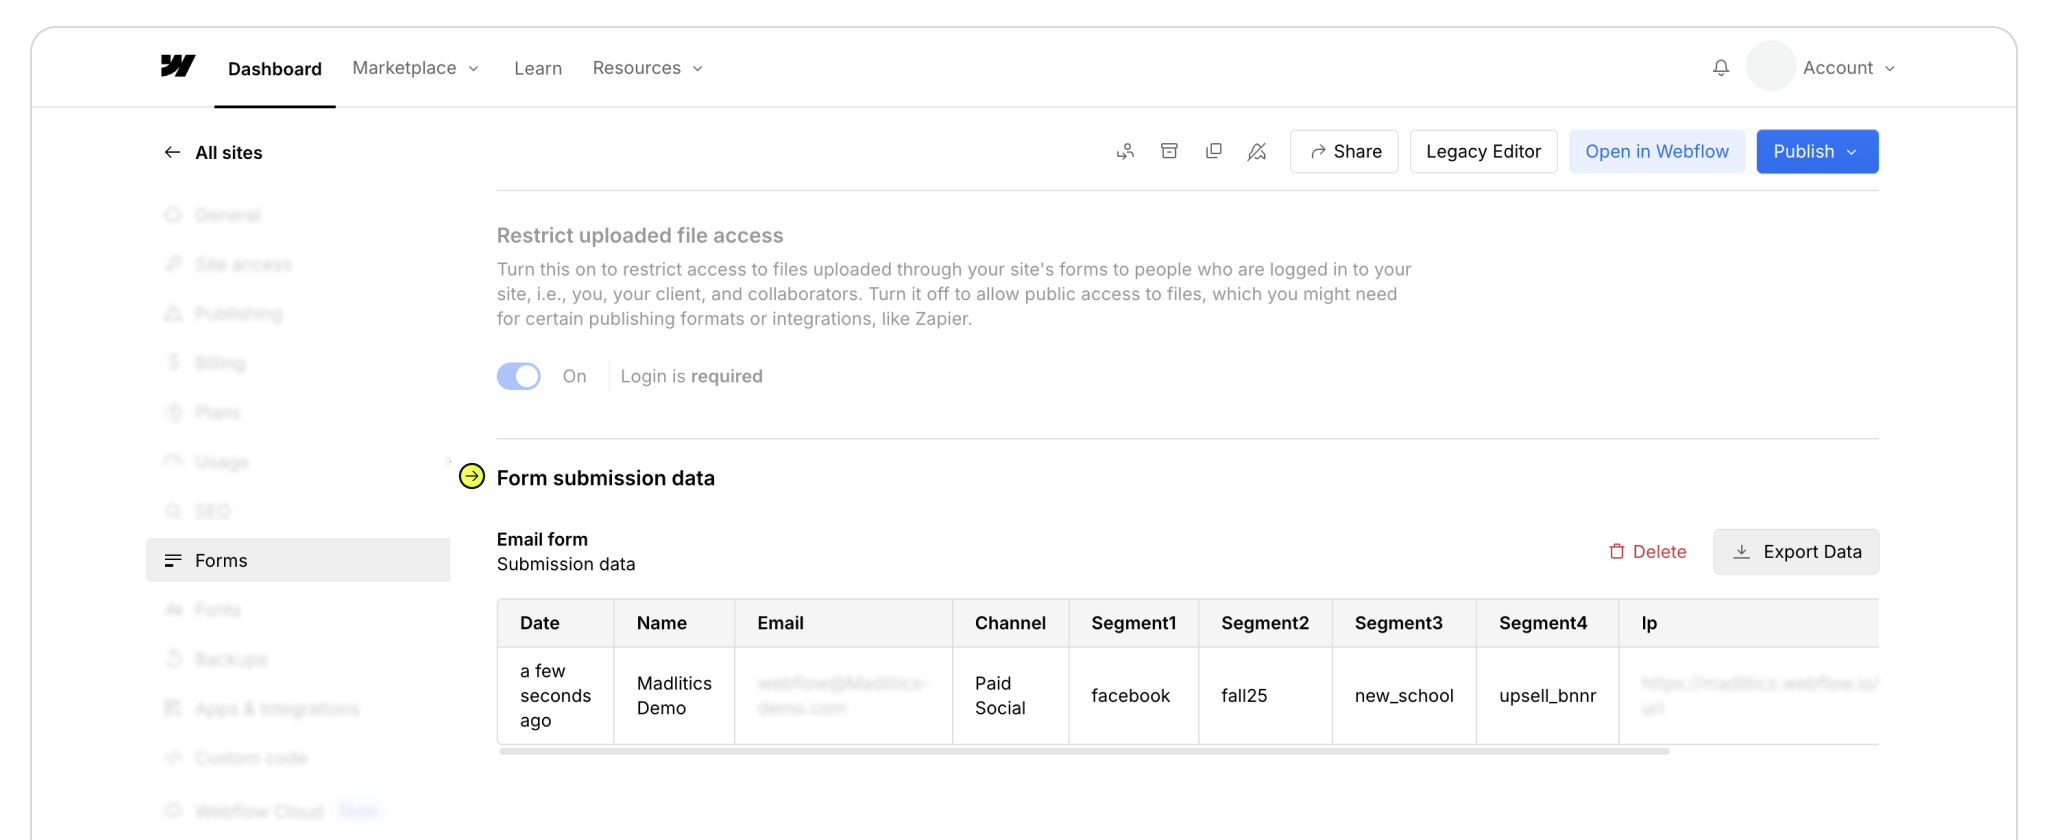
Once your fields are in place, publish your site so everything goes live — scripts like Madlitics don’t run in preview mode. Open the published page, fill out the form yourself, and check the submission in your Webflow Forms dashboard. You should see attribution data like channel, campaign, and landing page captured alongside the lead details. That’s your confirmation that Madlitics is up and running.


Webflow makes it easy to launch fully custom sites — and its Forms component is flexible enough to capture rich marketing context. By integrating Madlitics with your Webflow forms, attribution data is collected at submission and passed along with each lead, giving your team clean, first‑party insights in your CRM and sales tools.
If you have any questions or need help getting set up, our team is ready to support you. Reach out, and we’ll walk you through it.
Answers to common questions about setting up Webflow and Madlitics