Support
Installing Madlitics on Webflow
How to add custom code to your Webflow site’s <head> using Madlitics
Start capturing attribution →
Webflow is a modern website builder loved by designers, marketers, and small businesses for its clean design system and visual development interface. With Webflow, you can launch fully custom websites without ever writing code — but when you do need to add custom scripts, like analytics or attribution, it offers simple tools to do just that.
In this guide, we’ll walk through two parts: first, creating your Madlitics account and grabbing your installation snippet, and then adding that snippet into Webflow’s Custom Code settings. Once installed and published, this snippet will load across all pages of your site, allowing you to capture clean, accurate attribution data from every visitor.
Prerequisite: Before you can install Madlitics, you’ll need to create a Madlitics account. Registration unlocks your dashboard, and copy the code snippet that powers attribution. This step only takes a minute and ensures you have everything ready before moving on to the platform-specific setup.
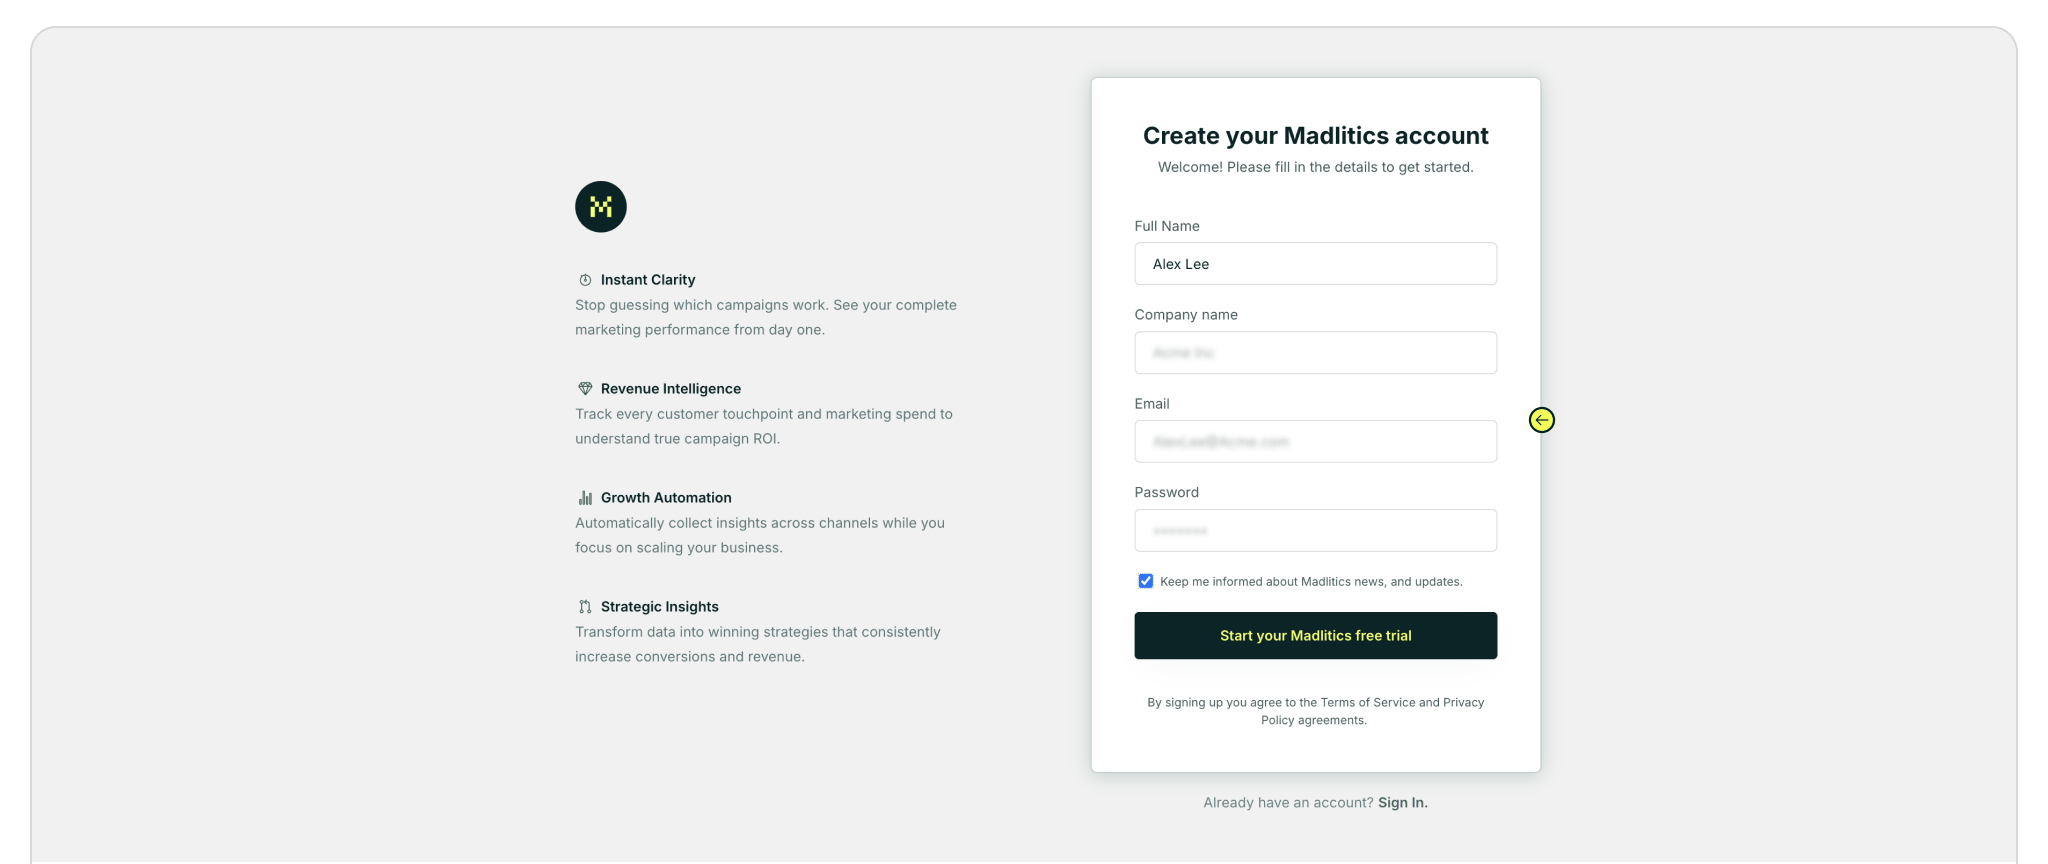
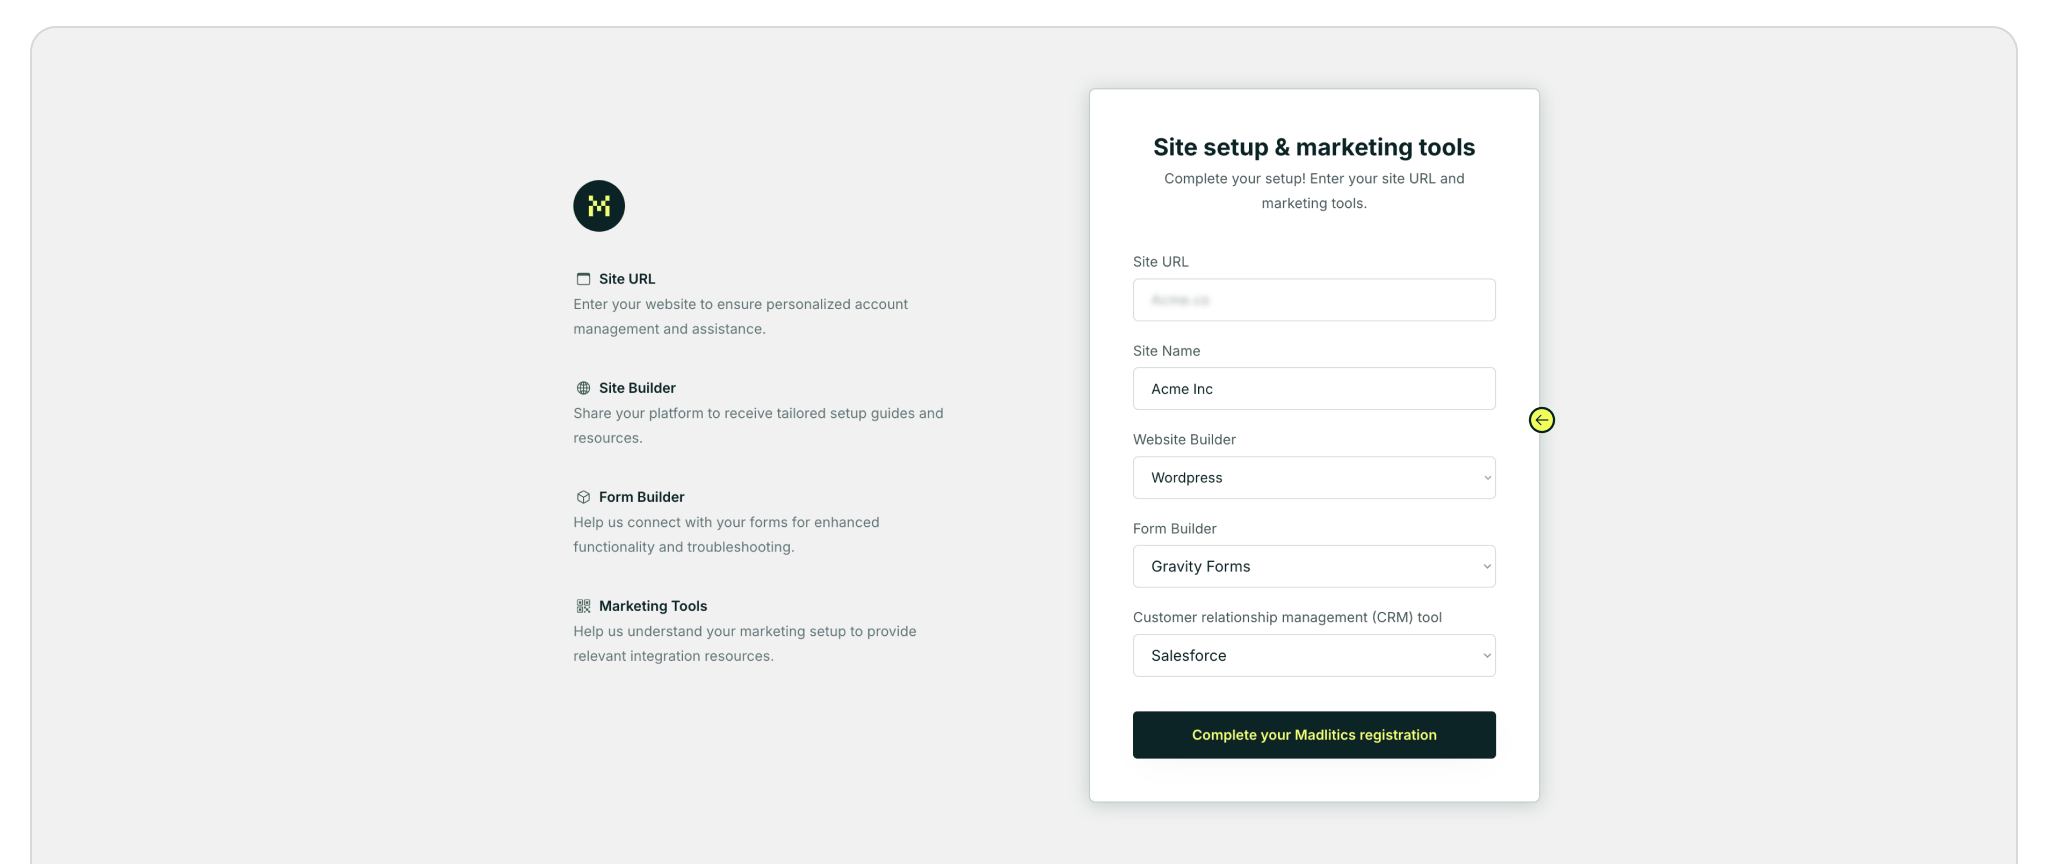
Step 1: Create your Madlitics account
Sign up for a free trial on the Madlitics website to get started. Creating an account unlocks your dashboard, where you’ll manage your sites, view analytics, and access the code snippet you’ll need to install.
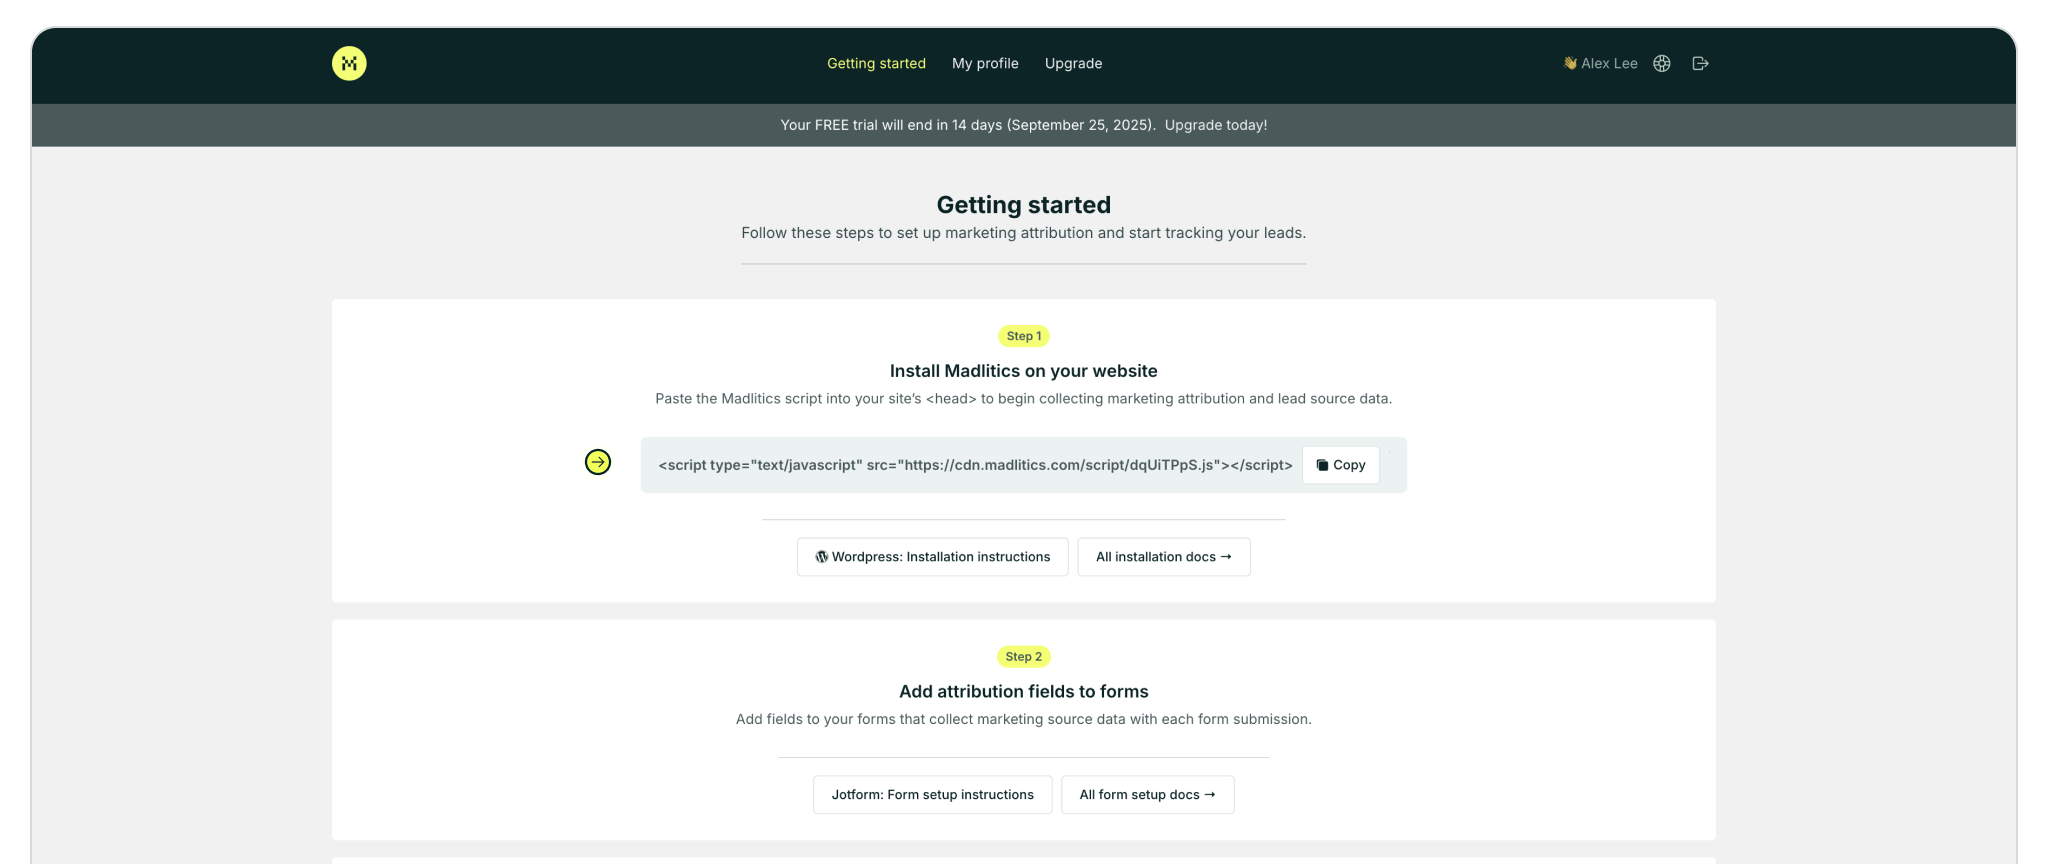
Step 2: Access your installation snippet
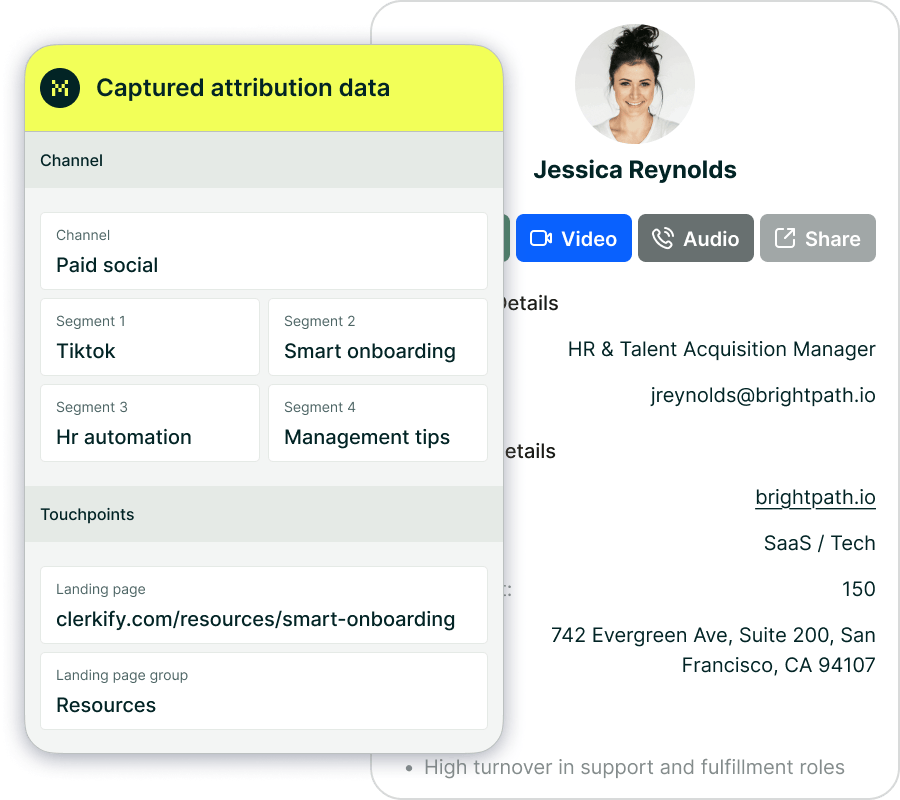
Once you’ve registered and logged in, you’ll land in your dashboard’s Get Started section. Here, you’ll find your unique Madlitics installation snippet, which is required to enable tracking on your site.


With your Madlitics snippet copied, the final step is adding it into Webflow so it loads across your entire site. Webflow makes this simple with its built-in Custom Code settings. By pasting the snippet into your project’s <head> section, you’ll ensure attribution runs on every page once the site is published.
Step 3: Add the Madlitics code snippet in Webflow
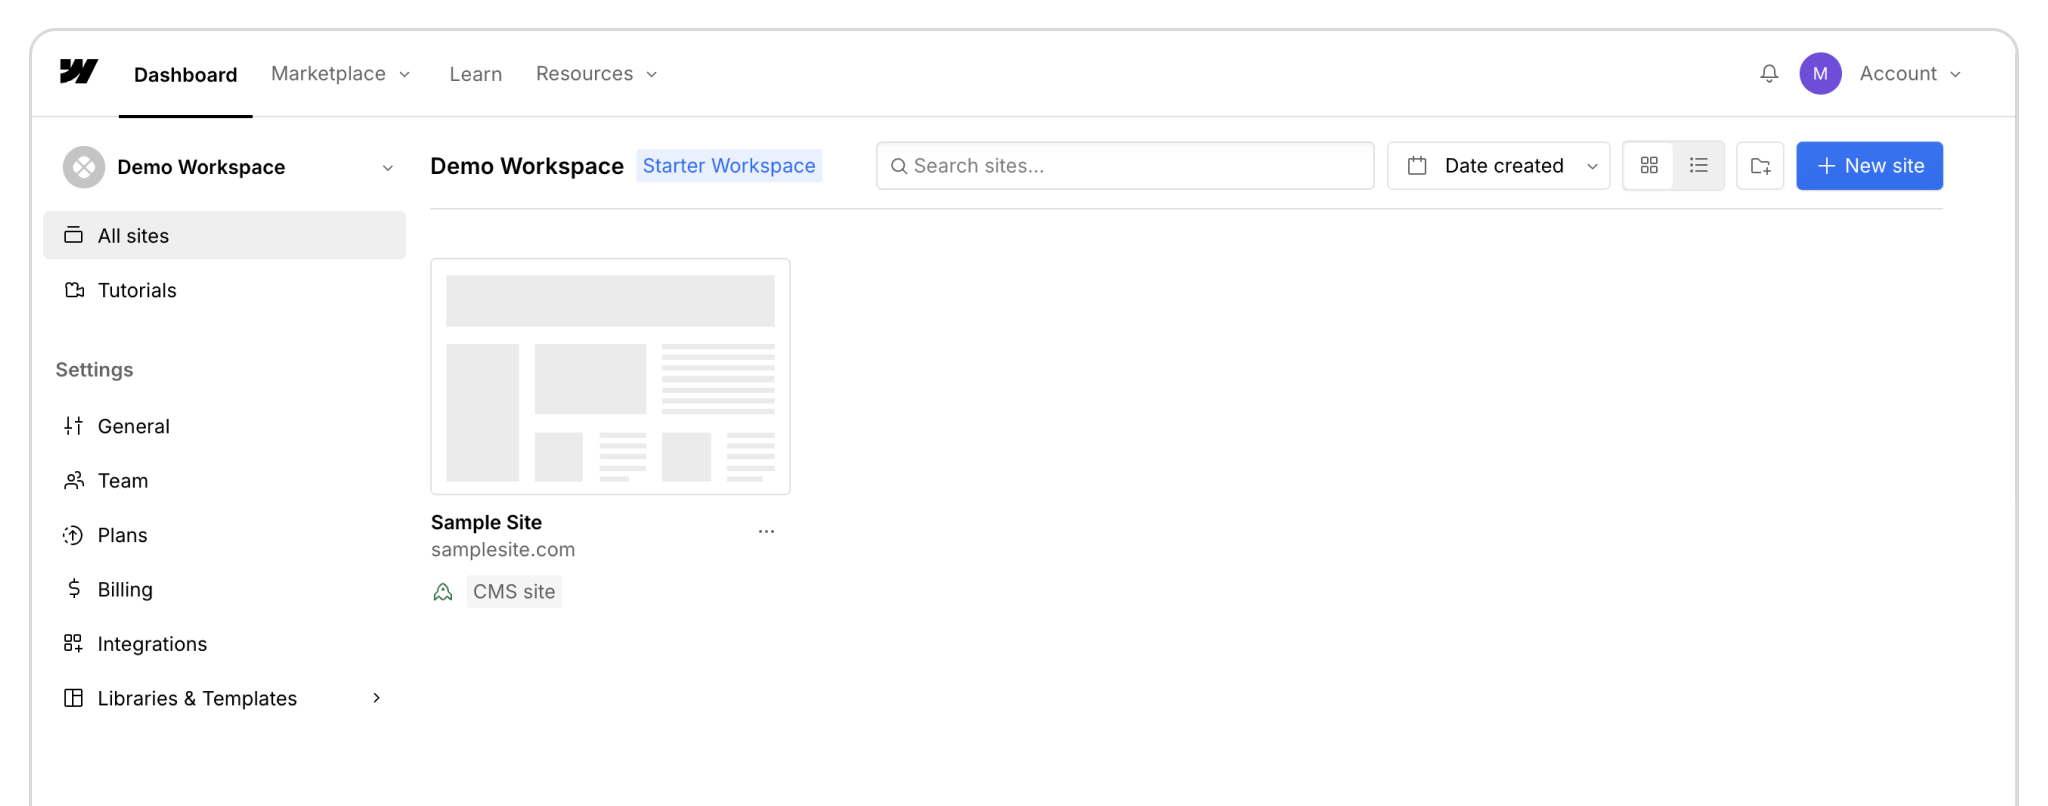
Now that you’ve got your code, open Webflow and head into Site Settings for the project you want to update.
From the Dashboard, locate the website you want to update.
a) You can either click the three dots (•••) and select Settings from the dropdown menu, or
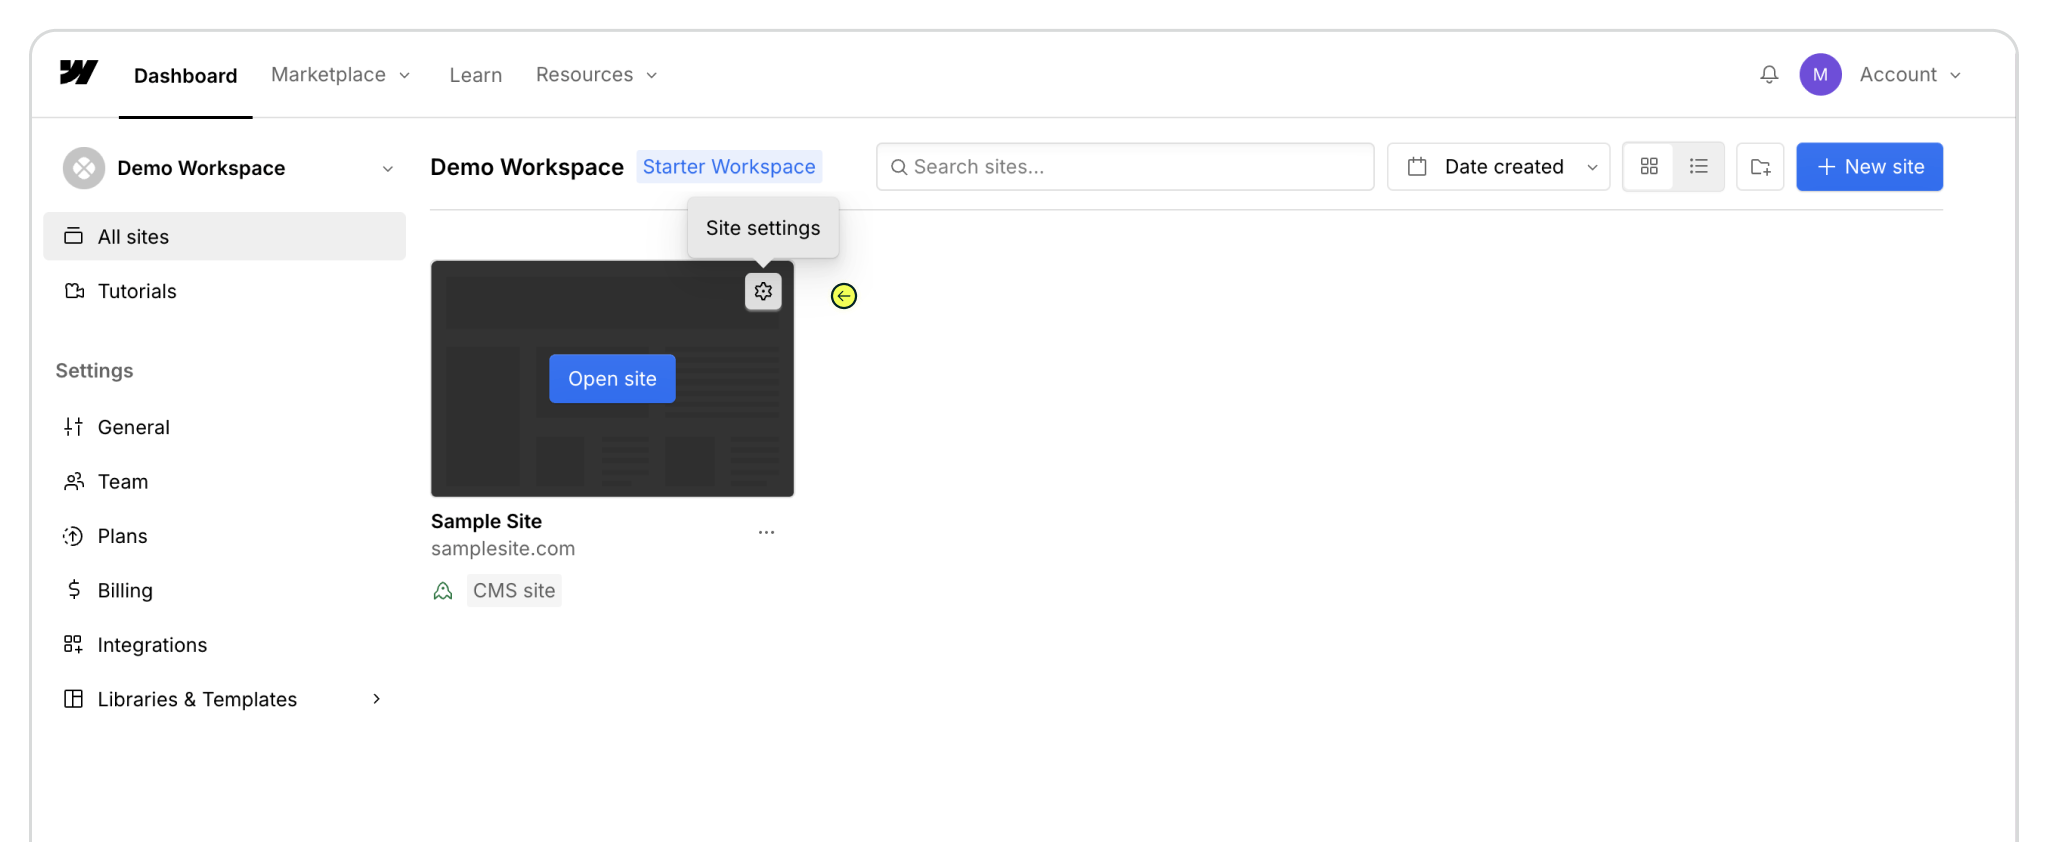
b) Hover over the site card and click the gear icon in the upper-right corner labeled Site settings.
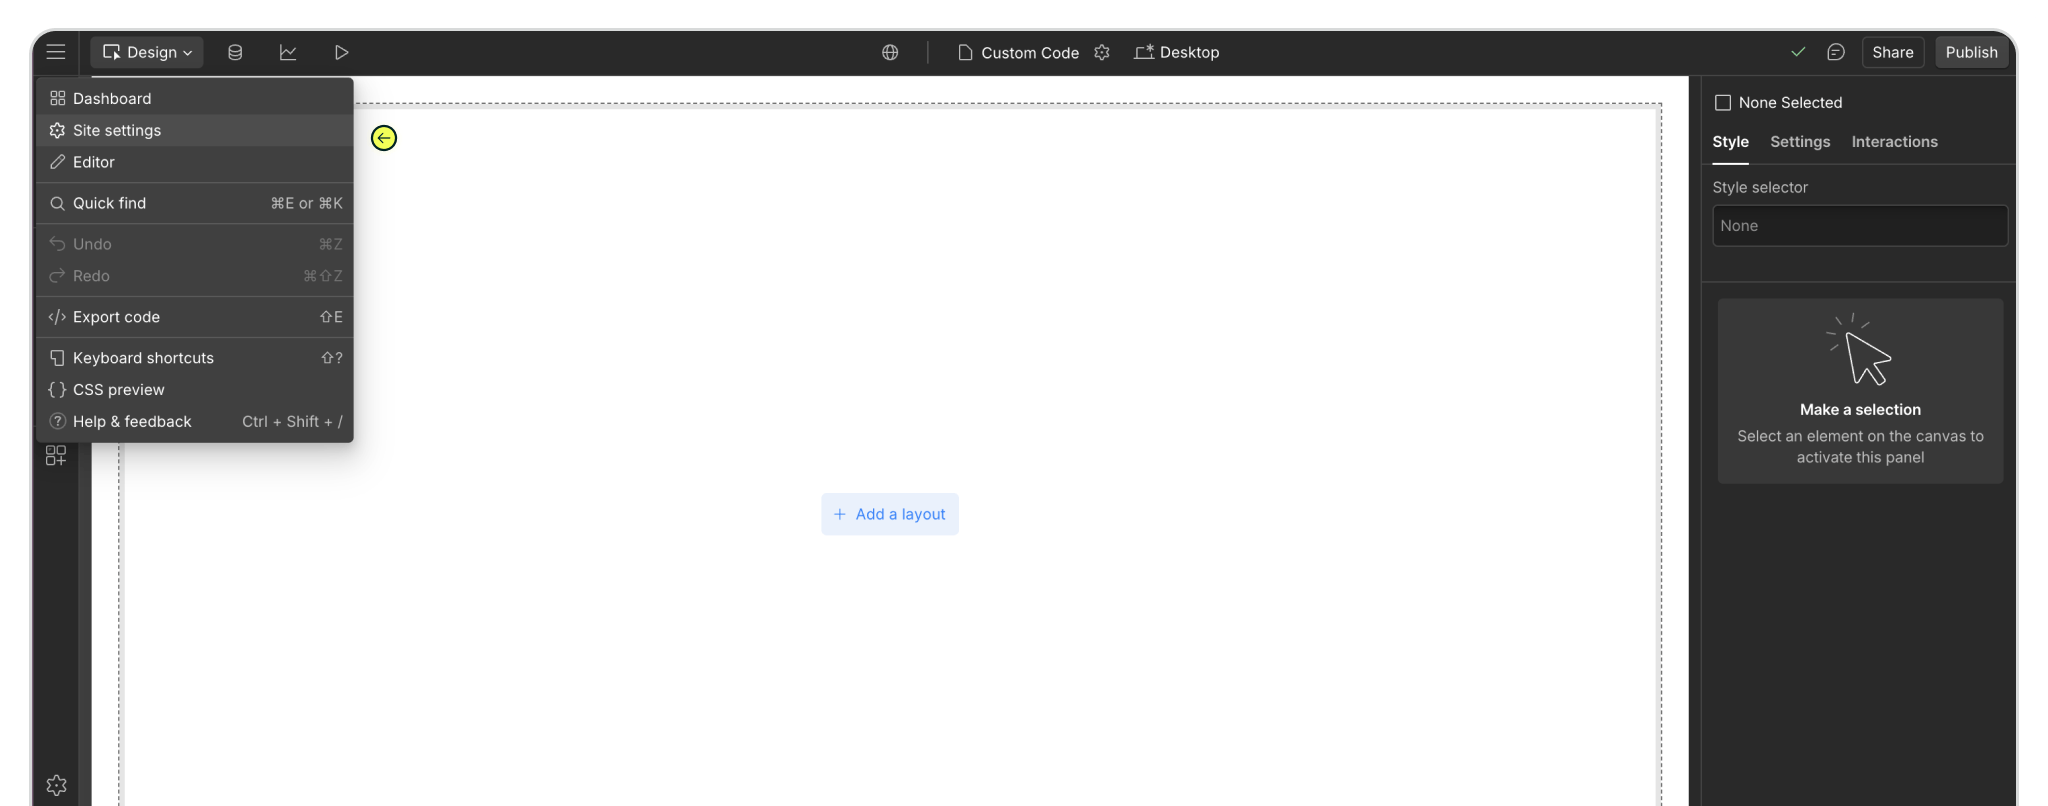
c) Alternatively, if you’re already in the Designer, click the menu icon (☰) in the top-left corner and select Site Settings to jump back to your site controls.
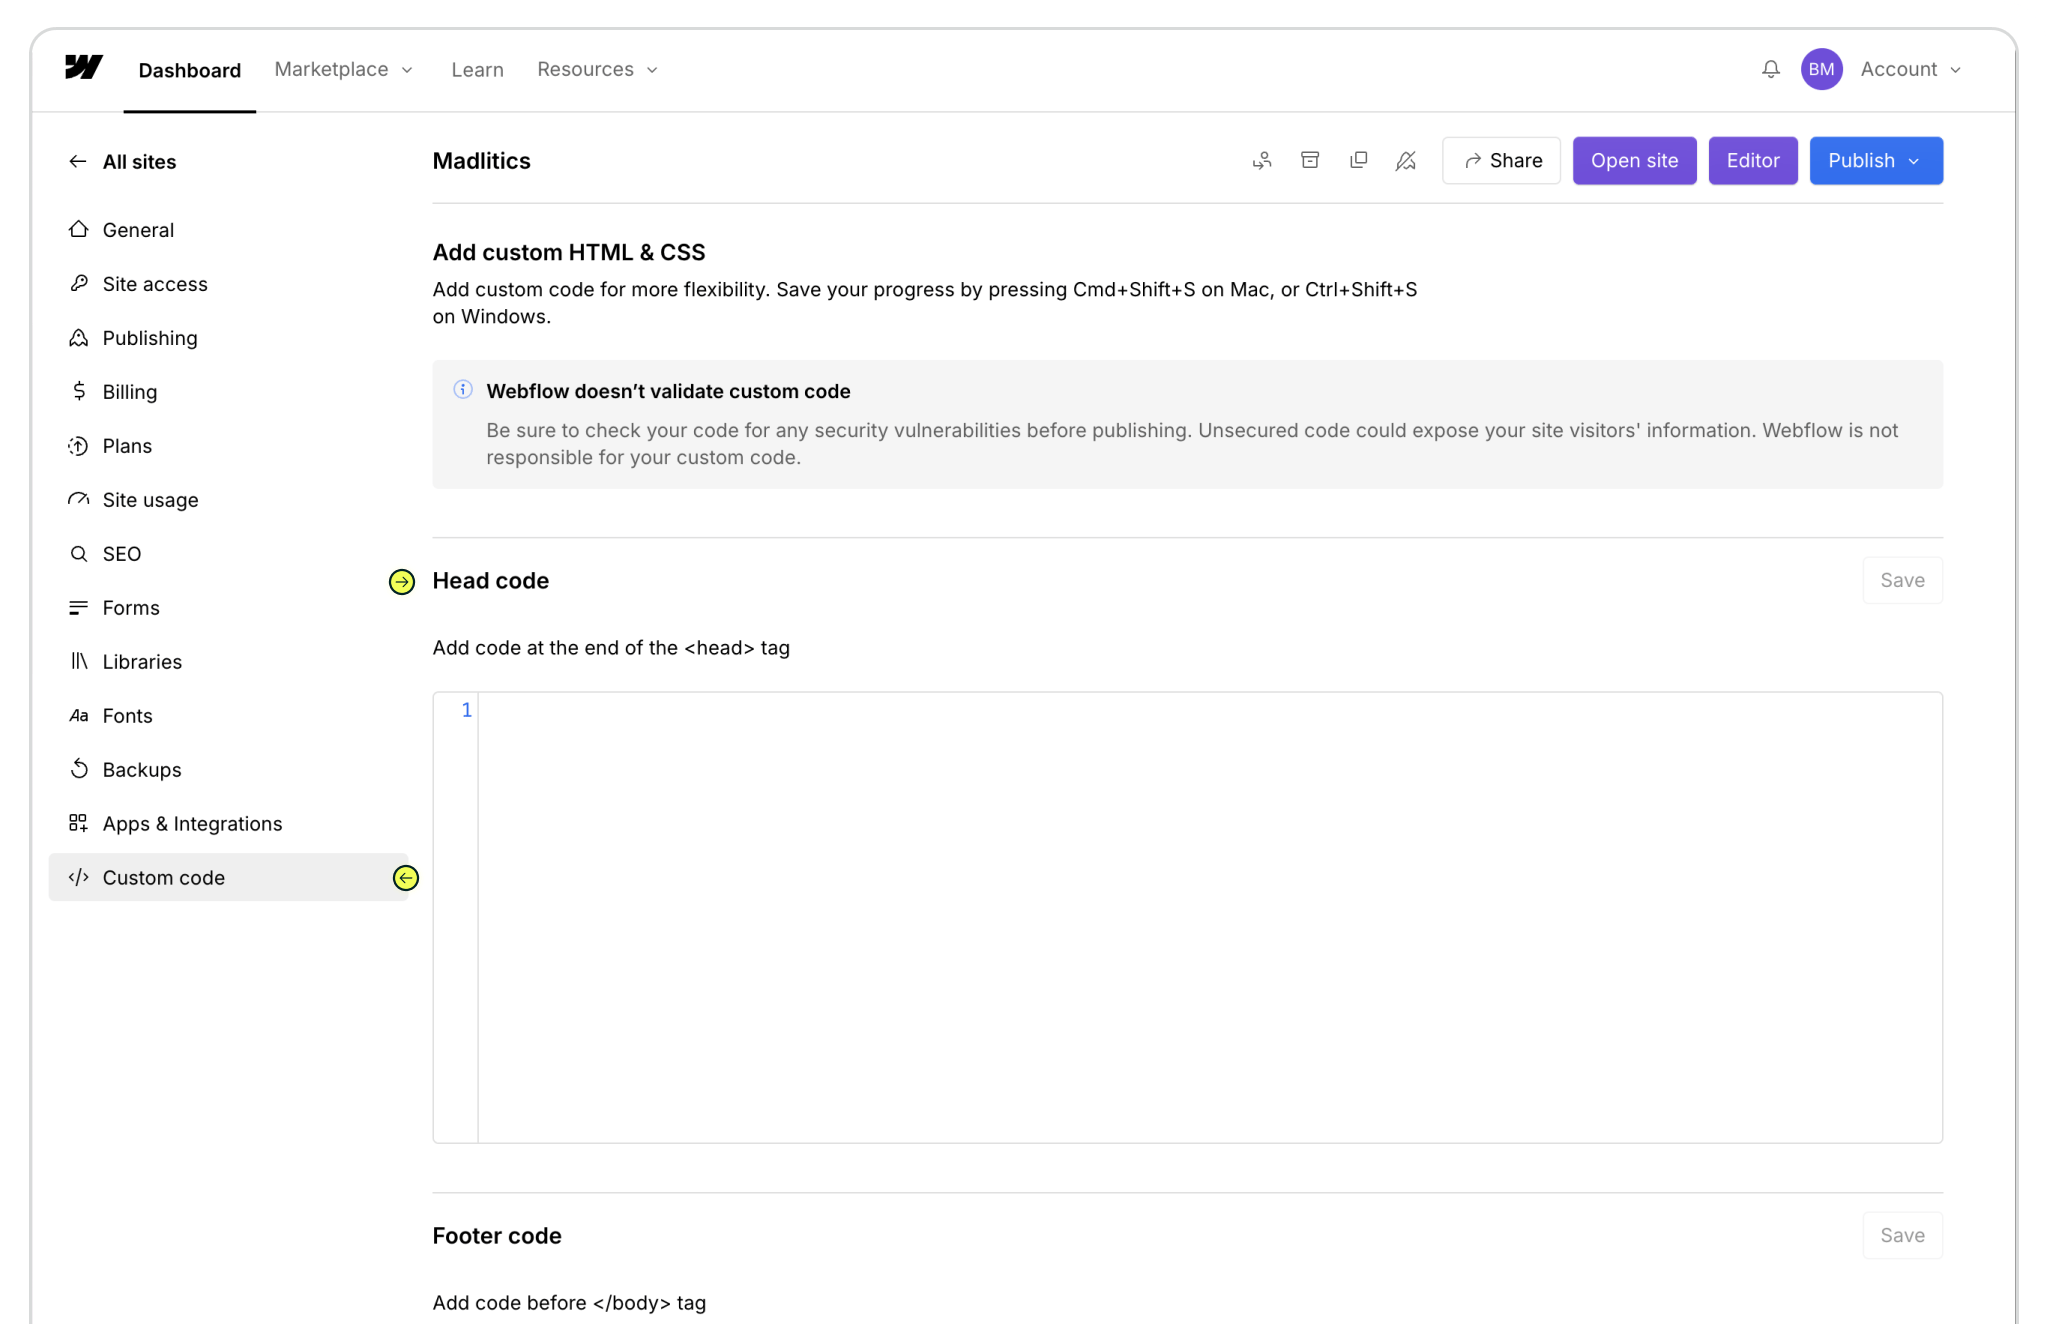
Once inside the Site Settings, use the sidebar to click Custom Code. Scroll to the Head Code section. Paste your Madlitics snippet into this field—this ensures the code loads in the <head> tag on every page. Click Save in the upper-right corner when you’re done.
Finally, hit Publish to push your updates live. This step is important—it pushes your code updates live across the site. Any changes made in Site Settings (like adding scripts) won’t take effect until the site is republished.
⚠️ Note: Scripts will not run in preview mode. Make sure to check the published version of your site when verifying your setup.

Verifying the Snippet is Installed
To confirm that the Madlitics snippet is working, open your live site in a browser and inspect the page source. Right-click anywhere on the site, select Inspect, and switch to the Elements tab. Look inside the <head> tag for your script. If you see the snippet there, you're good to go.
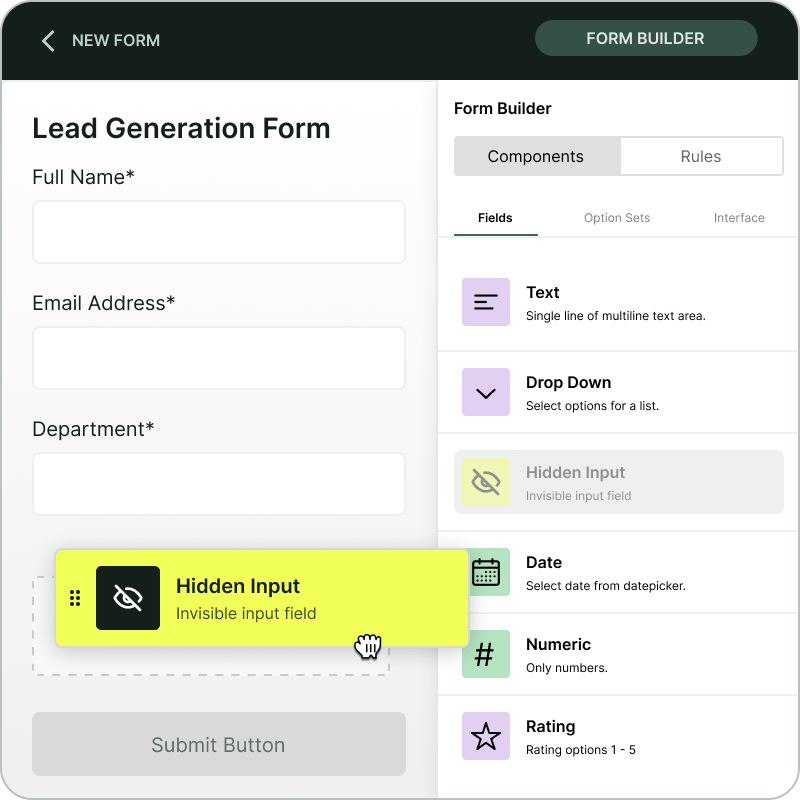
• Configure Webflow forms


Webflow gives you the freedom to design and launch fully custom websites without writing code—while still keeping the flexibility to add the scripts that power your business. Adding the Madlitics snippet to your site’s <head> ensures every visitor interaction is captured as clean, first-party attribution data. That means you’ll know exactly which channels are driving leads and revenue, with insights flowing directly into your CRM and marketing tools.
If you’d like a hand getting started, our team’s here to help. We’ll walk you through the setup so you can focus on building, while Madlitics takes care of the attribution.
Answers to common questions about installing code to <head> in Webflow