Setting up Framer Forms for Marketing Attribution and UTM Tracking

Framer makes it easy to design and publish sleek, responsive websites without touching code, while still giving you the flexibility to add powerful custom scripts. That means you can create visually stunning pages and still integrate tools like Madlitics to track exactly where your leads are coming from.
In this guide, we’ll show you how to connect Madlitics with your Framer forms by adding a small code snippet. Once set up, every form submission will include attribution data—like channel, campaign, and landing page—so you’ll know which marketing efforts are working and where to double down.
💆 Heads-up: Make sure Madlitics is installed on the site where this form lives (ie. Framer). The form alone won’t capture attribution data — Madlitics needs to be running on the page to pass lead data into your submissions. Installing Madlitics on Framer ->
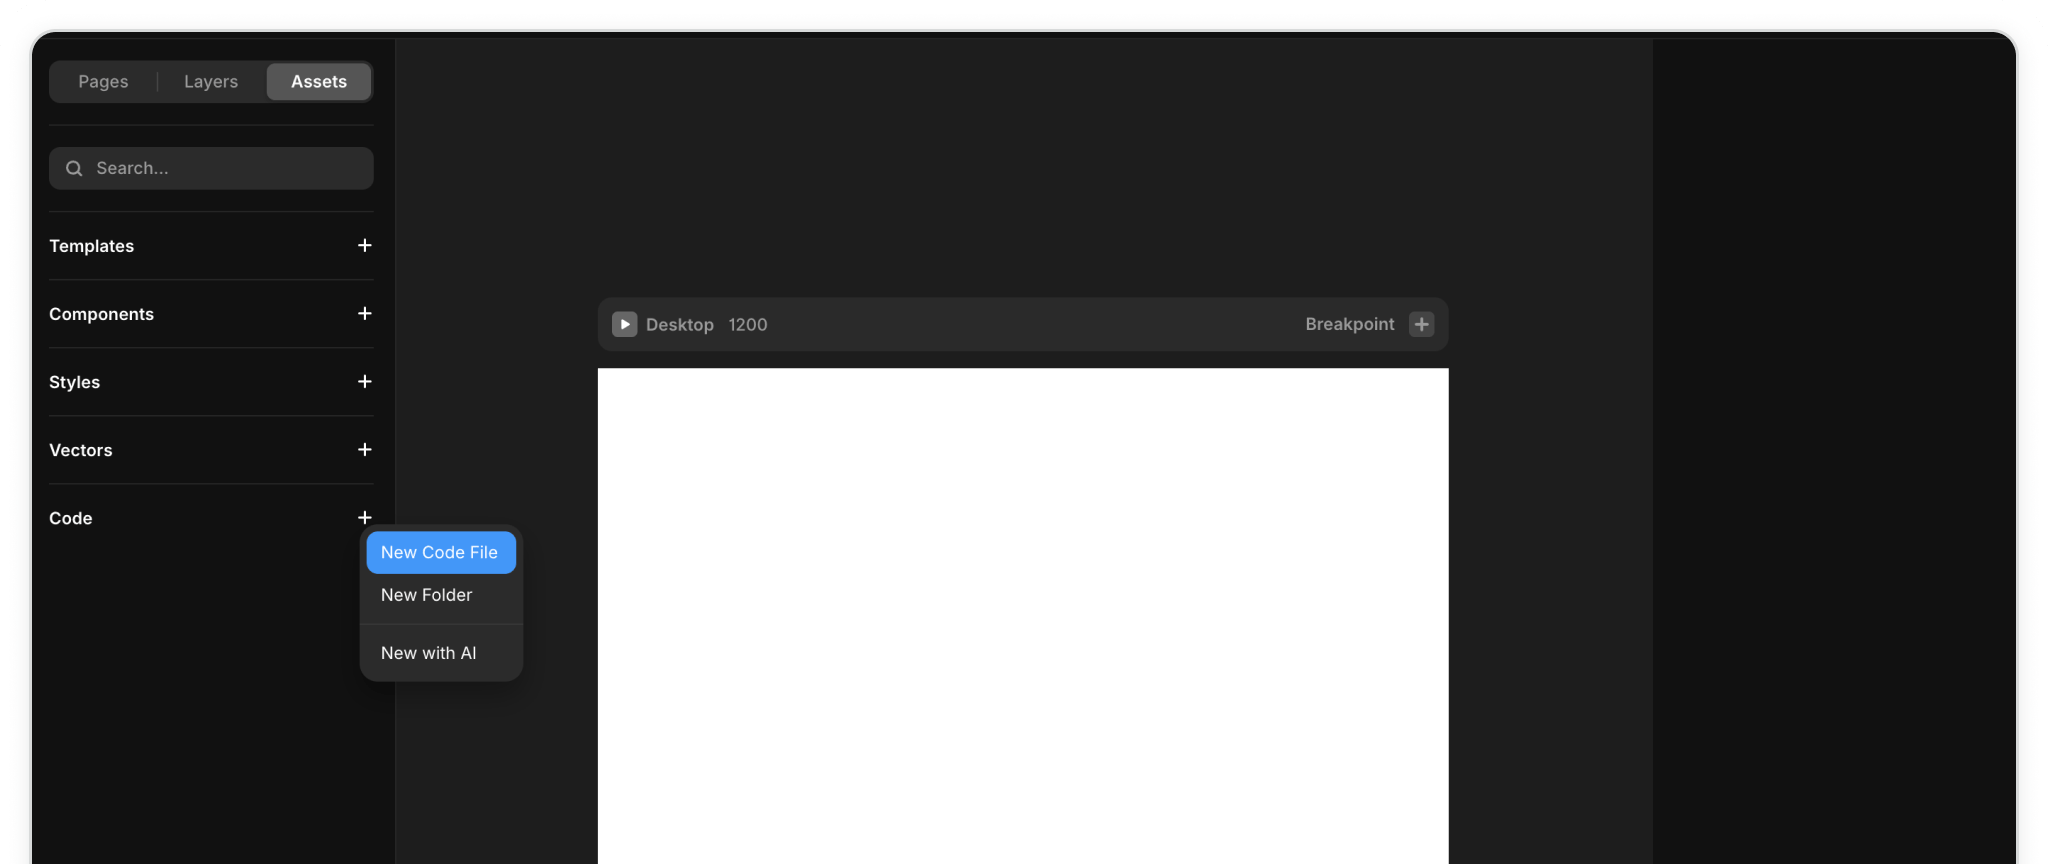
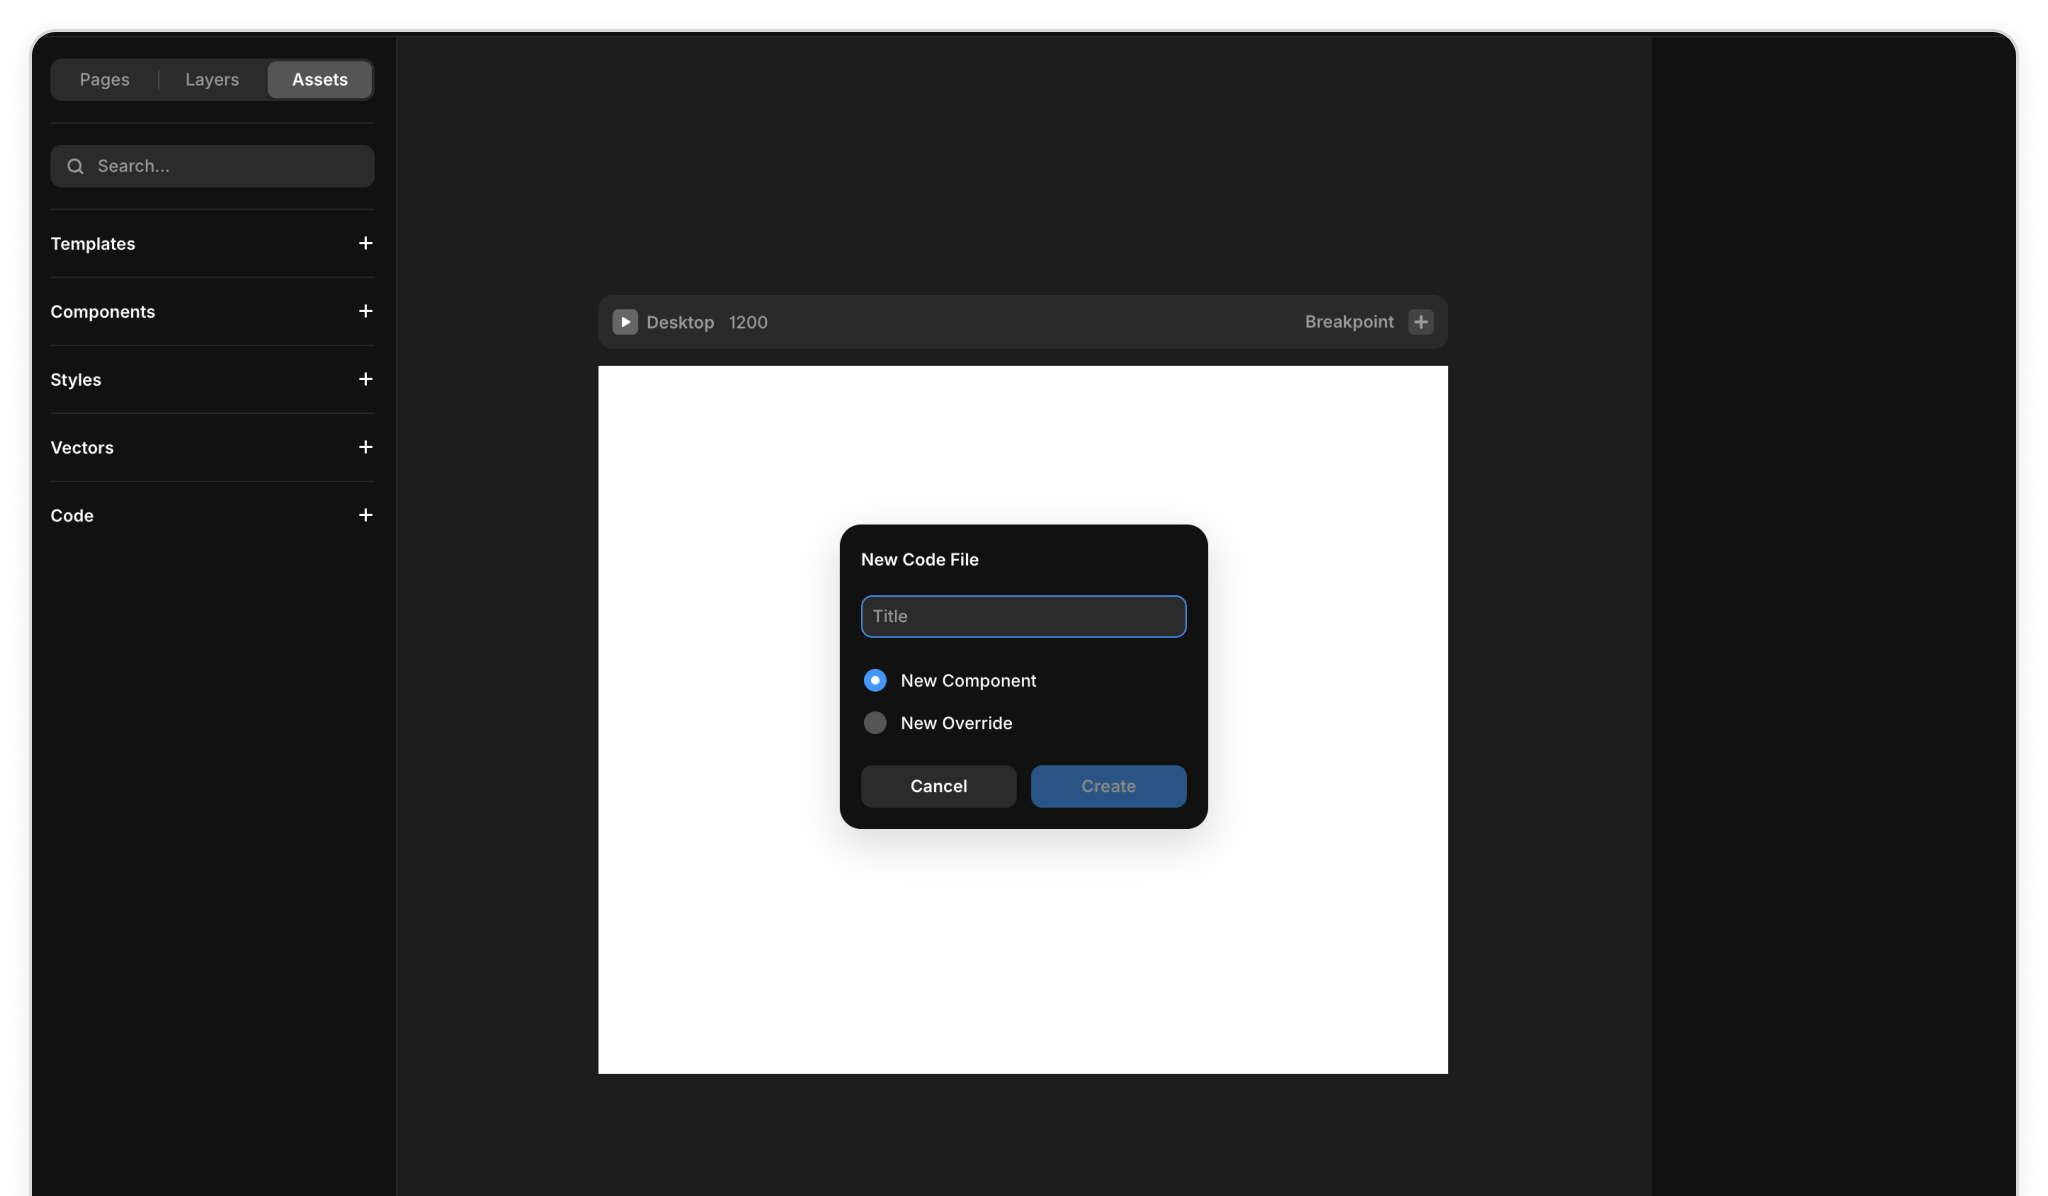
Unlike other platforms where you add hidden fields directly to a form, Framer uses code components to handle custom functionality. To begin, open the Assets tab in the left sidebar, scroll down to the Code section, and create a new code file. This file will hold the Madlitics fields that capture attribution data whenever your forms are submitted.
Once you’ve named your new file, Framer will automatically generate a code component you can edit. Think of this as the foundation where Madlitics will live inside your Framer project.
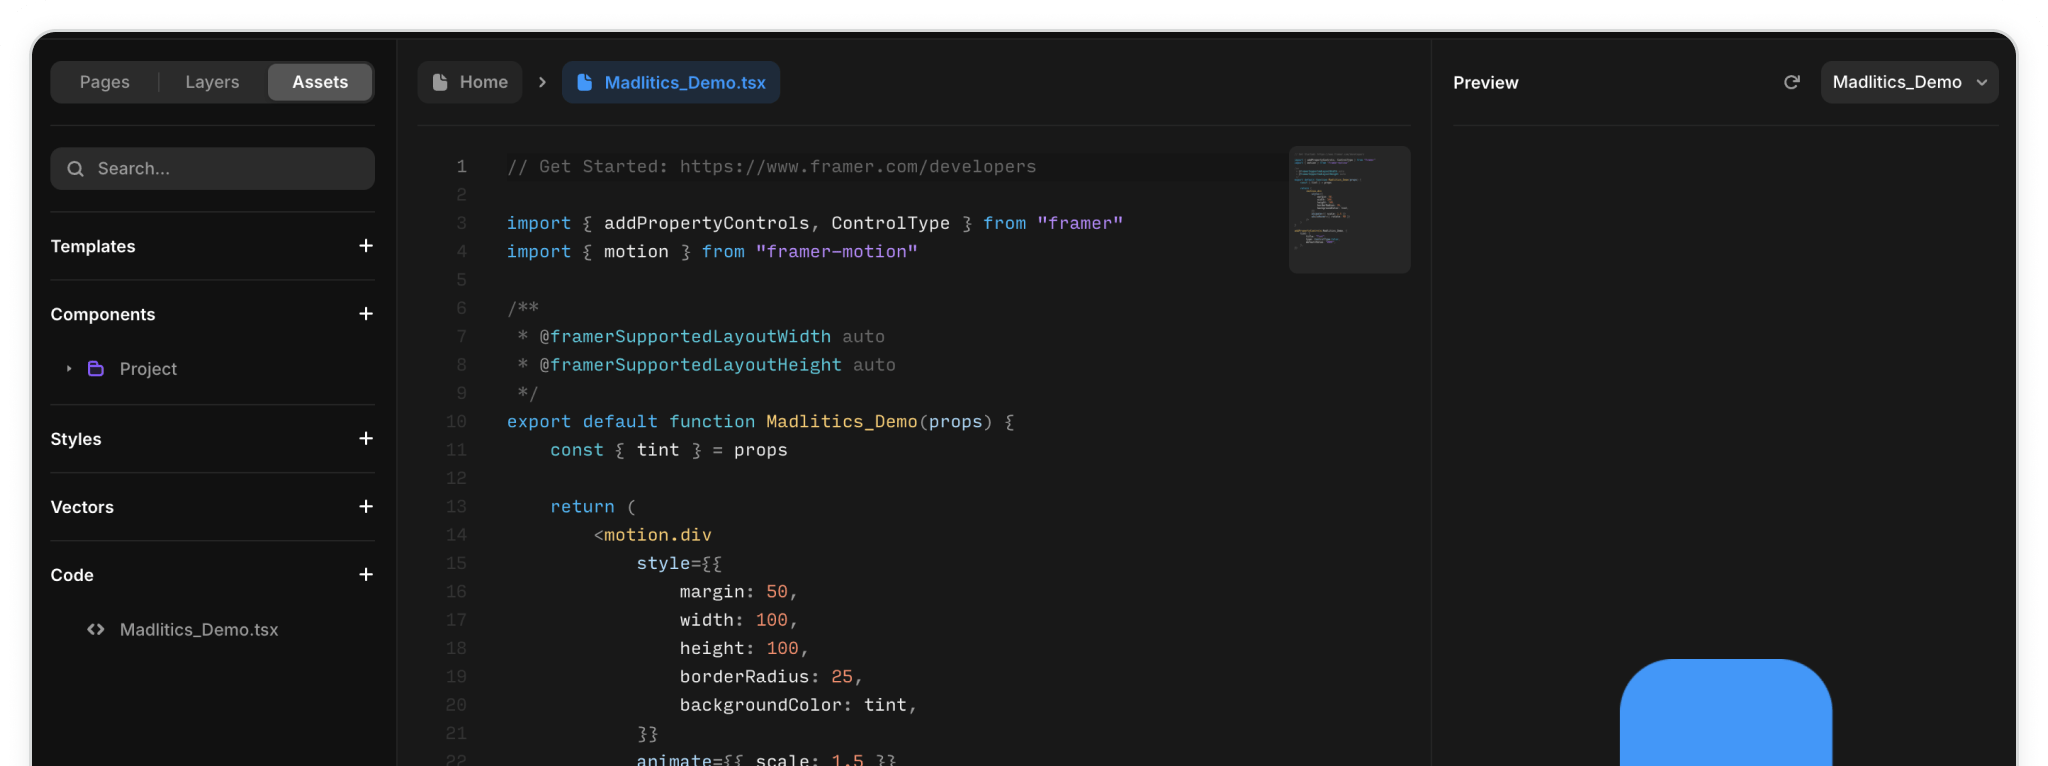
Now that your new code component is created, it’s time to customize it for Madlitics. Open the file you just made in the Assets › Code section. You’ll see Framer has added a default function as a placeholder. Go ahead and remove that boilerplate so you’re starting with a clean slate.
Next, replace it with the Madlitics form fields. This code block contains the seven Madlitics fields that capture attribution data whenever someone submits your form. Configure additional Madlitics field value pairs for deeper customization and richer insights.

export default function MadliticsFields() {
  const style = { display: "none" }
  return (
    <div style={style}>
      <input type="hidden" name="channel" value="[channel]" />
      <input type="hidden" name="segment1" value="[segment1]" />
      <input type="hidden" name="segment2" value="[segment2]" />
      <input type="hidden" name="segment3" value="[segment3]" />
      <input type="hidden" name="segment4" value="[segment4]" />
      <input type="hidden" name="lp" value="[lp]" />
      <input type="hidden" name="lpg" value="[lpg]" />
    </div>
  )
}
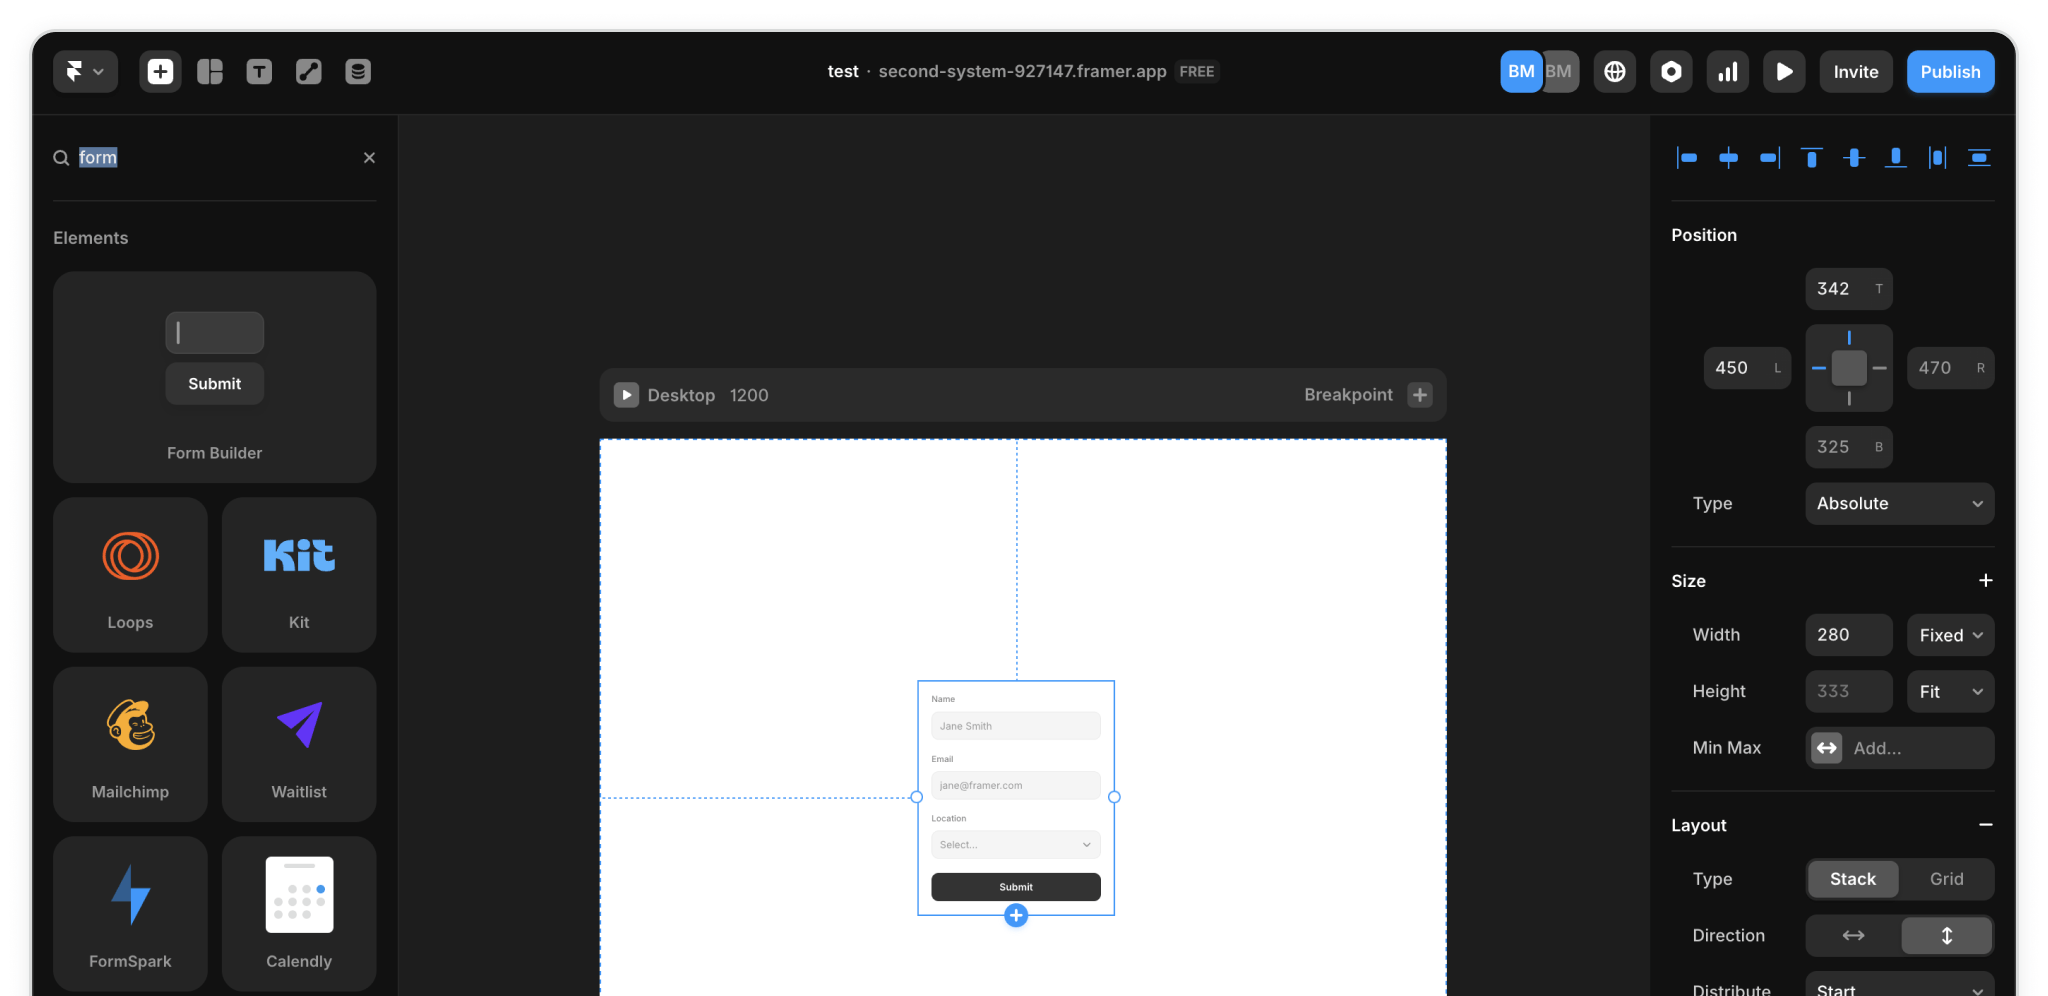
With the code ready, it’s time to connect it to your form. In the Framer canvas, start by dragging a Form element onto the page. Add your usual fields like Name and Email so visitors can fill them out.
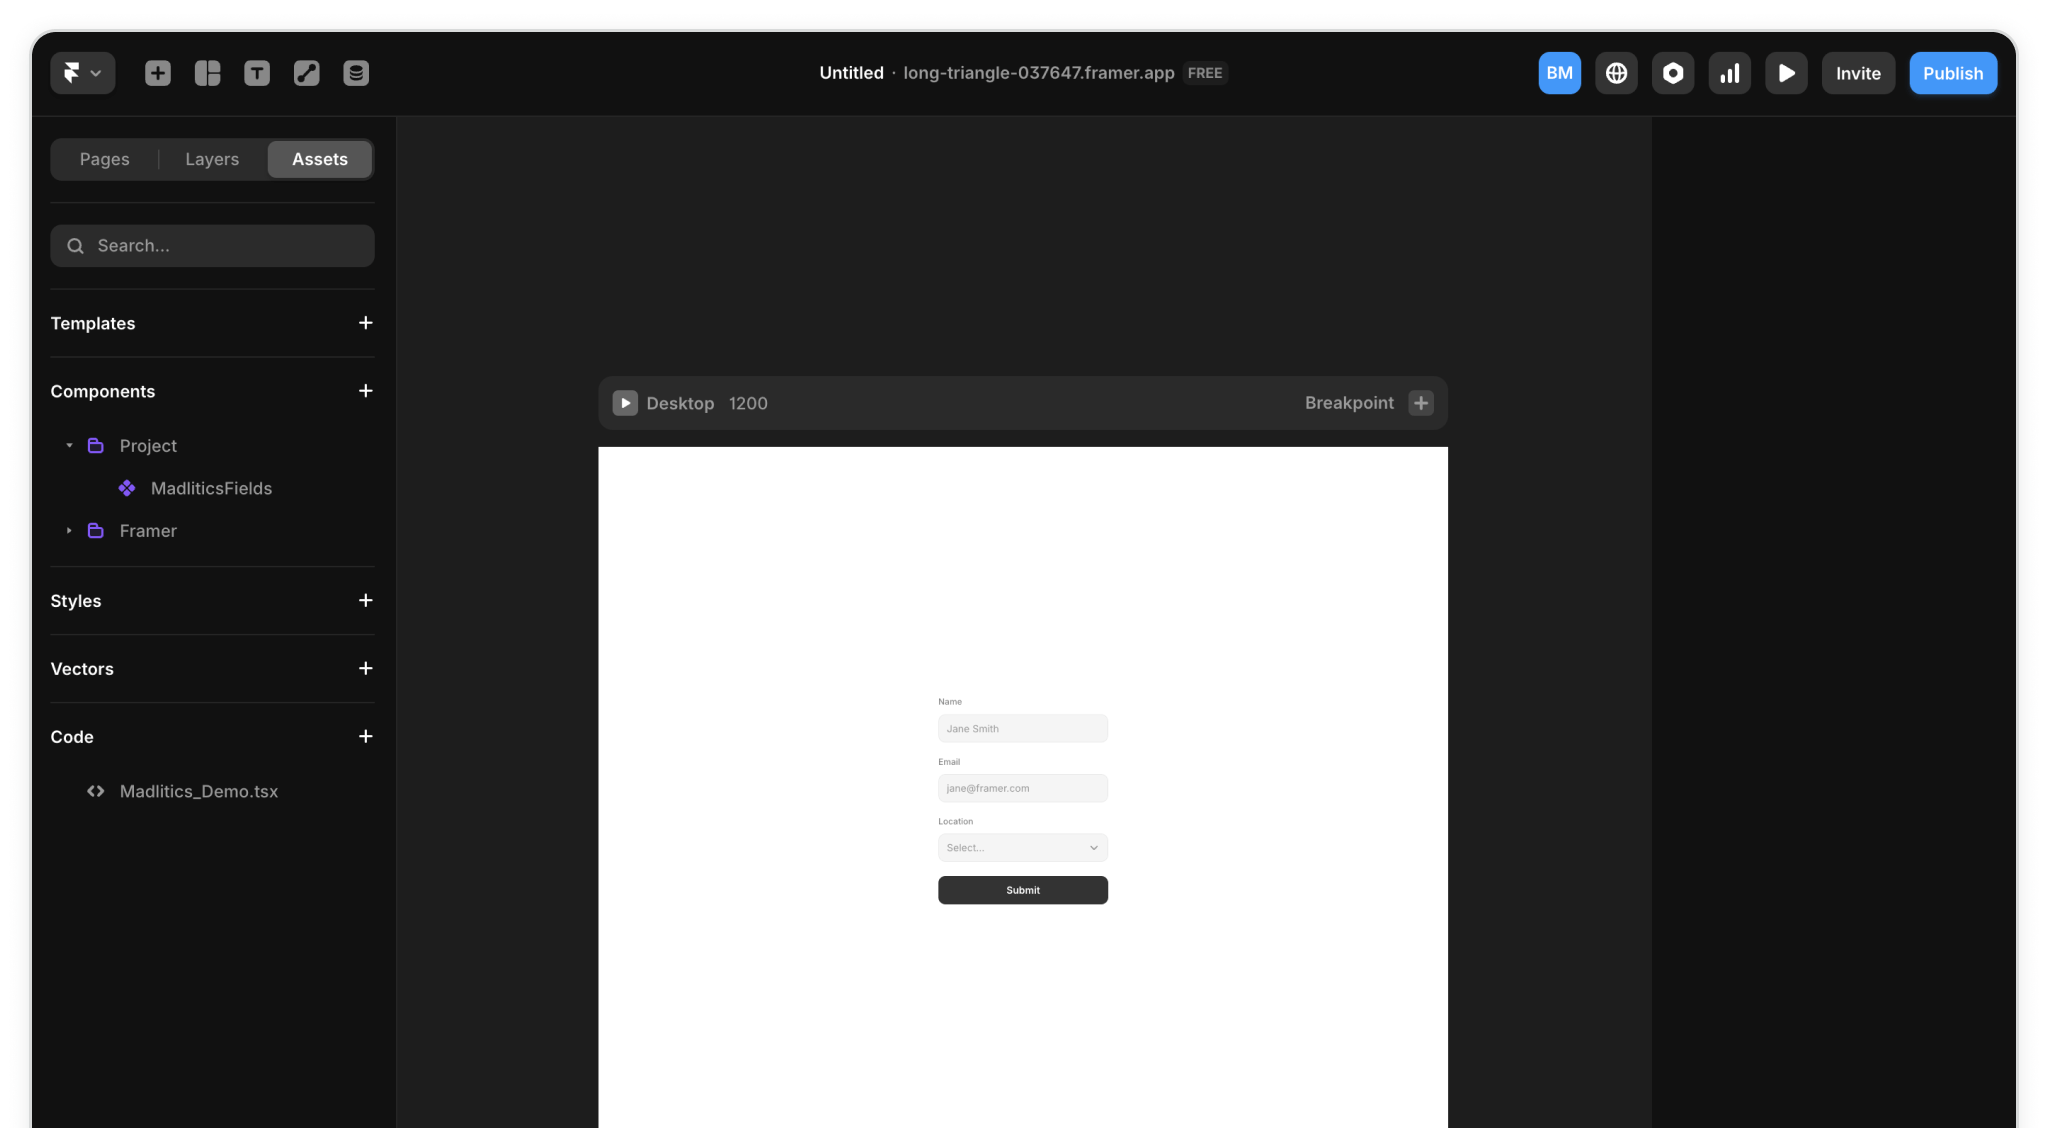
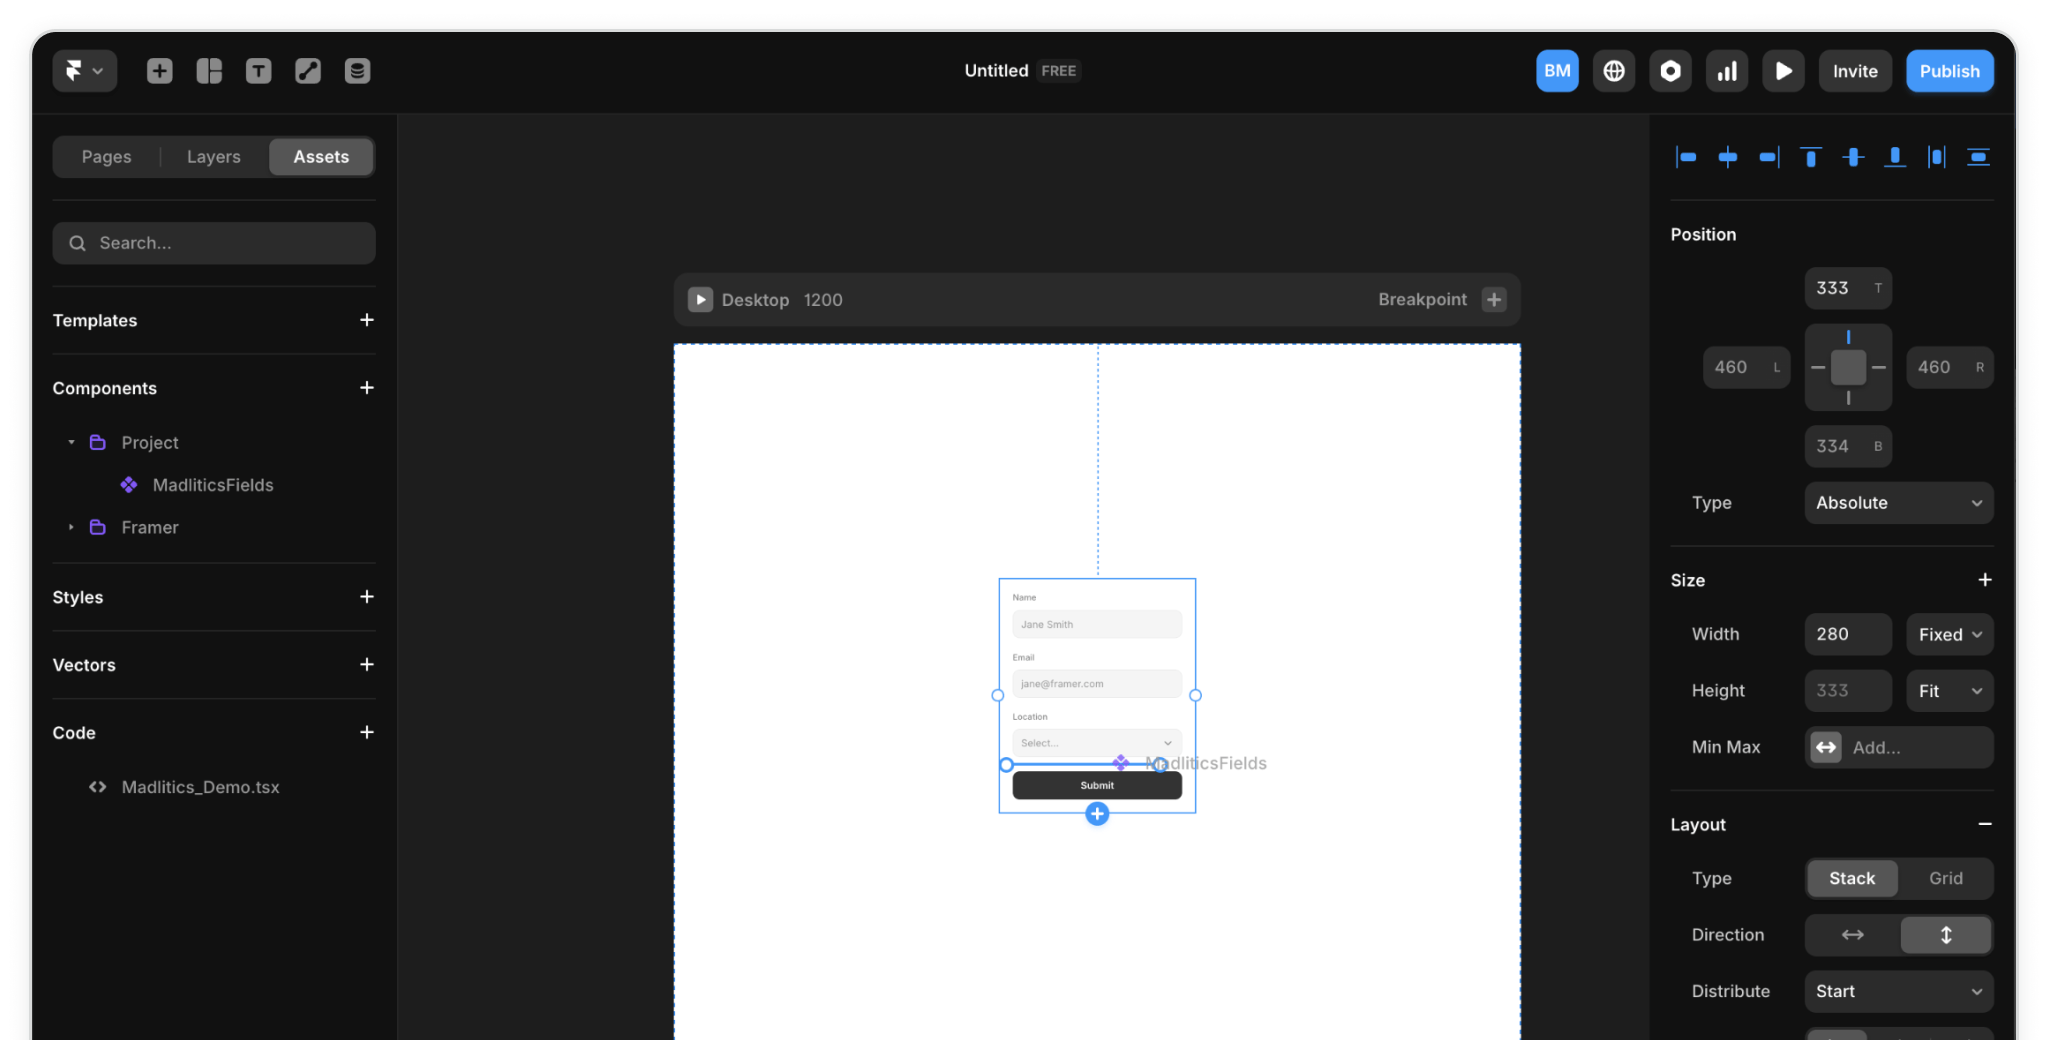
Next, open the Assets tab, and under Components you’ll now see the Madlitics Fields component you created in Step 2. Drag this component into your form and position it just above the Submit button. You won’t see anything appear visually on the page—the fields are hidden—but this ensures that every submission passes attribution data into your form entries.
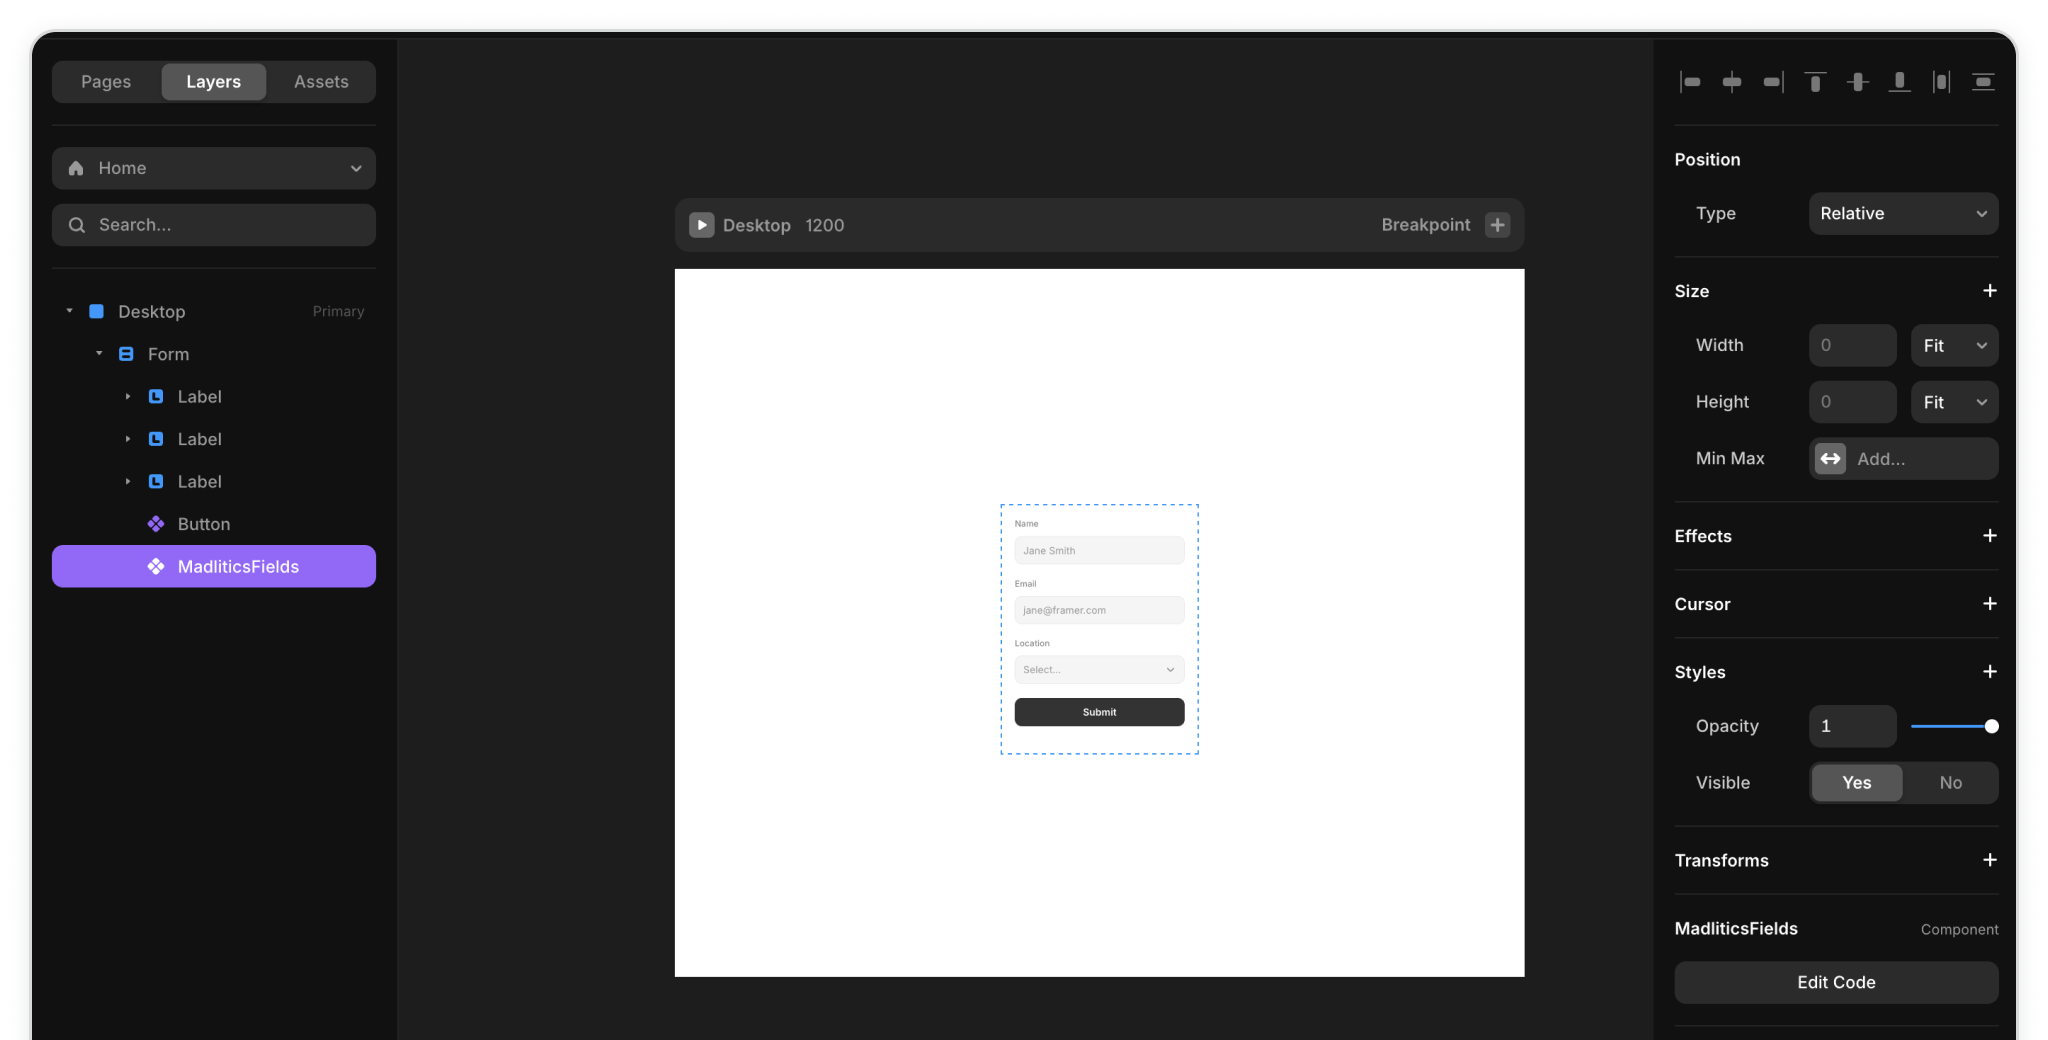
Once it’s in place, check the Layers panel to confirm that the Madlitics component sits neatly inside your form structure.
Once your Madlitics component is in place, it’s time to push your changes live. Framer scripts, like Madlitics, won’t run inside the preview window—you’ll need to publish your site to see them in action.
Click Publish in the top right, then open the live URL of your page. Fill out the form as if you were a visitor and submit it. From there, check your form submissions inside Framer to confirm everything worked. You should now see attribution details—like channel, segments, and landing page—captured alongside the lead information.
That’s your signal that Madlitics is fully integrated and tracking is up and running.

https://yoursite.com/?utm_source=linkedin&utm_medium=paidsocial&utm_campaign=q1_promo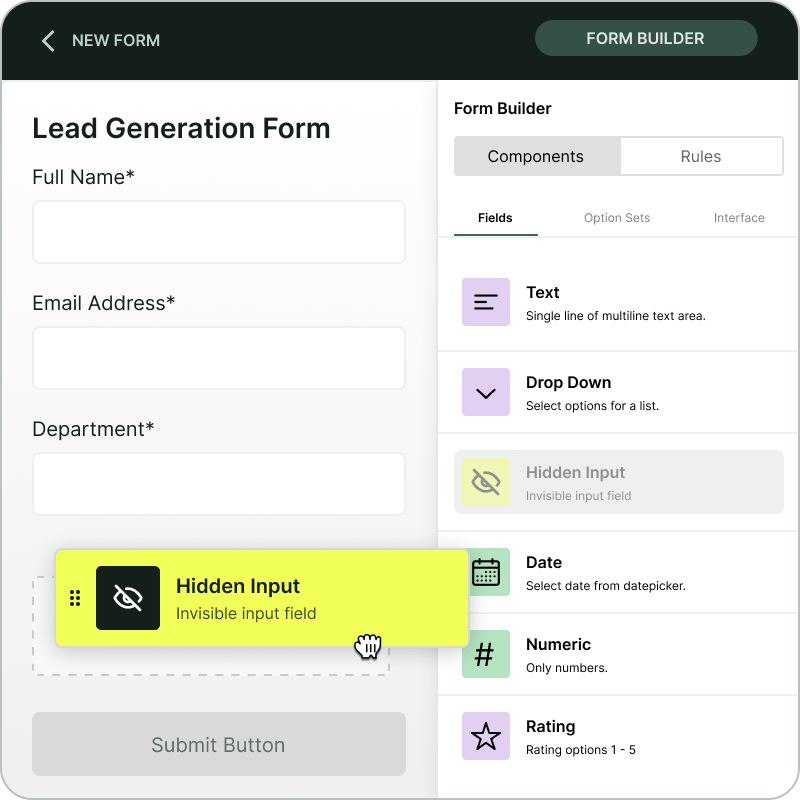

Framer gives you the freedom to design stunning, fully custom websites—and its form tools make it simple to connect rich marketing data behind the scenes. By integrating Madlitics with your Framer forms, attribution data is automatically captured at submission and passed along with each lead, giving your team clear, first-party insights inside your CRM and analytics tools.
If you have any questions or need help getting set up, our team is ready to support you. Reach out, and we’ll walk you through it.


