Setup Fluent Forms Fields for UTM Tracking

Fluent Forms is one of the fastest-growing WordPress form builders, known for its speed, flexibility, and ease of use. It’s available on free and paid tiers, making it a great option for businesses of all sizes. With its drag-and-drop editor, you can quickly build custom lead-capture forms that integrate seamlessly with Madlitics. By adding the Madlitics fields, every submission will include attribution data like channel, campaign, and landing page — giving your team the insights needed to see what’s driving results.
In this guide, we’ll walk you through installing Fluent Forms, activating the plugin, and preparing your forms to capture Madlitics attribution data.
💆 Heads-up: Make sure Madlitics is installed on the site where this Fluent Form lives (ie. Wordpress). The form alone won’t capture attribution data — Madlitics needs to be running on the page to pass lead data into your submissions. Installing Madlitics on Wordpress ->
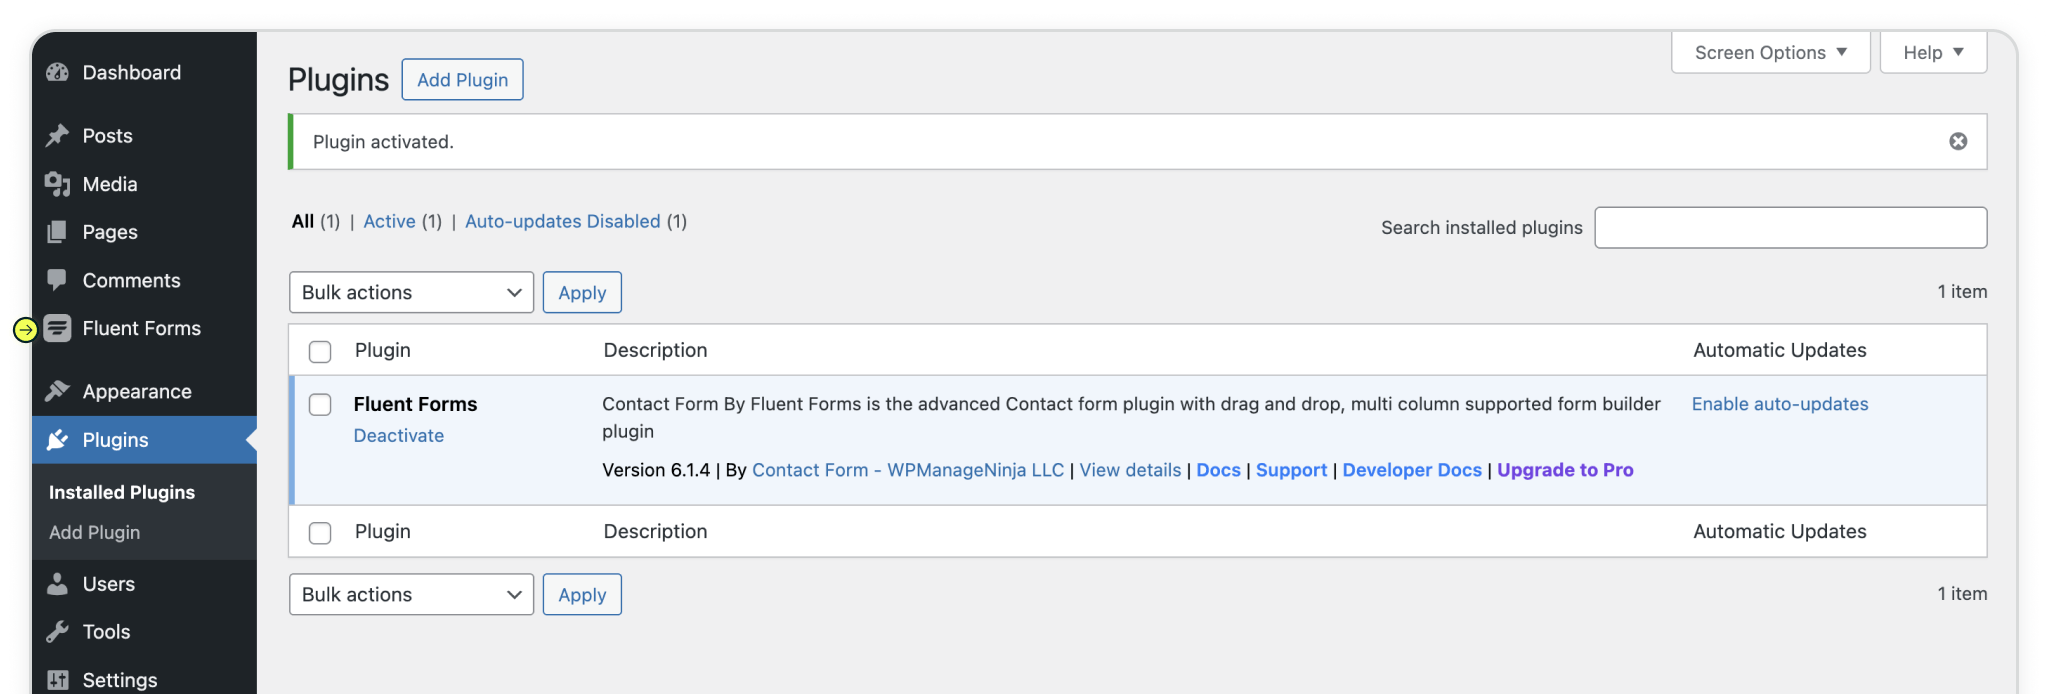
Fluent Forms is available directly from the WordPress plugin directory, meaning installation is fast and straightforward. From your WordPress dashboard, head into the Plugins section and select Add New. Search for Fluent Forms in the directory, then click Install Now. Once installation finishes, hit Activate to turn it on.
You’ll know everything worked when a new Fluent Forms menu appears in your WordPress sidebar — that’s your hub for creating and managing forms.
Plugins > Add Plugin > Install > Activate


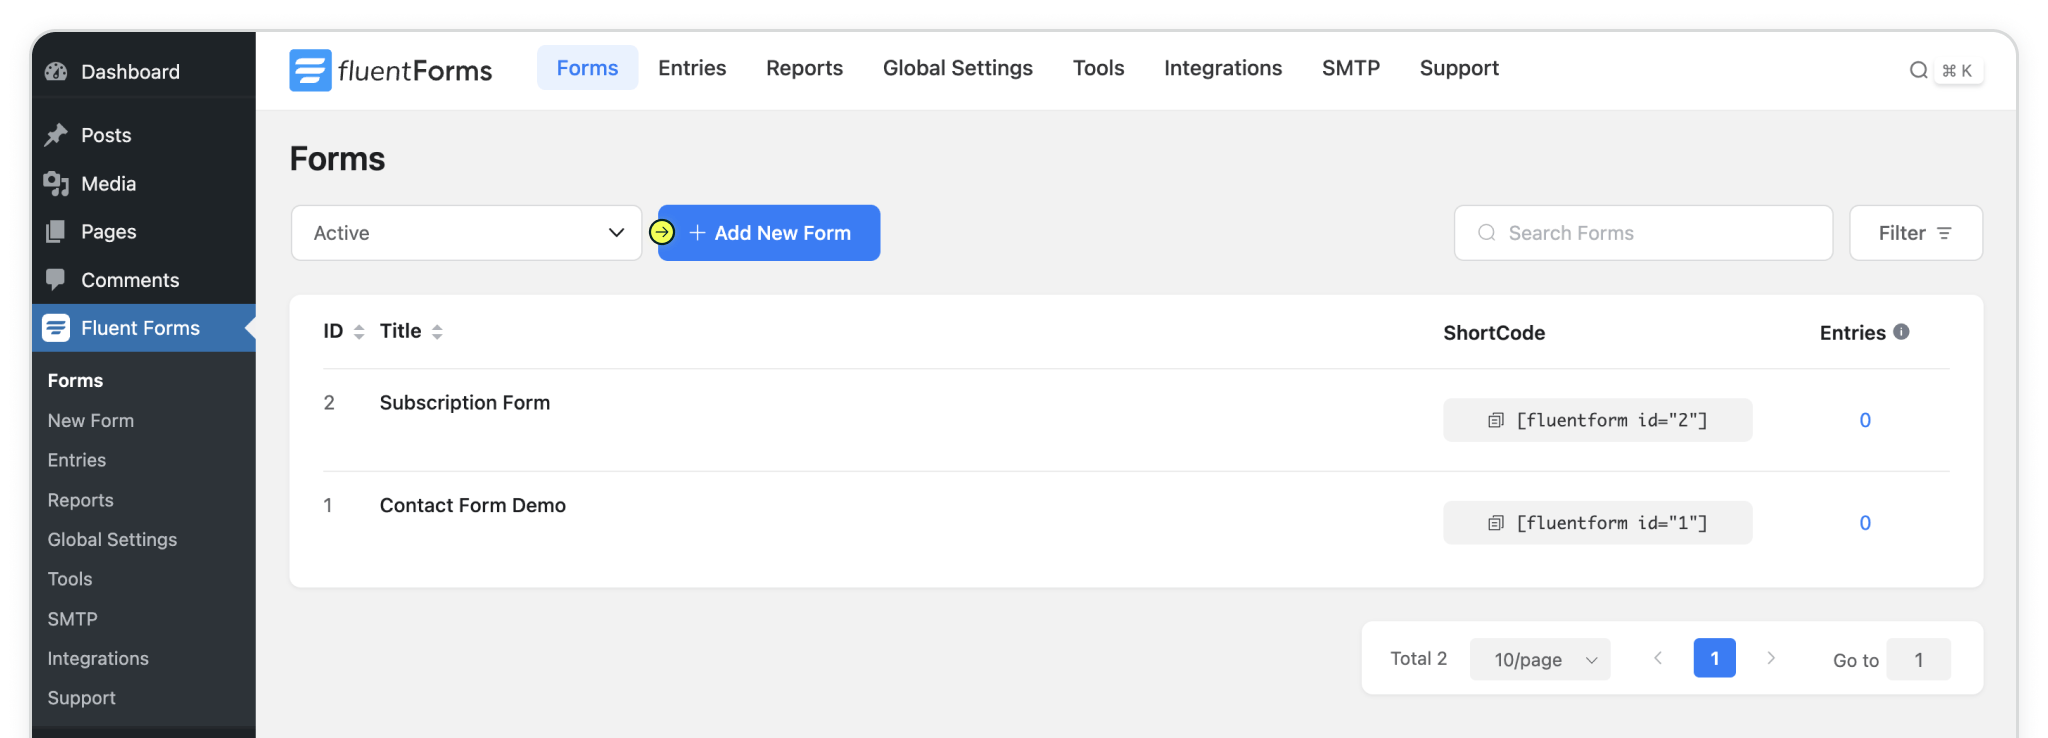
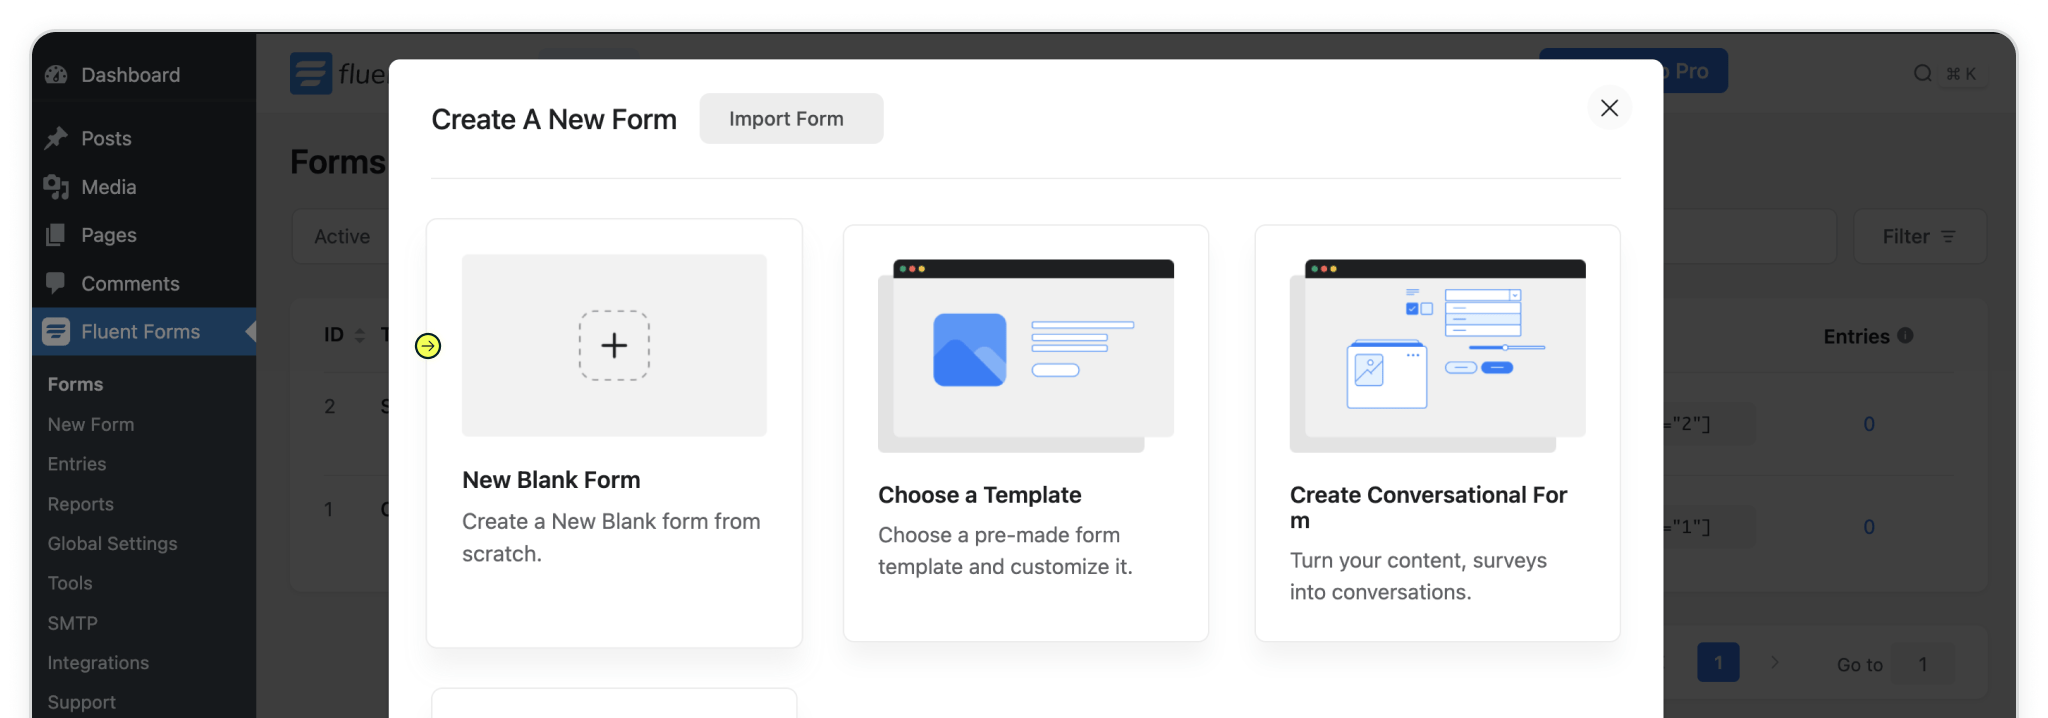
With Fluent Forms active, you’re ready to build a form that captures both your lead details and Madlitics attribution data. Head over to the Fluent Forms menu in your WordPress dashboard and click Add New Form. This opens up the form-creation flow where you’ll decide how to structure your form.
You can start fresh with a New Blank Form if you want full control, or pick from one of the built-in templates to speed things up. Either way, the form will work seamlessly with Madlitics once you’ve added the hidden fields in the next step.
If you already have a form set up, no problem—just open it from your Forms list and click Edit to get it ready for Madlitics fields.
Build your form however you like—whether that’s a simple contact form or something more advanced. To make sure attribution data comes through with every submission, you’ll need to drop in seven (7) fields powered by Madlitics. These fields work behind the scenes, automatically pulling in details like channel, campaign, and landing page without adding anything extra for your visitors to fill out.
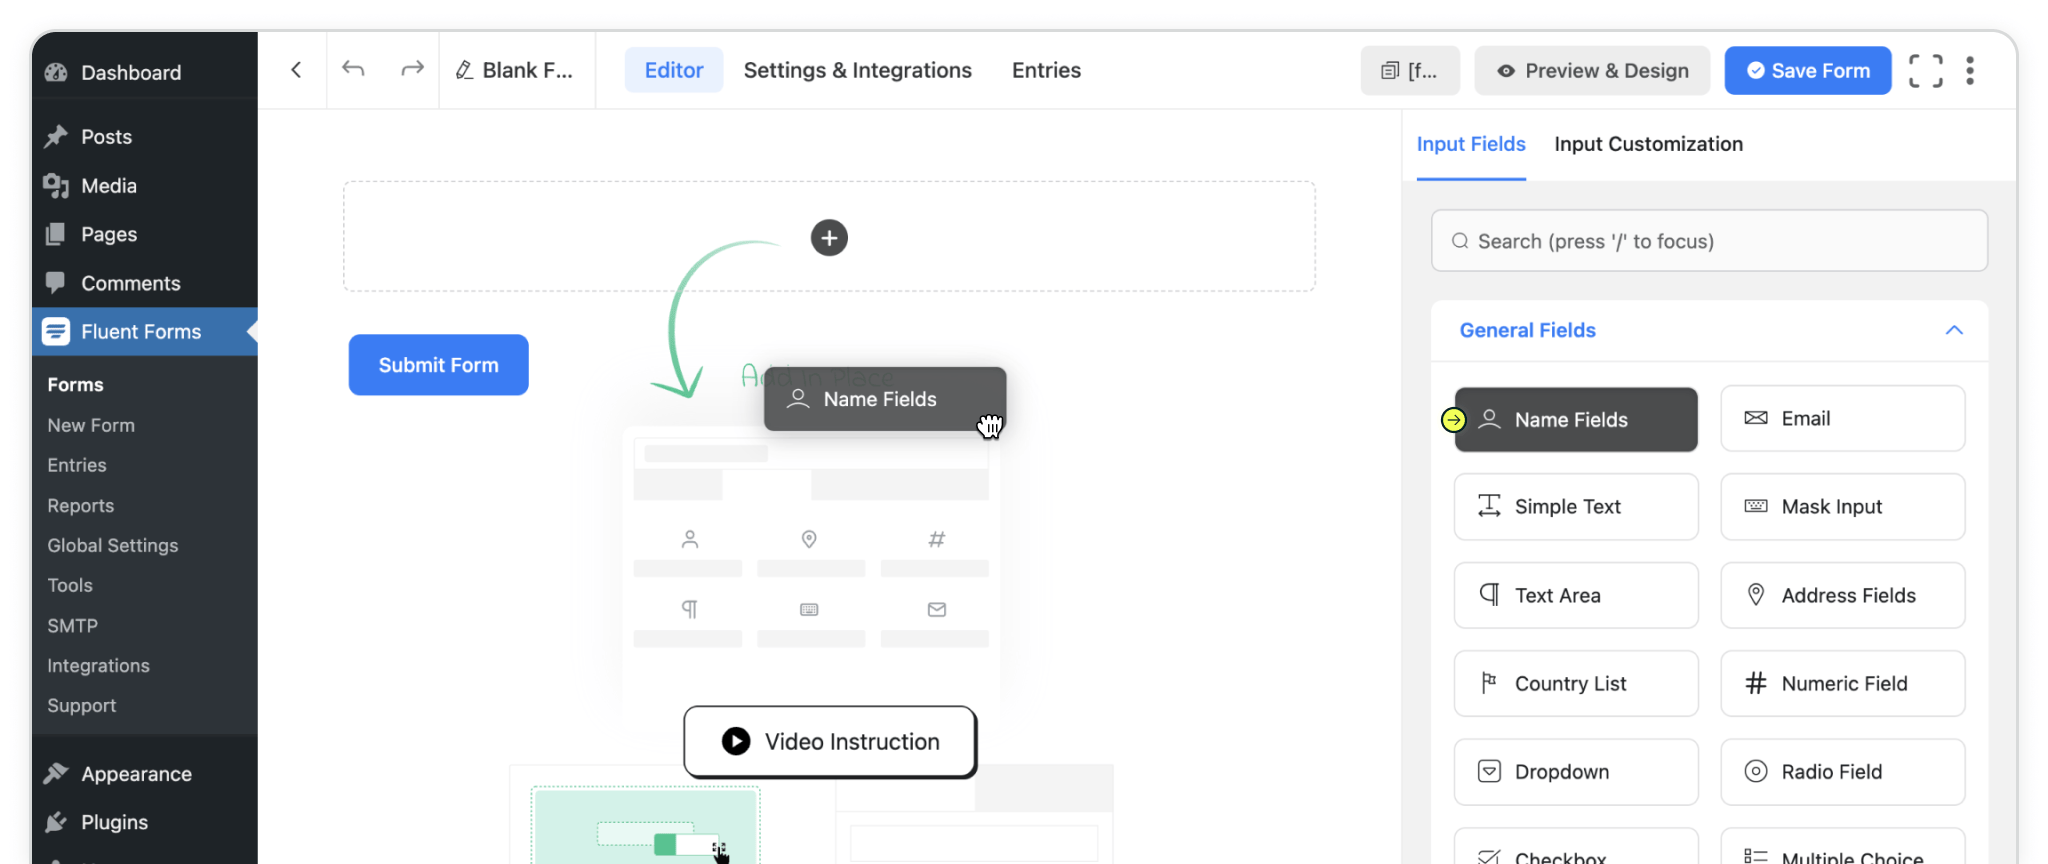
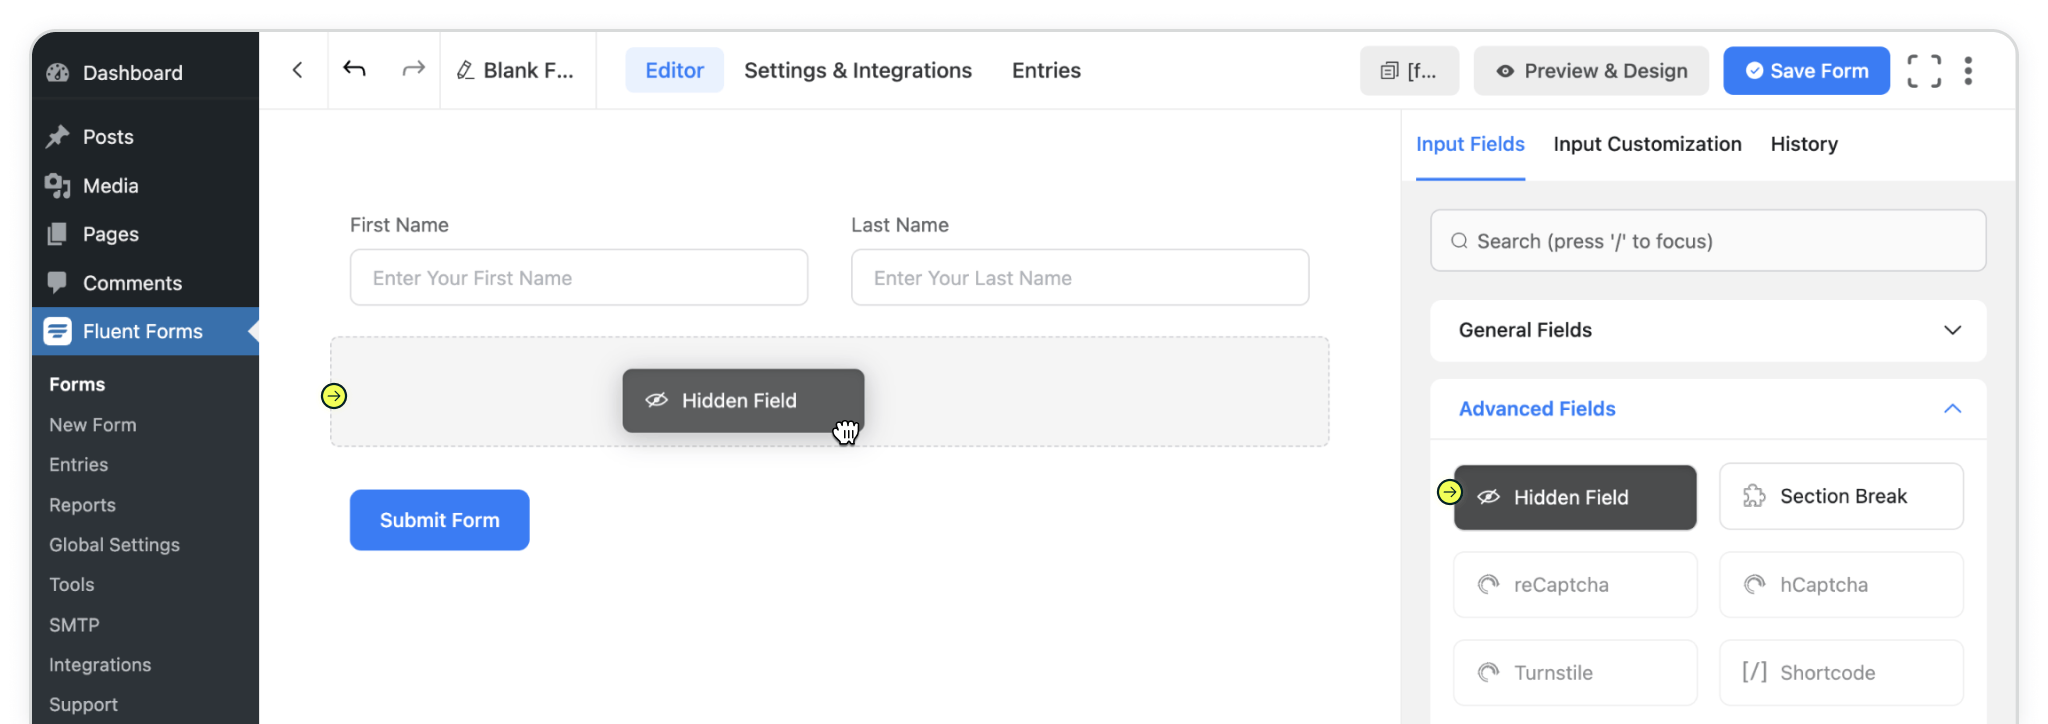
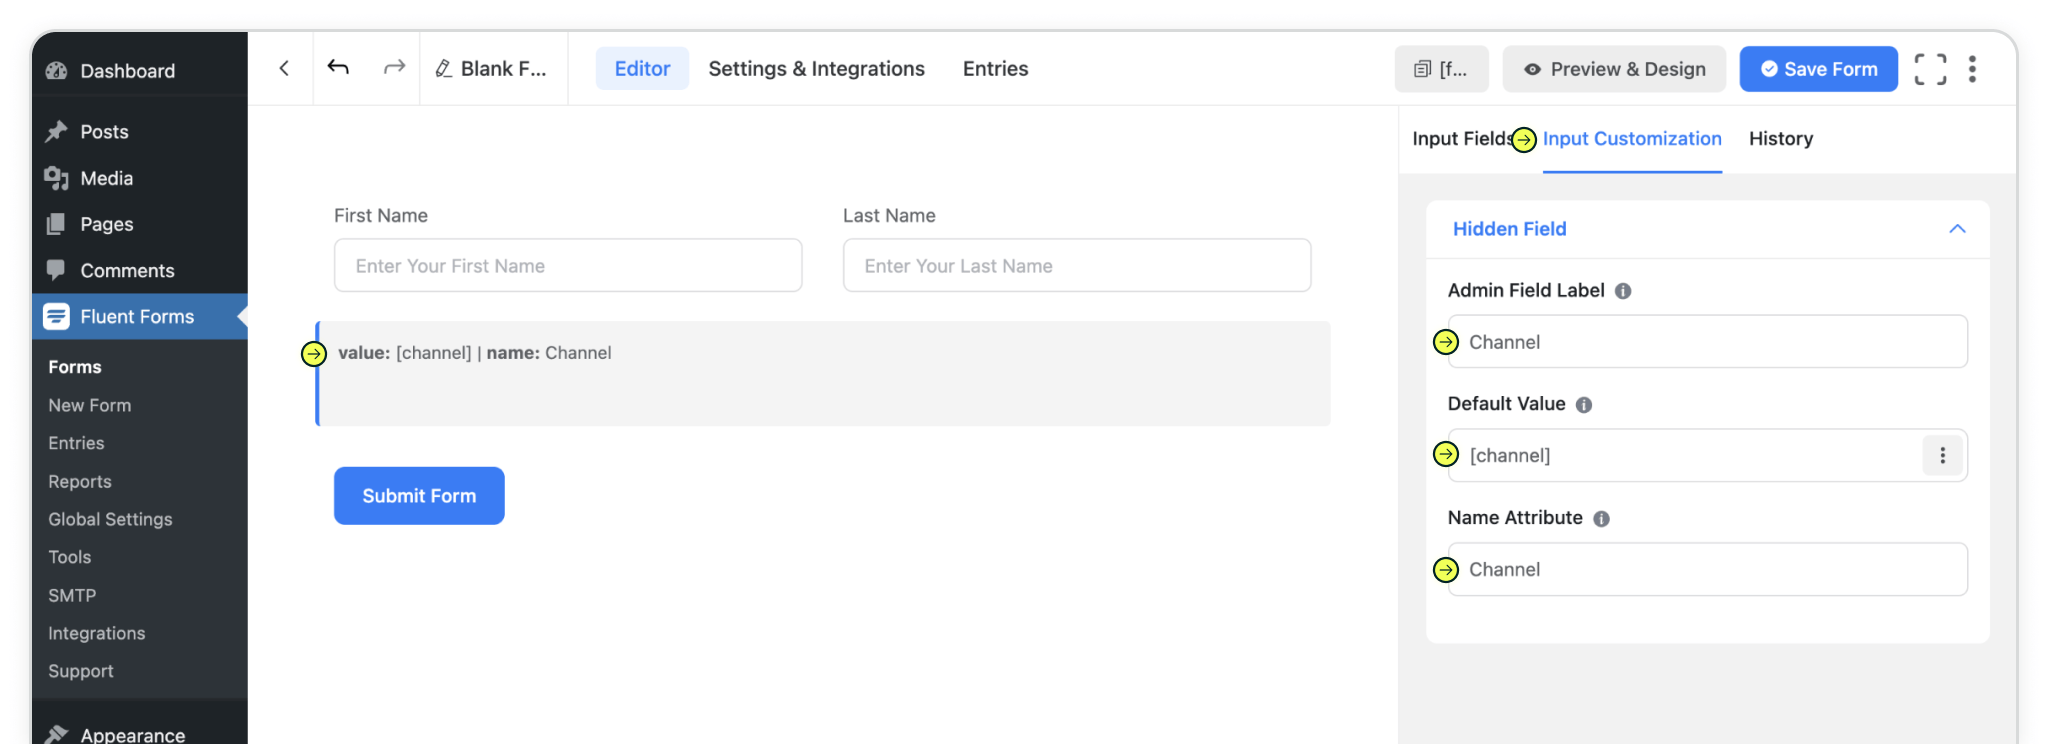
From the form editor, drag a Hidden Field into your form. In the field settings, update the label and default value so they line up with the right Madlitics field. For example, to configure Madlitics Field 1, set the label to channel and the default value to [channel].
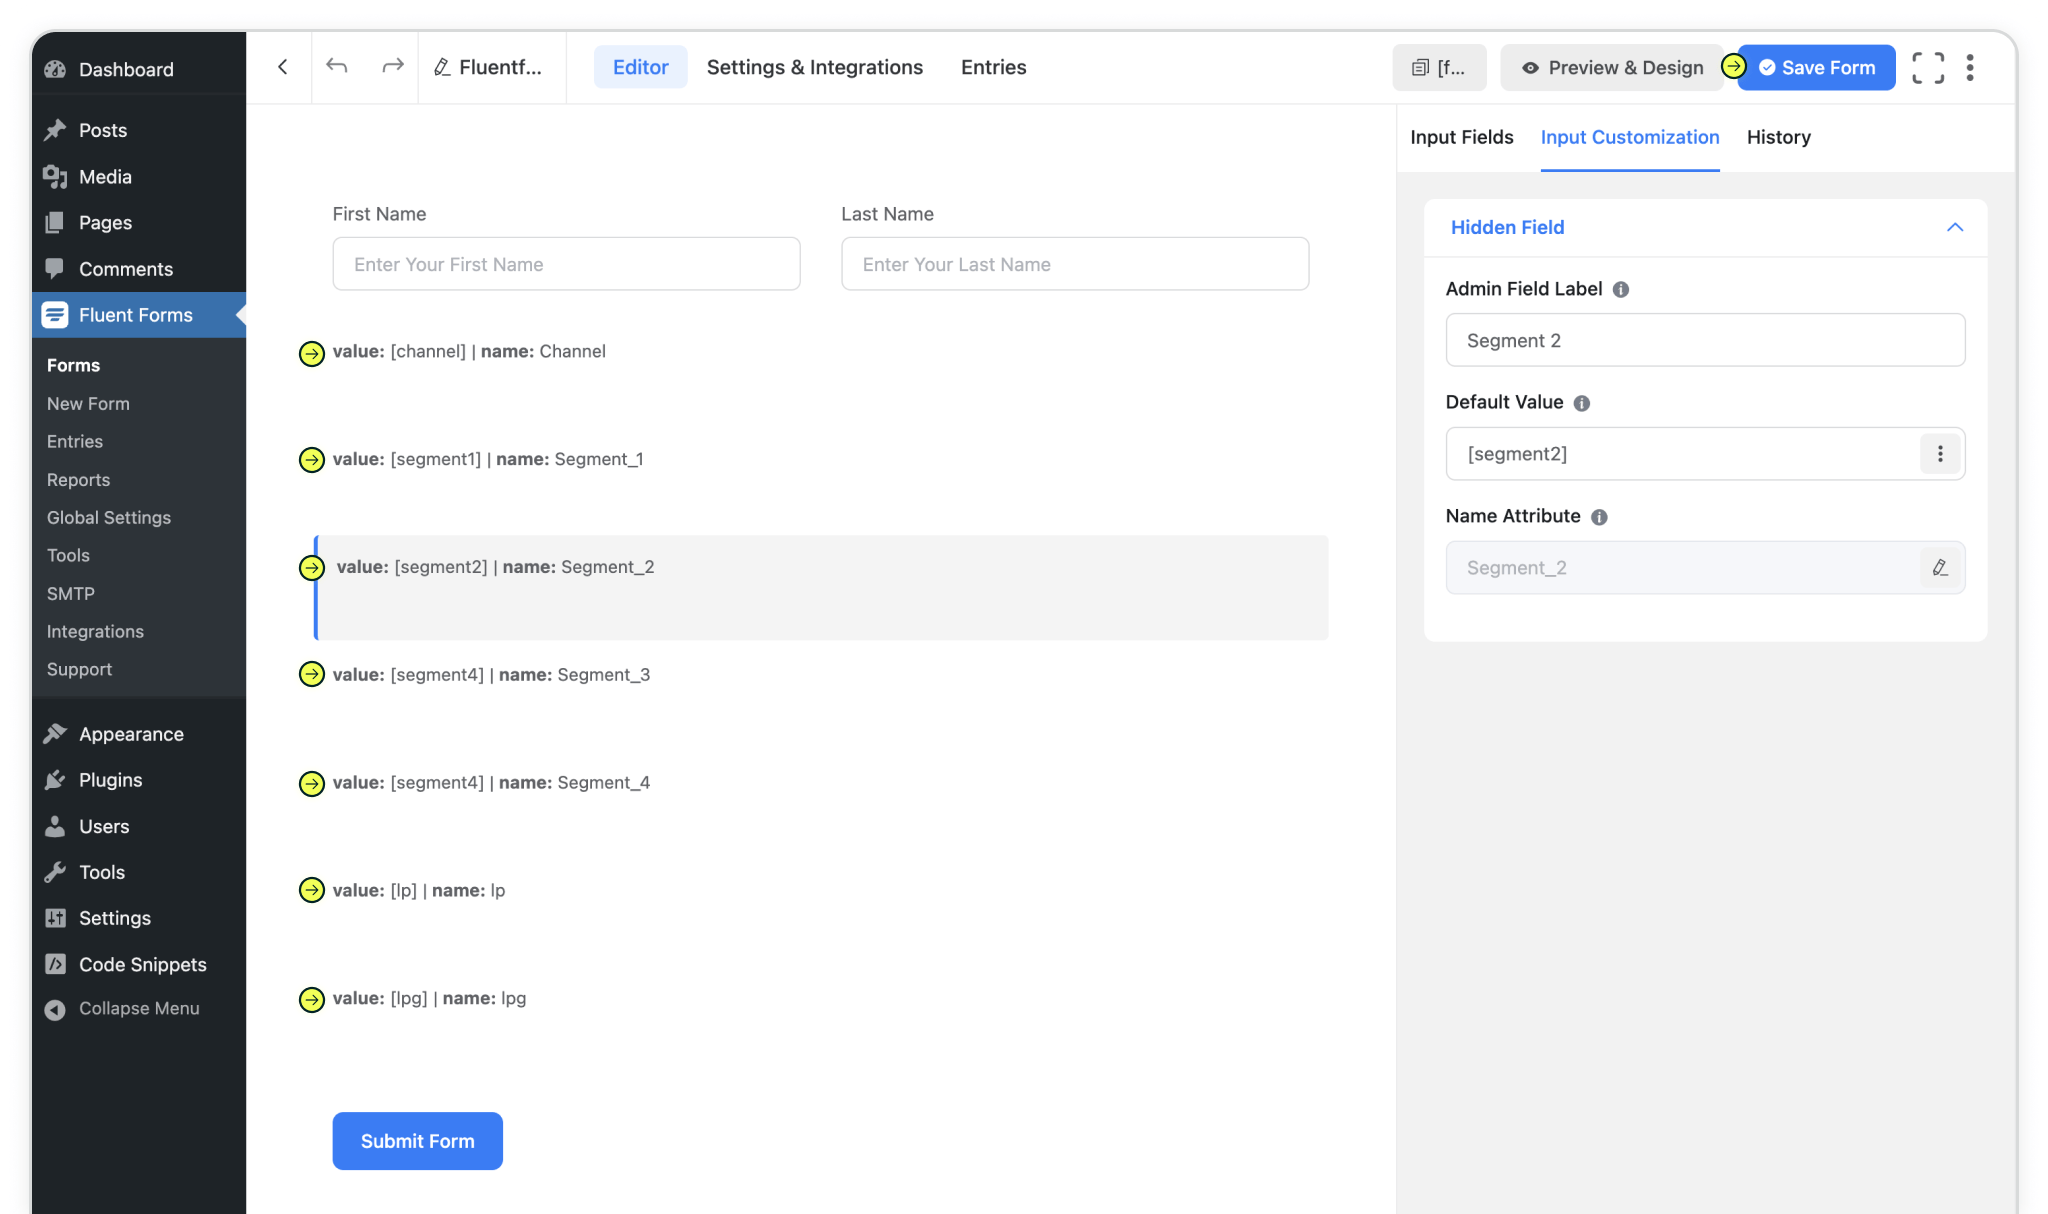
Repeat this process for all of the Madlitics fields. Once you’ve got all seven in place, save your form and you’re ready to start capturing rich attribution data alongside your lead details. Configure additional Madlitics field value pairs for deeper customization and richer insights.
Madlitics Field: Marketing Channel
Categorizes the marketing channel
Admin Field Label: Channel
Default value: [channel]Name Attribute: Channel
Madlitics Field: Segment 1
Captures the utm_source parameter
Admin Field Label: Segment 1
Default value: [segment1]Name Attribute: Segment_1
Captures the utm_campaign parameter
Admin Field Label: Segment 2
Default value: [segment2]Name Attribute: Segment_2
Madlitics Field: Segment 3
Captures the utm_term parameter
Admin Field Label: Segment 3
Default value: [segment3]Name Attribute: Segment_3
Madlitics Field: Segment 4
Captures the utm_content parameter
Admin Field Label: Segment 4
Default value: [segment4]Name Attribute: Segment_4
Madlitics Field: Landing Page
Captures the landing page url a visitor first arrived on
Admin Field Label: LP
Default value: [lp]Name Attribute: lp
Madlitics Field: Landing Page Group
Captures the landing page group a visitor first arrived on
Admin Field Label: LPG
Default value: [lpg]Name Attribute: lpg
Now that your form is set up with the Madlitics fields, the final step is placing it onto a live page where visitors can interact with it. Fluent Forms makes this process flexible — you can drop your form into an existing page or spin up a brand-new page just for it.
For most cases, creating a dedicated page is the simplest option, especially if you’re testing Madlitics for the first time. Once published, every submission from that form will automatically include attribution data, giving you a clear view of how visitors are reaching your site.
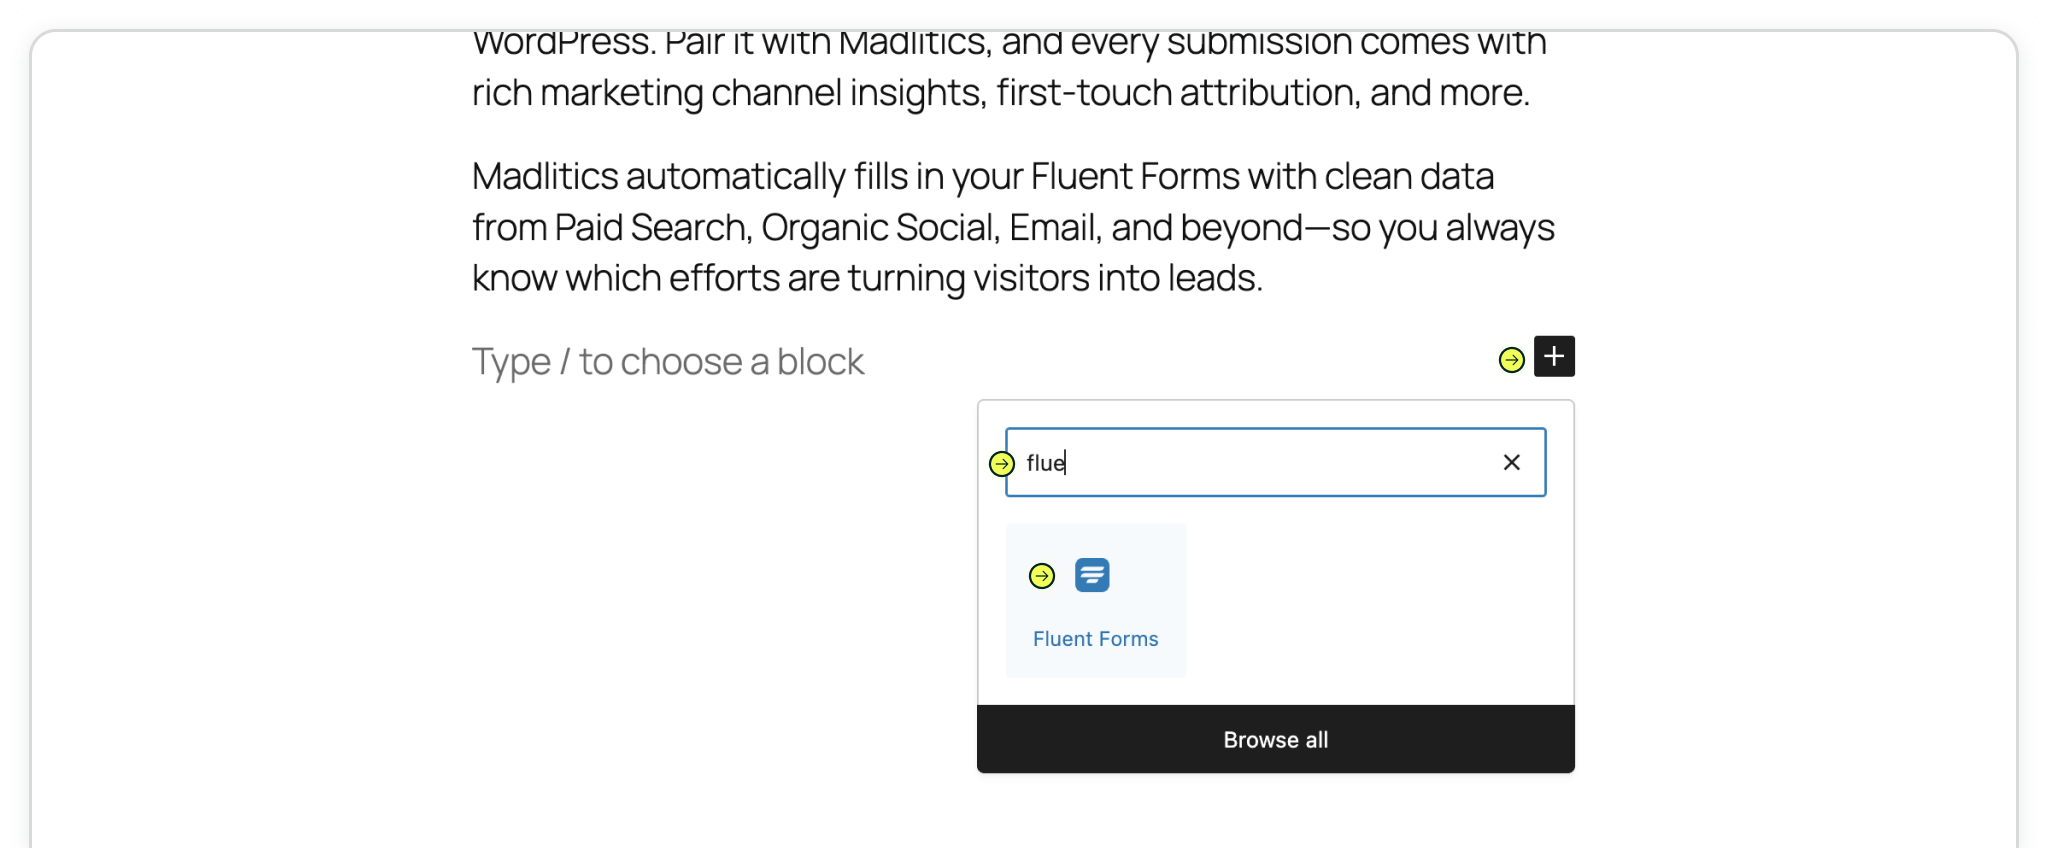
Add > search 'Formidable' > select 'Formidable Forms'
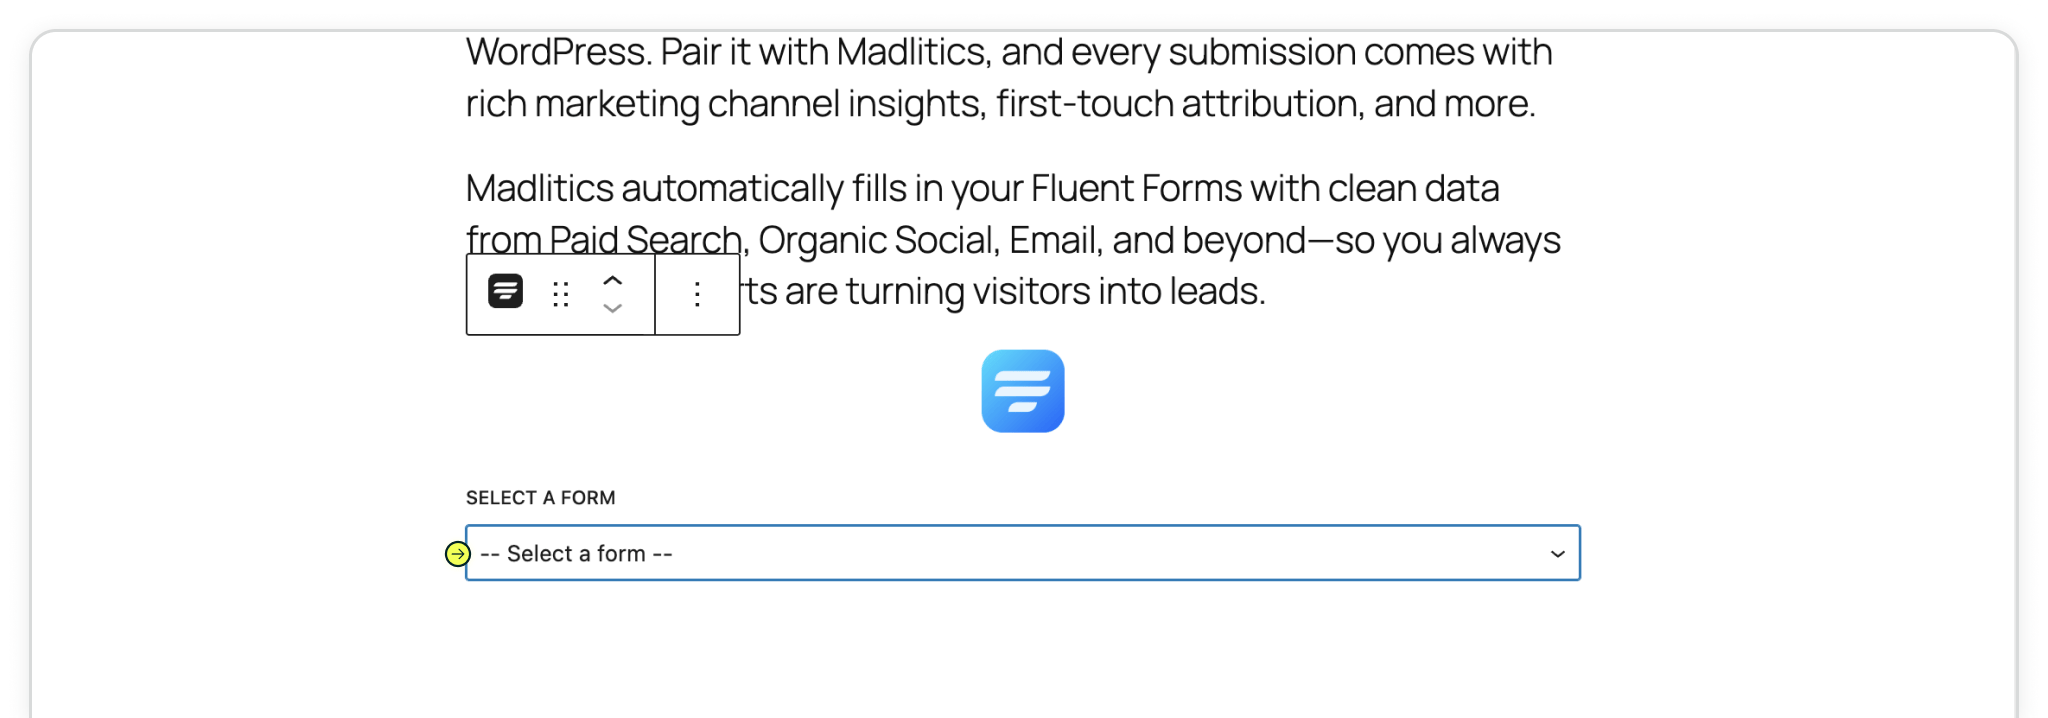
In the WordPress editor, insert the Fluent Forms block into your page.

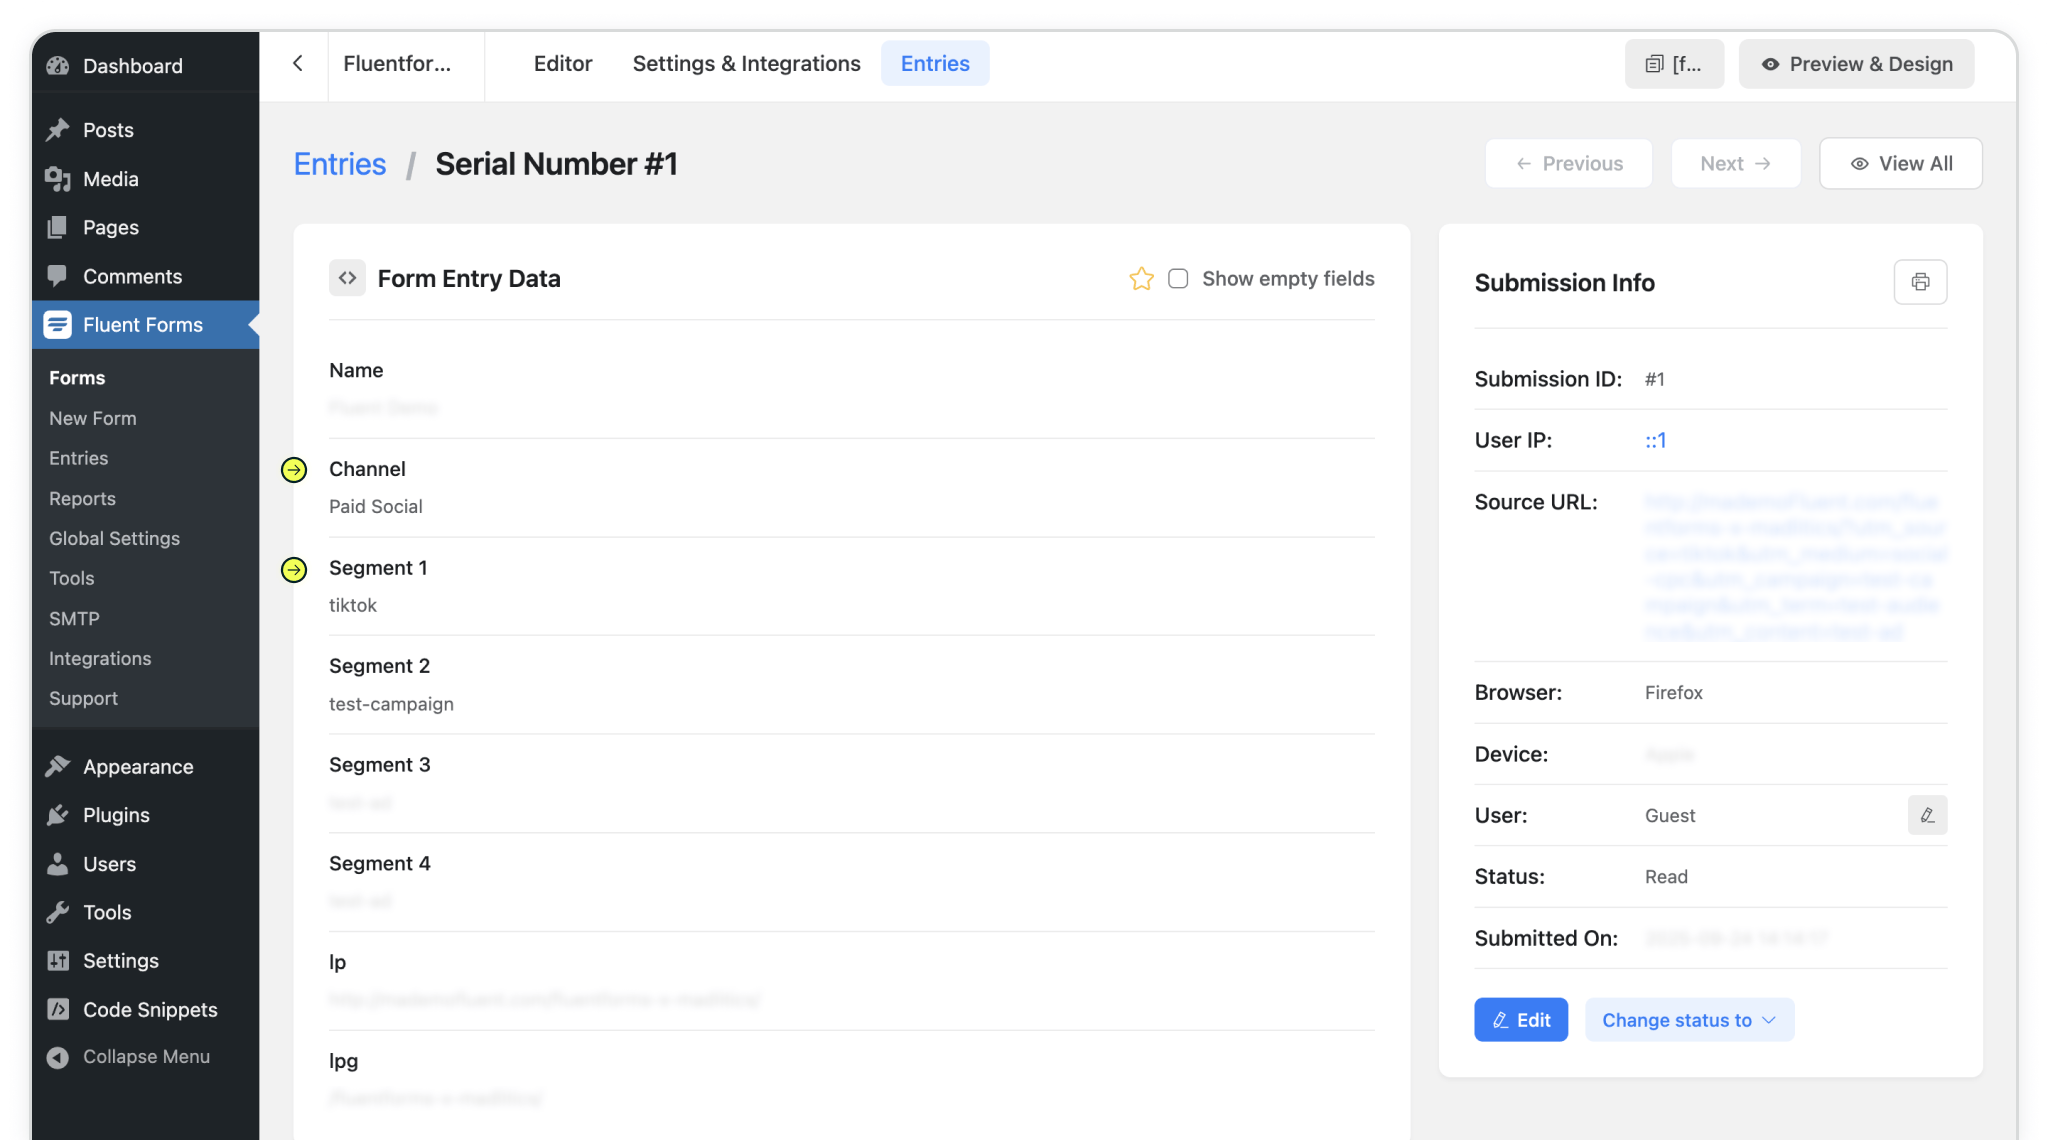
Test your form by visiting your site, using a url with unique utm parameters. Captured attribution data will populate in your Fluent Forms entries page which can then be passed to CRMs, Intelligence tools, etc. for advanced reporting.

https://yoursite.com/?utm_source=linkedin&utm_medium=paidsocial&utm_campaign=q1_promo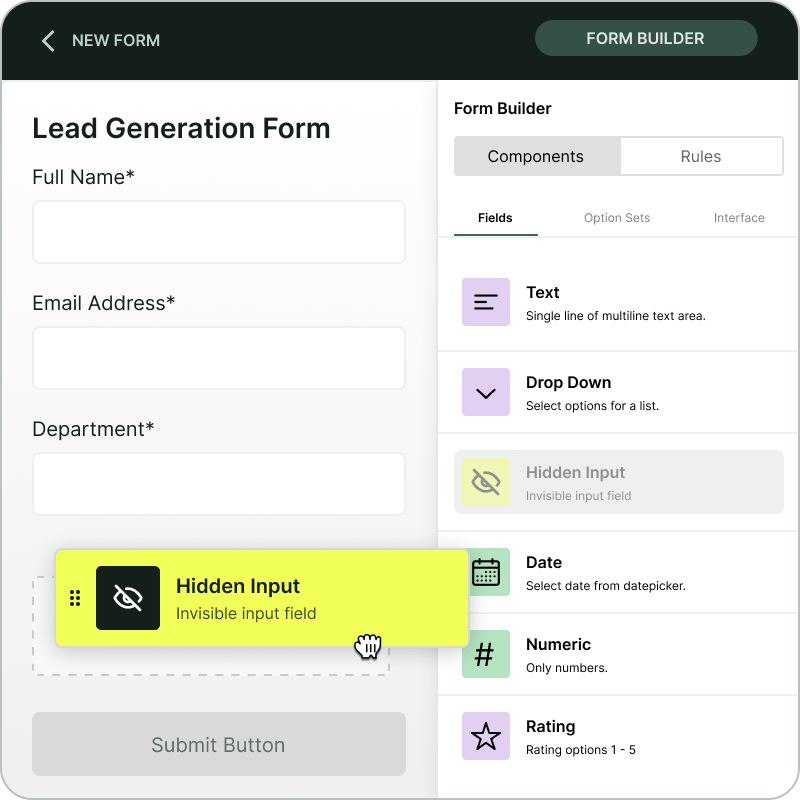
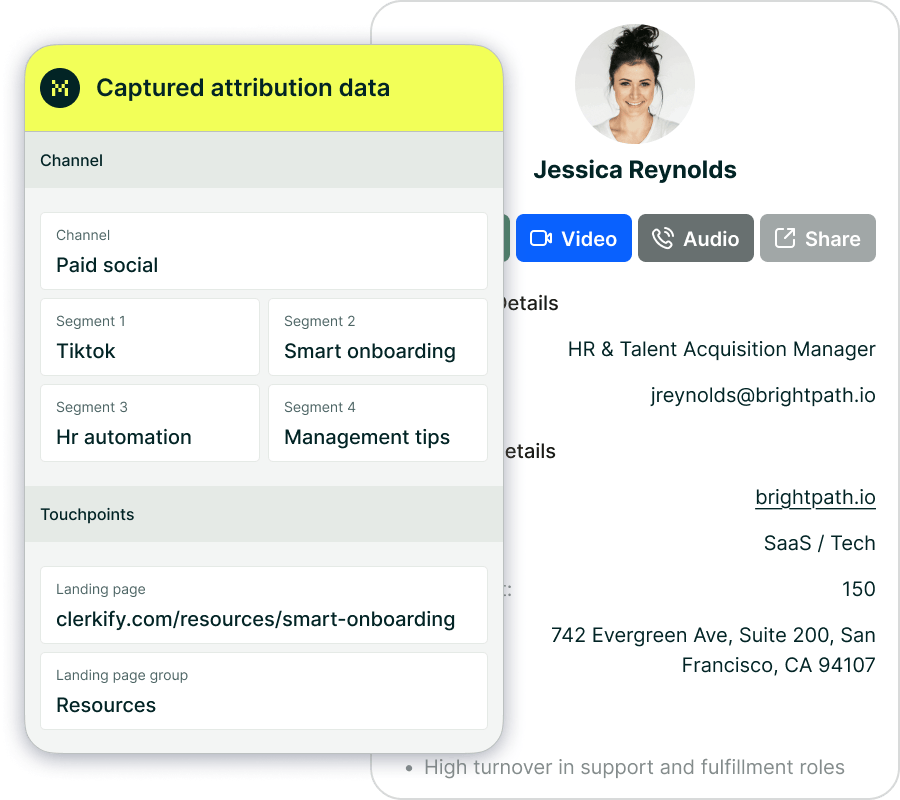
With Madlitics now activated and your forms ready to accept marketing attribution data, you can start tracking valuable insights immediately, and pass attribution data into your CRM, email marketing platform, business intelligence tool or more for advanced reporting.


