Support
Install Madlitics on a Website
How to add the Madlitics install snippet to a website (custom, react, ruby, etc.)
Start capturing attribution →
Not every site is built on a platform like Webflow, Framer, or WordPress. Many teams use custom codebases — whether that’s a simple HTML site or a full React or Rails app. The good news is that Madlitics works the same way across all of them: you just need to place the snippet in the right spot inside your site’s <head> tag.
In this guide, we’ll start by creating your Madlitics account and grabbing your unique installation snippet. Then we’ll show you how to drop it into your code so it loads across every page as soon as the browser renders it.
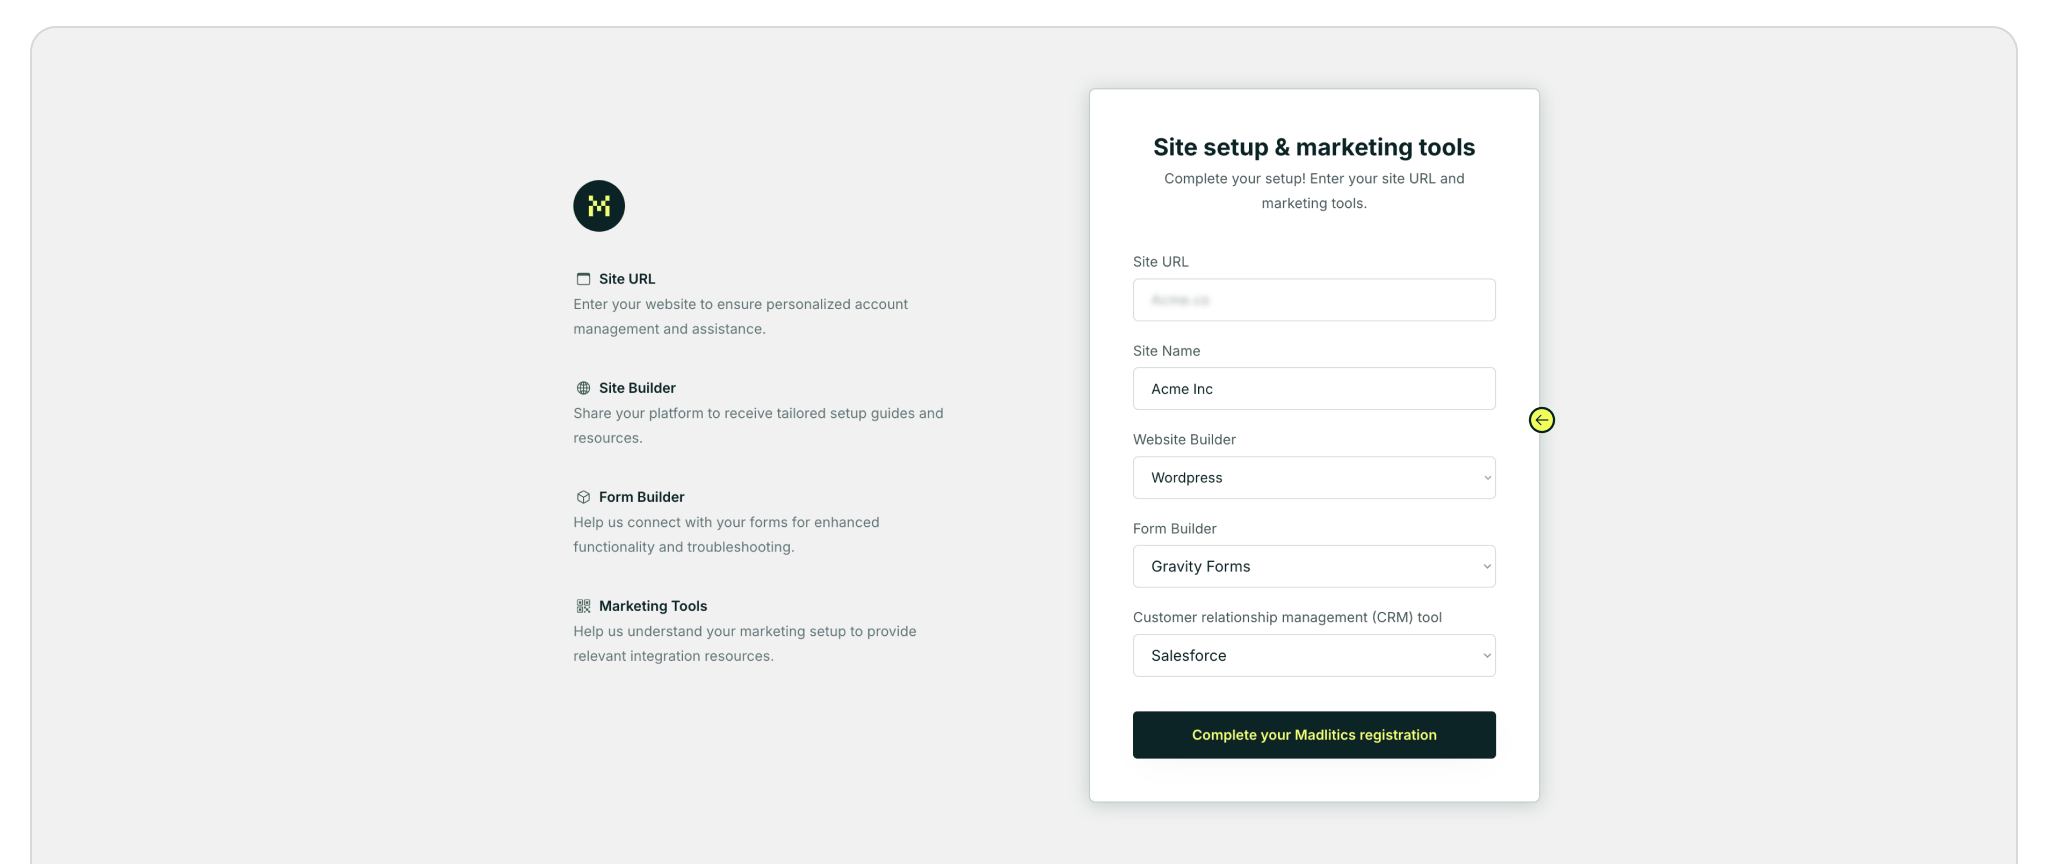
Prerequisite: Before you can install Madlitics, you’ll need to create a Madlitics account. Registration unlocks your dashboard, and copy the code snippet that powers attribution. This step only takes a minute and ensures you have everything ready before moving on to the platform-specific setup.
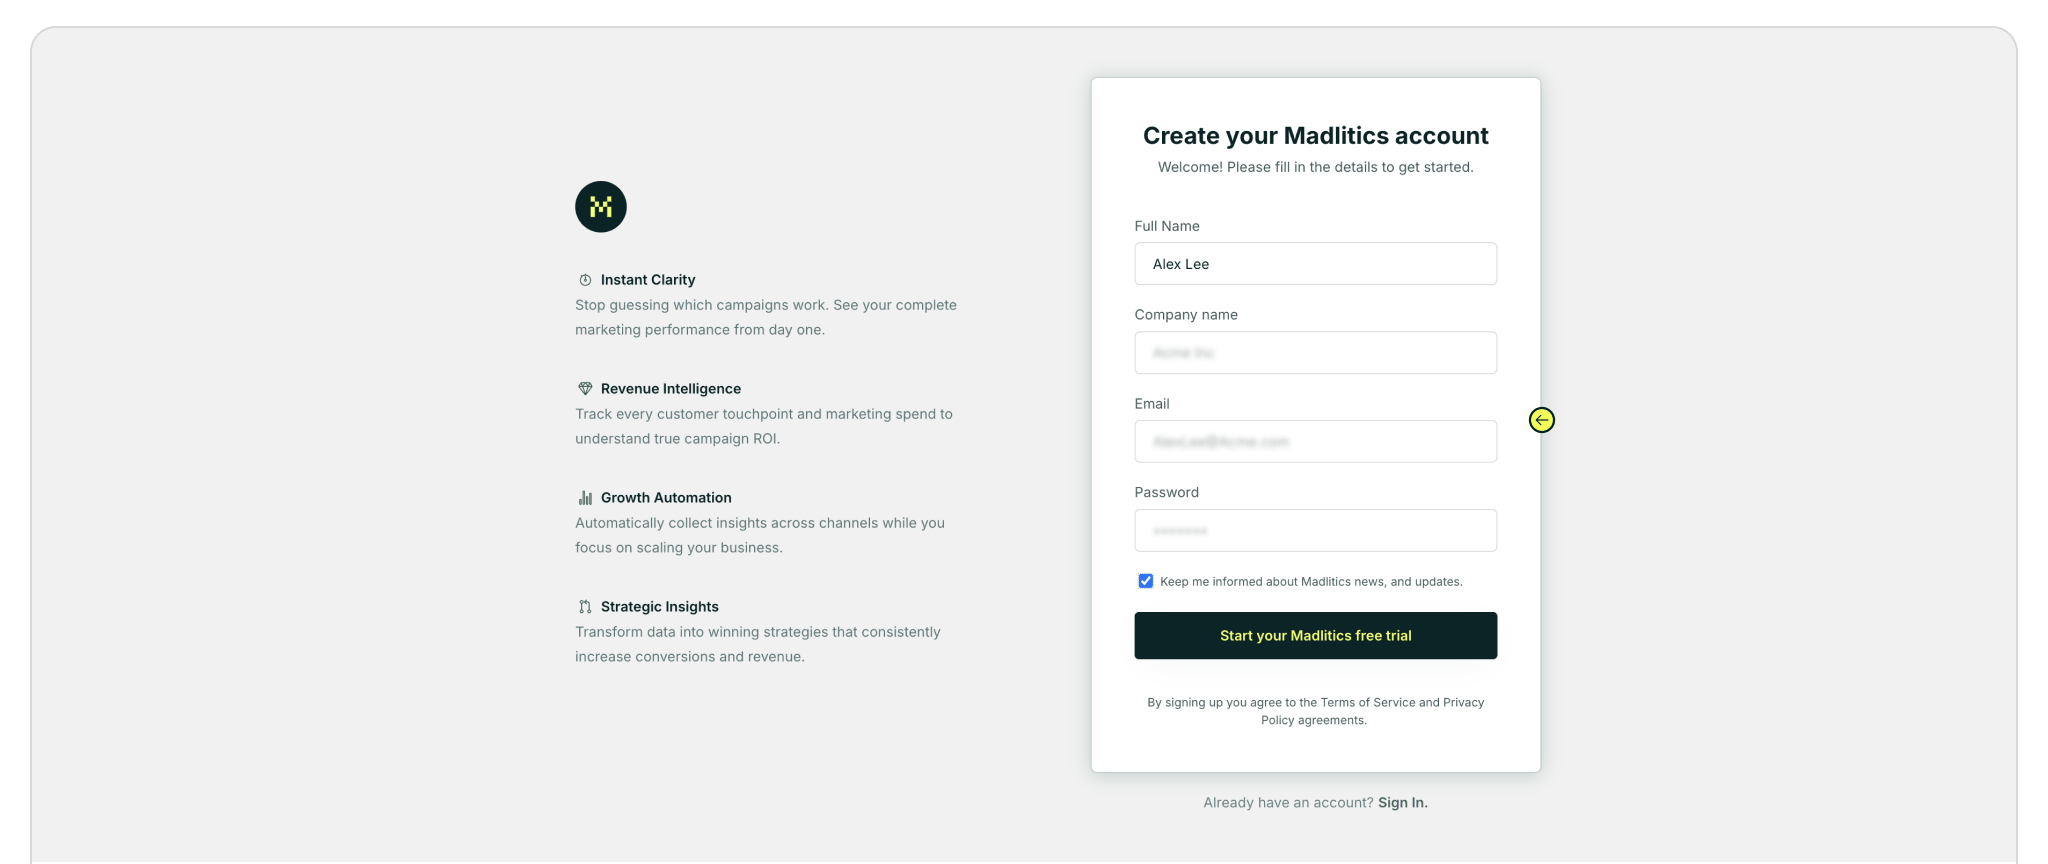
Step 1. Create your Madlitics account
Sign up for a free trial on the Madlitics website to get started. Creating an account unlocks your dashboard, where you’ll manage your sites, view analytics, and access the code snippet you’ll need to install.
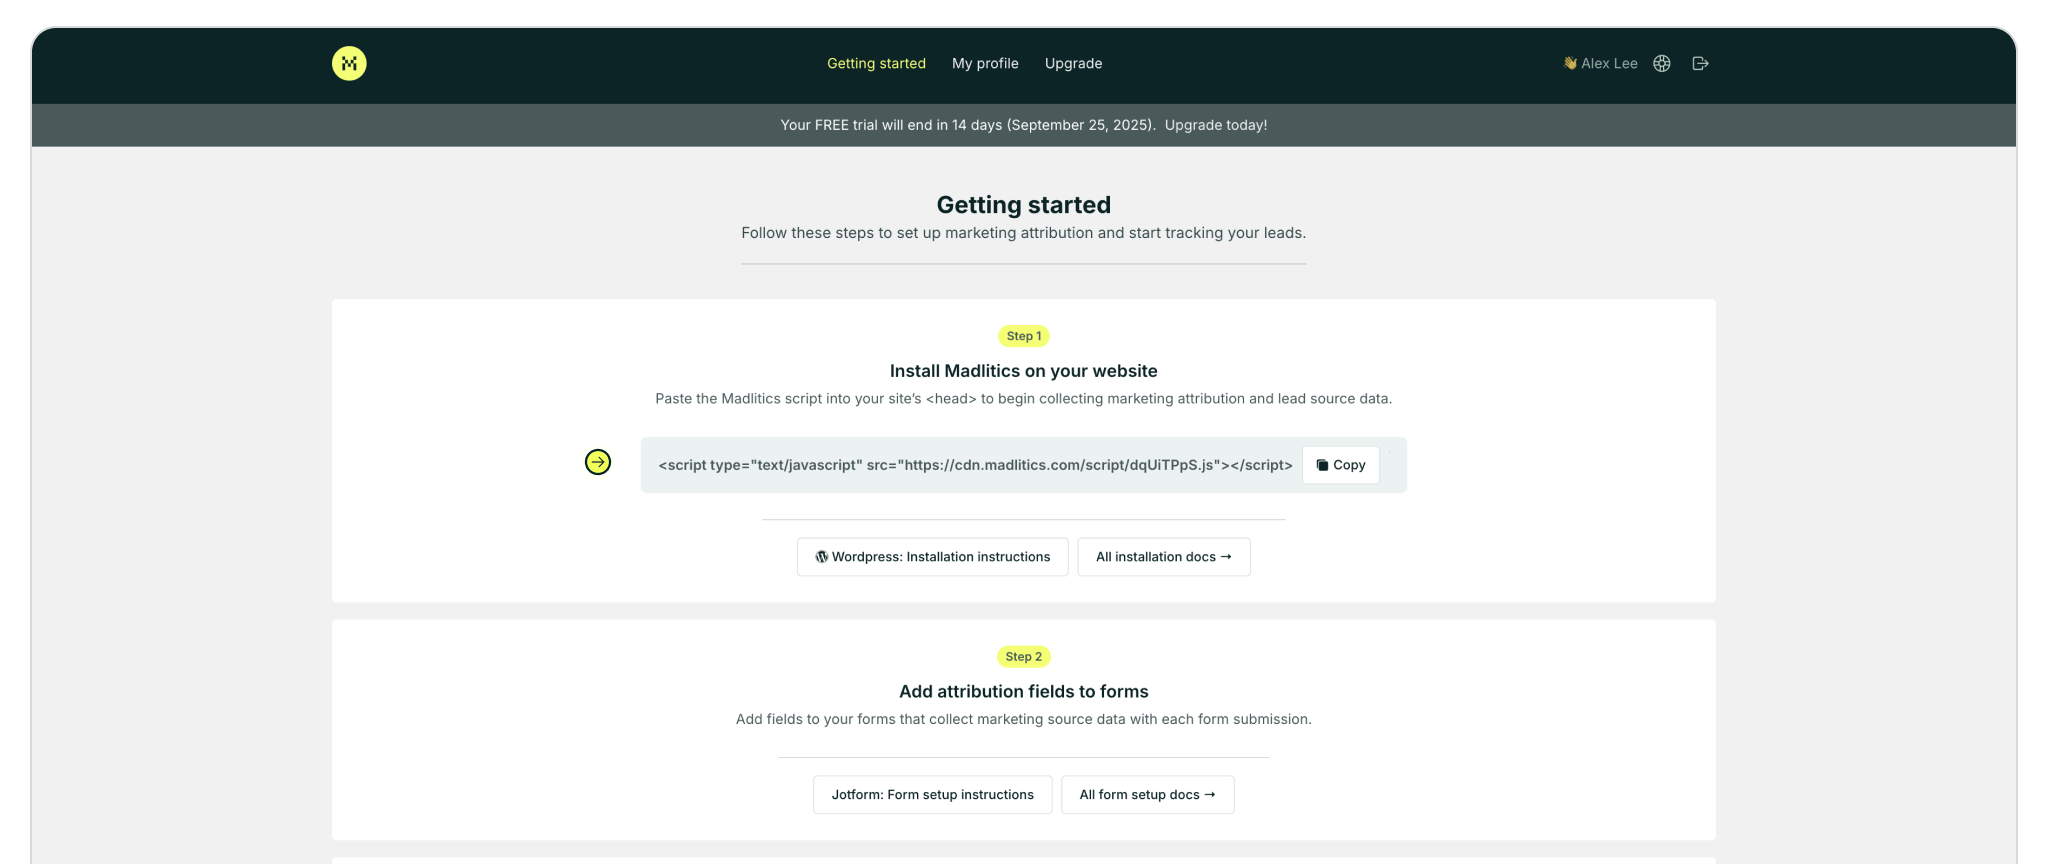
Step 2: Access your installation snippet
Once you’ve registered and logged in, you’ll land in your dashboard’s Get Started section. Here, you’ll find your unique Madlitics installation snippet, which is required to enable tracking on your site.
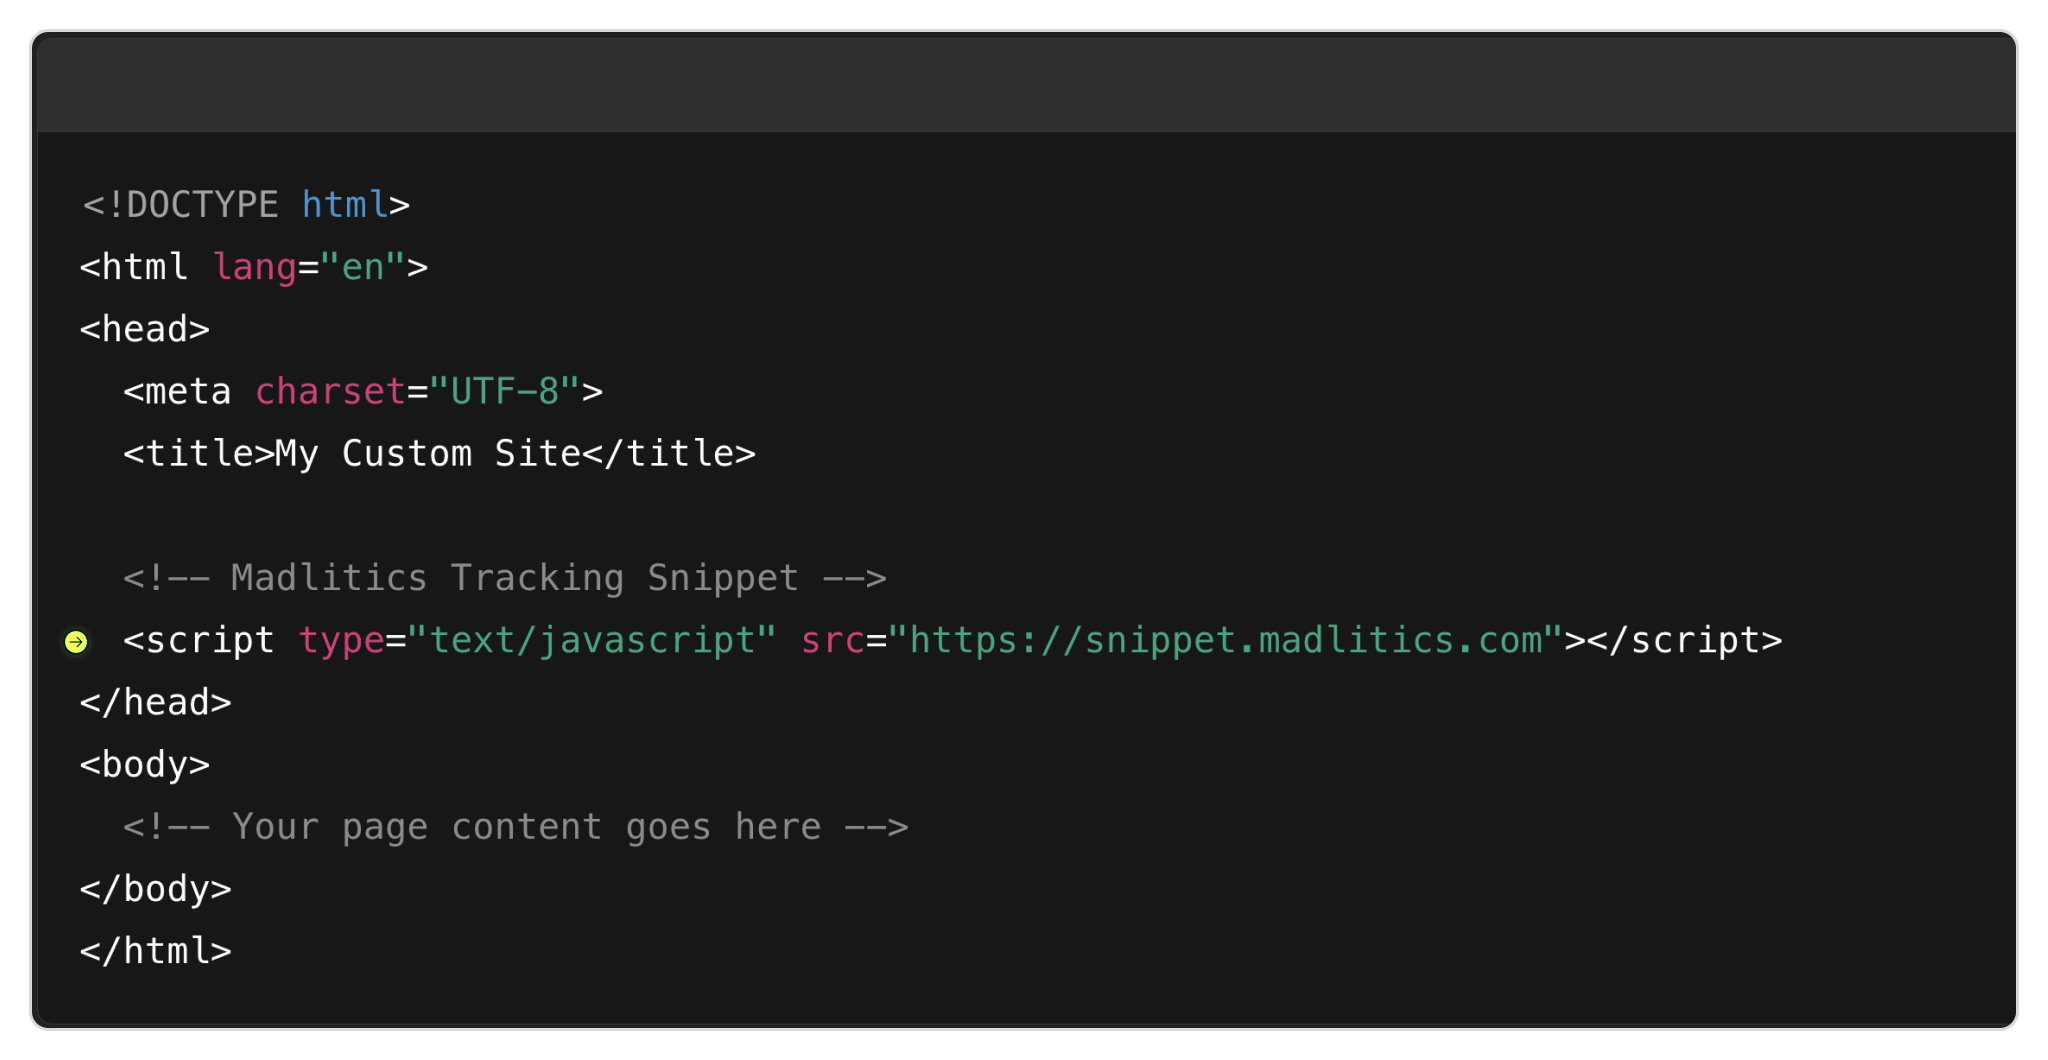
Step 3: Add the Madlitics install snippet to the <head> of every page
Open your project in a code editor like VS Code, Sublime Text, or Notepad++. In your file (or your app’s base template), find the <head> section. Paste your Madlitics snippet just before the closing </head> tag so it is part of every page. This allows Madlitics to track parameters across any pages your customers visit.
✅ Important: The Madlitics snippet must be added to every page of your site, either manually or through a shared layout template. This ensures that every visitor interaction, from the first pageview to final form submission, is captured accurately for full-funnel attribution. Without full-page coverage, attribution data may be incomplete or lost between visits.


Verify and test installation
After pasting in your snippet, save your HTML file and open it in a browser (Chrome, Firefox, Safari, etc.). Right-click and choose Inspect, or press Cmd + Option + I (Mac) or Ctrl + Shift + I (Windows). In the Elements tab, scroll up to the <head> section and make sure your Madlitics snippet is there. If you see it in place, you’re good to go!
Best Practices
• Always place critical scripts in the <head>, especially if they’re responsible for capturing page views or initializing other scripts.
• Avoid duplicate snippets—make sure the script is included only once on each page.
• Test locally and live—some scripts only function when served over a live domain.
• Configure Hubspot forms
• Configure Tally
• Configure Active Campaign
• Configure Typeforms
• Configure Jotform
• Configure Zoho Forms
• Configure Formstack


By adding the snippet directly into your codebase, Madlitics will run site-wide—capturing attribution data for every visitor. Whether you’re working with a static HTML site or a framework like React, Vue, or Rails, the approach is the same: drop the snippet in your <head>, publish or deploy your site, and let Madlitics handle the attribution.
If you run into any issues or need help verifying your setup, our team is here to assist. Reach out to support and we’ll help you get everything working smoothly.
Answers to common questions about installing Madlitics on Websites